Why Your Commercial Machine Loses Steam Mid-Morning
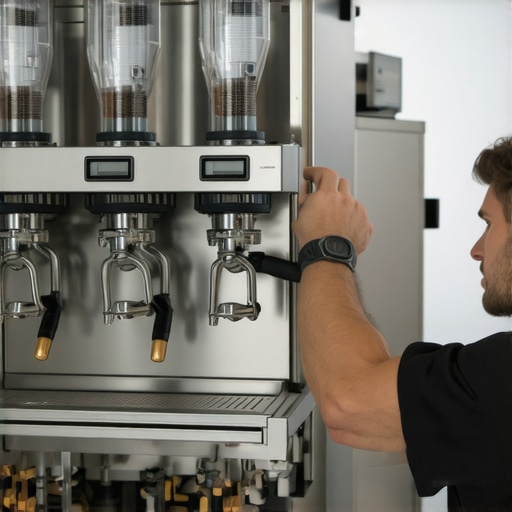
It was 10:15 AM on a frantic Tuesday, and I had a line of six lattes staring me down. I purged the steam wand, expecting that familiar, authoritative roar, but instead, I got a pathetic, wheezing hiss. The milk in my pitcher looked less like silky microfoam and more like a sad bubble bath. It is a total gut-punch for any barista or shop owner. You feel like you are failing your customers, and worse, you feel like your expensive equipment is failing you. Today, we are going to dive into exactly why your machine is losing its breath and how you can reclaim that consistent power. I am going to share the hard-learned lessons from my early days—including the time I spent three hundred dollars on a technician just to realize I was simply out-pacing my boiler. We will fix your workflow and your machine so you never have to serve a flat cappuccino again.
Your Boiler is Gasped for Air and Desperate for a Break
I used to think that ‘commercial grade’ meant ‘invincible.’ I was wrong. Every machine, no matter how shiny the chrome, has a recovery cycle. When you are slamming out drinks back-to-back, you are essentially draining the life out of the steam boiler faster than the heating element can keep up. I remember my first big mistake: I ignored the temperature swings and just kept pulling shots. The result? Sour coffee and lukewarm milk. If you have ever wondered about the reason your steam pressure dips when you open the valve, it usually comes down to the simple physics of thermal recovery. According to the Barista Institute, even high-end machines require a specific ‘recovery time’ to maintain dry steam quality, especially if the heating element is scaled up or the boiler is undersized for your volume. Have you ever felt your machine just give up on you right when the line gets long? It is a common frustration, but it is rarely a death sentence for your gear. Sometimes you just need to revive a weak steam wand by checking the simple things first.
Does a more expensive machine actually guarantee better steam?
It is easy to think that throwing more money at the problem is the only solution, but that is a myth that keeps people broke. A five-thousand-dollar machine can still struggle if your water chemistry is off or if you haven’t mastered mastering your setup for high-demand periods. I have seen tiny single-group machines outlast giants because the operator knew how to time their shots. Sourcing the top-rated espresso machines is only half the battle; the other half is knowing the limits of your specific boiler capacity. Before you go shopping for a new unit, let’s look at why your current one is acting like it’s on a permanent coffee break.
Clear the Obstructions Hiding in Your Wand Tip
If your machine sounds like it is struggling to breathe, the most common culprit is a build-up of dried milk proteins hiding inside the tip. Think of it like a showerhead; if three out of four holes are blocked with mineral scale or old milk, the water pressure might be high in the pipes, but the output is weak and erratic. I once spent an entire morning wondering why my latte art looked like soapy water until I took a paperclip to the tip and found a solid plug of milk from the previous shift. You need to understand why your steam wand tip holes keep getting clogged before you can prevent it. Use a dedicated cleaning tool or a thin needle to clear those ports. If you find yourself in a bind, there is luckily the one way to fix a clogged steam wand without chemicals by using a simple steam-and-soak method. This ensures the steam exits in a balanced vortex rather than a single, violent jet that creates nothing but big bubbles.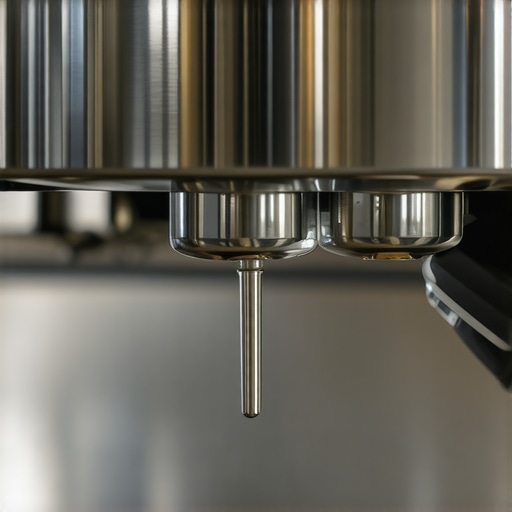
Stop the Pressure Leaks at the Source
Sometimes the problem isn’t a blockage, but a leak that is bleeding off your power before it even reaches the milk. If you hear a faint hissing sound coming from inside the casing or near the pivot point of the wand, you are losing steam pressure. It is like trying to blow through a straw with a hole in the side; no matter how hard you push, the output is pathetic. I remember a particularly humid July when I ignored a tiny drip from my steam valve. By the weekend, the valve had completely failed, and I was forced to learn how to fix a leaking steam wand valve pin on the fly while a line of customers watched. Often, the reason your steam wand is leaking water into your milk is a worn-out internal gasket or an unseated O-ring. If the valve itself feels ‘mushy’ or won’t close fully, check how to fix a stuck steam valve on a prosumer machine to restore that tactile, snappy response that commercial machines are known for.
Timing Your Steam for Maximum Power
On single-boiler machines, you are fighting a constant battle with physics. You cannot pull a shot and steam milk at the same time because the boiler needs to jump from roughly 200 degrees for espresso to 250 degrees for steam. If you start steaming the moment the light flips on, you might run out of juice halfway through the pitcher. The trick I learned on my first home setup was to ‘surf’ the temperature. I would purge the wand for five seconds to kick the heating element back into gear, then start steaming just before the light turned off. This ensured the element was actively heating while I was drawing steam out. Mastering the secret to silky microfoam on a single boiler machine is more about rhythm than it is about hardware. Additionally, if you find your machine is taking forever to get up to temp, it is worth investigating why your espresso machine takes longer to heat up recently, as scale buildup on the heating element can act as an insulator, slowing down the heat transfer and leaving your steam wand feeling tepid and weak. Always remember to stop using a wet cloth on your steam wand for too long, as this can actually cool the metal tip and cause milk to bake on even faster.
Stop Blaming the Machine for Your Grinder’s Mistakes
Most people believe the espresso machine is the most important part of their setup, but that is an expensive myth that leads to mediocre results. In my experience, a mid-range machine paired with a world-class grinder will outperform a five-figure machine paired with a standard retail grinder every day of the week. When you are choosing the best barista gear for coffee enthusiasts, the focus should be on consistency. According to a study by the Specialty Coffee Association (SCA), the uniformity of the grind size is the single most critical factor in achieving a balanced extraction yield. If your burrs are uneven, you will get channels of over-extracted bitterness and under-extracted acidity in the same cup. You should learn how to tell if your espresso grinder burrs are dull because even the best gear wears out over time. If you really want to level up, the right way to align your flat burrs for better shots involves using shims to ensure the surfaces are perfectly parallel, a nuance that most beginners completely overlook. 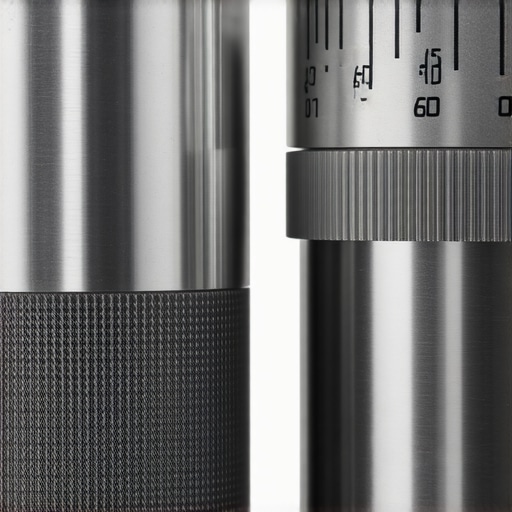
Does perfect alignment actually change the flavor profile?
It absolutely does. When your burrs are misaligned, you are essentially trying to hit a moving target. I spent months thinking my beans were the problem before I realized my grinder was throwing fines that choked my shots even on coarse settings. Beyond alignment, there is the ‘Oops’ factor of the ‘first shot of the day.’ Many people grind their beans and pull a shot immediately, not realizing that several grams of stale coffee from yesterday are still sitting in the chute. This is why the first shot of the day is always a throwaway. If you skip the purge, that stale coffee will ruin the flavor profile of your fresh beans. Another common mistake is over-compensating for a bad extraction by using aggressive techniques. Instead of buying more gadgets, the move for better espresso distribution without fancy tools is often just a simple, consistent horizontal tap to settle the grounds.
Stop Cranking the Handle Like a Wrench
One of the most common traps for new owners is overtightening the portafilter into the group head. You might think you are creating a better seal, but why your portafilter handle should never be tightened too far is actually a lesson in mechanical preservation. Overtightening compresses the group gasket beyond its elastic limit, causing it to harden and crack prematurely. You only need enough tension to stop the leak, not to lock it in place like a car’s lug nut. Have you ever fallen into this trap of over-investing in the shiny machine while your grinder or maintenance routine collects dust? Let me know in the comments.
Give Your Group Head a Weekly Reset Button
I have a ritual every Sunday evening that saves me hundreds in parts: the deep backflush. If you are not doing this, your espresso is likely suffering from a build-up of rancid, carbonized coffee oils. I used to think a quick rinse was enough until I pulled my shower screen and saw a layer of black sludge that looked like roofing tar. This is exactly why your machine needs a backflush every single week with a dedicated detergent. These oils don’t just affect the taste; they can actually clog the three-way solenoid valve, leading to a machine that won’t relieve pressure properly. While you are at it, don’t ignore the hidden areas. There is a real danger of leaving old coffee oils in your portafilter spouts, which can turn even the most expensive single-origin beans into a bitter, acrid mess. I personally use a small brush and a soak in espresso cleaner for my portafilters every time I backflush the main unit.
Test Your Water Before It Destroys Your Boiler
Scale is the silent killer of home espresso. You might have the most top-rated espresso machines on the market, but if your water is too hard, you are essentially feeding it liquid rock. Most manufacturers, such as La Marzocco in their technical specifications, recommend a total dissolved solids (TDS) range between 70 and 100 ppm to prevent both corrosion and scale buildup. I learned the hard way that ‘filtered’ water from a fridge pitcher isn’t always enough. You need to learn the easy way to test your machines water hardness at home using a simple titration kit. If you find your water is too aggressive, you are risking a heating element failure. A simple habit to start tonight is to stop leaving water in your reservoir overnight, as stagnant water can lead to bacterial growth and a strange metallic tang in your morning shot.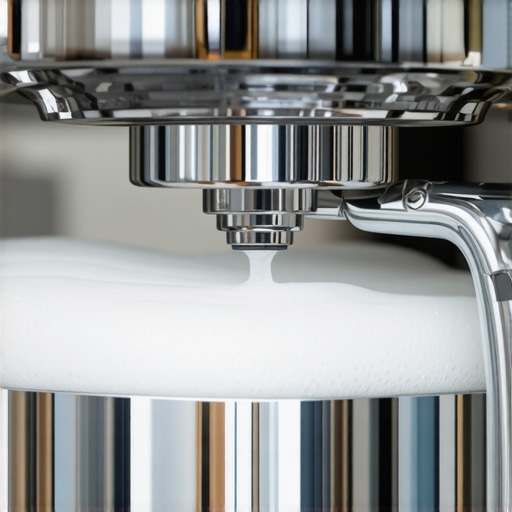
How do I maintain my espresso gear over years instead of months?
The secret to longevity is preventative maintenance rather than reactive repairs. Beyond cleaning, look at the physical workflow of your grinder. Static can cause grounds to cling to every surface, leading to inconsistent dosing. I use a tiny spray of water on my beans—a method called RDT—to stop static from ruining your grinding workflow. Additionally, you don’t always need to tear your grinder apart to keep it fresh; knowing how to clean the grinder chute without taking it apart can save you twenty minutes of frustration. In the near future, I predict we will see more ‘smart’ sensors integrated into even entry-level machines that will alert us to gasket wear or mineral buildup before a leak even starts. Until then, the best tool you have is your own consistency. I strongly encourage you to go test your water hardness today—it is the single biggest factor in how long your machine will actually last.
Looking back at my first year behind the bar, I realized I spent more time reading manuals than actually tasting my shots. I was obsessed with the hardware but neglected the habits that make that hardware shine.
Lessons My First Melted Steam Wand Taught Me
I used to believe that if I just spent more on my barista gear, the espresso would magically taste better. The truth is, my progress only skyrocketed when I accepted that consistency is a habit, not a machine feature. One major lightbulb moment was realizing that mastering the art of home espresso requires you to embrace a few failed shots before the physics of pressure and heat really click. I also learned that small, cheap adjustments—like properly purging the group head—do more for flavor than a shiny new portafilter ever could. Most importantly, I stopped chasing perfection and started chasing a recipe that I could actually repeat every single morning without stress.
The Essential Toolkit I Rely On Daily
To keep your setup running like a dream, you do not need a thousand gadgets cluttering your counter. I personally swear by a high-precision scale; without one, you are just guessing your ratios. I also strongly recommend checking out our guide on how to select the perfect coffee grinder, because your grinder is truly the heart of your extraction. For daily maintenance, keep a dedicated set of brushes and a pack of backflush detergent within arm’s reach. If you are currently struggling with uneven extractions, remember the move for better espresso distribution without fancy tools—it is about the intentionality of your technique, not the price tag of your leveler. These simple resources have saved my boiler from the scrap heap and my coffee from the drain more times than I can count.
#IMAGE_PLACEHOLDER_E#
Start Pulling Better Shots Tomorrow
Brewing at home is a journey of discovery, and every sour shot or flat latte is just data to help you improve your craft. Do not be intimidated by the technical specs or the complex jargon found in forums. Whether you are using top-rated espresso machines or a budget-friendly starter kit, the end goal remains the same: a cup that makes you genuinely happy. Your barista gear is there to serve your creativity, not the other way around. Now that you know how to maintain your steam power, keep your grinder aligned, and protect your gaskets, go pull a shot and see the difference for yourself. Have you ever struggled with your milk texture feeling too thin no matter how much you purge the wand? Let me know in the comments below and let’s troubleshoot it together!