Why Your Espresso Machine Takes Longer to Heat Up Recently
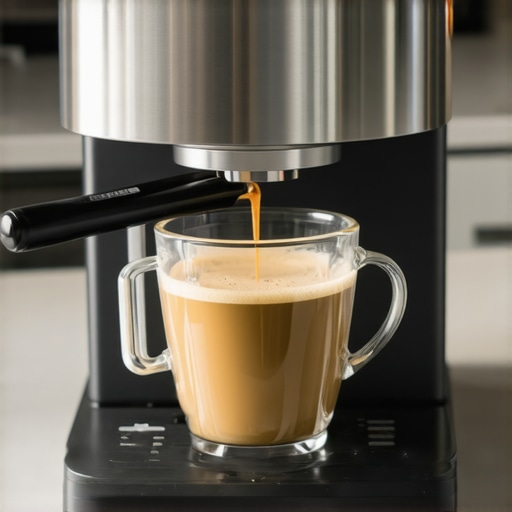
I remember the first time I realized my morning routine was falling apart. I had flicked the power switch on my trusty semi-automatic, went to hop in the shower, and came back fifteen minutes later expecting a blistering hot group head. Instead, it was lukewarm at best. I stood there in my bathrobe, staring at the machine like it had betrayed a blood oath. You know that feeling, right? That creeping suspicion that your fifteen-minute startup has quietly crept into a thirty-minute ordeal. It’s not just a minor annoyance when you’re craving caffeine; it’s your machine’s way of screaming for help from inside its stainless steel shell. Today, we are going to stop the clock and get your machine back to its snappy, high-heat self before you start considering a downgrade to instant coffee.
Stop Blaming the Weather for Your Slow Coffee
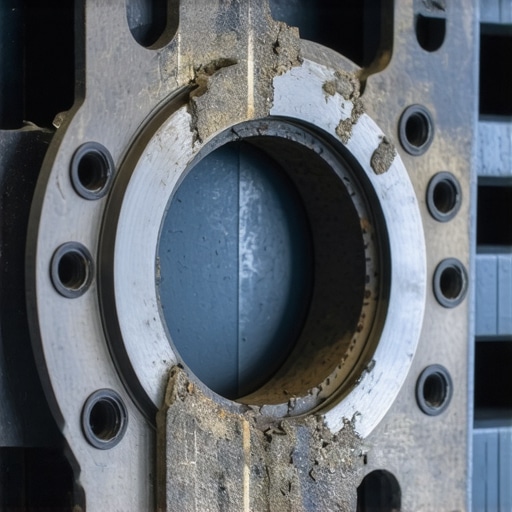
Look, I’ve been there—I once convinced myself that my kitchen was just ‘extra drafty’ during the winter, which is why my boiler was dragging. That was a lie I told myself to avoid the truth: I was neglecting the internals. If you are starting to notice that your machine is sluggish, or perhaps your espresso machine is leaking steam from the top, these are mechanical protests. The most common culprit is mineral buildup, also known as scale. It’s like putting a thick winter coat on your heating element; the element gets hot, but that heat can’t actually reach the water efficiently. I made the massive mistake early on of ignoring a slow heat-up until my machine actually started tripping the breaker because the element finally shorted out from the strain. According to the technical experts at Whole Latte Love, even a thin layer of scale can act as a thermal insulator, significantly increasing the time and energy required to reach brewing temperature. Have you noticed your machine taking longer to get that first ‘ready’ light lately? Let me know in the comments, because I’ve felt that specific frustration more times than I’d like to admit.
Does this mean I need a brand new machine?
Many people panic and think their pump is dying or the whole unit is ‘fried’ when the heat-up time doubles. Don’t go shopping for top rated espresso machines just yet. Most of the time, the fix is much simpler than a total replacement. It usually comes down to how to tell if your machine boiler is accumulating lime scale and then taking action. If you don’t address it, you aren’t just waiting longer for coffee; you are putting a death sentence on your boiler’s lifespan. We want to catch this while it’s still a ‘maintenance’ issue and not a ‘salvage’ issue. If you’ve ever had to recover from a failed descaling process, you know it’s a headache you want to avoid, so let’s look at why this happens and how to reverse it safely using the best way to descale a boiler without using harsh vinegar.
Stop Guessing and Start Testing Your Water
Before you start pouring chemicals into your machine, you need to know exactly what you’re fighting. I spent months using a ‘balanced’ water recipe I found online, only to realize my tap water was so hard it was basically liquid rock. You absolutely must learn the easy way to test your machines water hardness at home. If your water is north of 5 grains per gallon, you are on a fast track to a cold boiler. Think of mineral scale like the crust on a neglected tea kettle, but inside a high-pressure environment. I recommend using a liquid titration kit rather than the paper strips; it’s more accurate and prevents you from over-treating or under-treating your system. Once you have a baseline, you can decide if you need a simple pouch filter in your reservoir or a more aggressive descaling schedule.
The Right Way to Flush Out Minerals
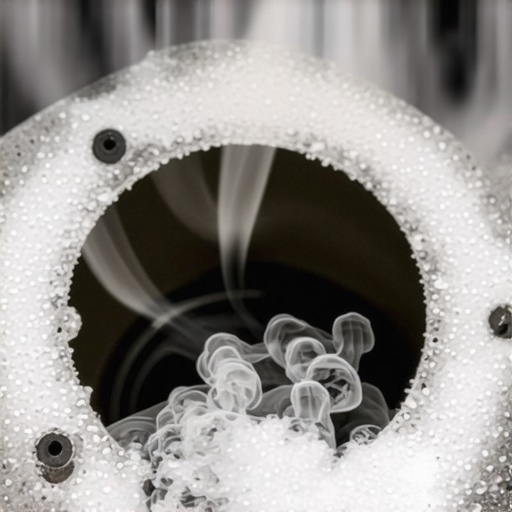
Once you know the scale of the problem, it’s time to clean house. I’ll never forget the first time I descaled my first prosumer machine. I’d let it go for two years. When I finally ran the solution through, the water coming out of the group head looked like a snow globe filled with white, jagged flakes. It was satisfying but also terrifying because those flakes can easily clog a tiny orifice in your solenoid valve. This is why you should always look for the best way to descale a boiler without using harsh vinegar. Vinegar is too aggressive for copper and can leave a nasty aftertaste that lingers for weeks. Stick to citric acid or dedicated sulfamic acid-based cleaners that are designed to protect the metal while dissolving the calcium. If you’ve already had a mishap during this process, don’t panic, but you’ll need to know how to recover from a failed descaling process to get things flowing again.
Look Beyond the Scale for Hidden Blockages
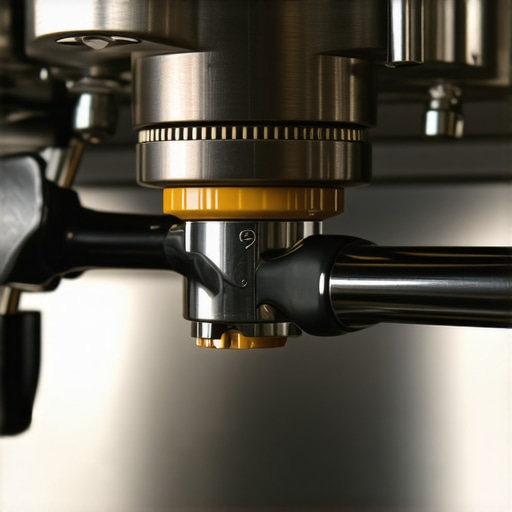
Sometimes the issue isn’t just scale; it’s the brain of the heating system. On many older vibratory pump machines, a mechanical pressure stat (p-stat) controls when the heater kicks on. If this part gets ‘sticky’ from oxidation or heat fatigue, it might not trigger until the pressure drops way below the threshold, leaving your machine lukewarm. Learning how to fix a stuck pressure stat in an older machine can save you an expensive technician visit. While you are at it, do a quick sanity check by timing your water output without the portafilter attached. Knowing how to check your espresso machines group head flow rate will tell you if the blockage is in the boiler or just a clogged shower screen. If you see water sputtering or uneven streams, check if your group head shower screen is getting clogged so fast because of old coffee oils. Clean internals mean fast heat transfer, and fast heat transfer means you get your caffeine before you lose your mind. Don’t forget that your accessories need love too; if you notice your handheld frother is struggling, you should see how to remove scale from a handheld frother wand to keep your latte game strong.One of the biggest misconceptions I see in the home barista community is the idea that the ‘ready’ light is the final word on temperature. It’s not. In fact, relying on that little neon bulb is a classic amateur move that leads to wildly inconsistent shots. The boiler might be at temperature, but the massive chunk of brass known as your group head is likely still stone cold. If you pull a shot the moment the light clicks on, the water will lose 20 degrees the second it hits the metal. However, there’s a sophisticated trap here: if you leave the machine idling for too long to compensate, you might find that your espresso tastes burnt even with light roast beans because the group head has ‘flash boiled’ the water in the stack.
Your Portafilter is Stealthily Stealing Your Heat
Most people leave their portafilter sitting on the drip tray while the machine warms up. This is a massive mistake. To achieve thermal equilibrium, the portafilter must be locked into the group head during the entire warm-up process. But here is the advanced nuance: you must be aware of the danger of leaving old coffee oils in your portafilter spouts. Sustained heat will bake those microscopic oils into a rancid, carbonized varnish that ruins every subsequent shot. According to thermal stability studies conducted by Barista Hustle, the portafilter acts as a secondary heat sink; if it isn’t thermally saturated, your shot temperature will plummet, leading to a sourness that no amount of grinding finer can fix. Have you ever fallen into this trap? Let me know in the comments.
Stop Leaving Your Machine on All Day to Save Time
I used to leave my prosumer machine on from 6 AM to 6 PM because I hated waiting for it to stabilize. I thought I was being efficient, but in reality, I was just fast-tracking the death of my internal components. Constant ‘heat soaking’ of the electronics and the pump is the primary cause of premature failure. This excessive heat makes the rubber seals brittle and the internal wiring prone to cracking, which is often how you end up needing to learn how to spot a failing solenoid valve before it floods your kitchen. Furthermore, the constant heat can dry out the internal lubricants required for smooth operation. If you find your lever feels ‘crunchy’ after a long day of idling, you’ll need to know how to properly lubricate your e61 group head cam to prevent permanent metal-on-metal wear.
Can a digital PID controller actually override physical scale?
Many enthusiasts believe that a PID (Proportional-Integral-Derivative) controller solves all thermal issues. While a PID is great for precision, it cannot compensate for physical obstructions. If your boiler is coated in scale, the PID sensor might read 200°F, but the water itself will be much cooler because the scale is blocking the heat transfer. This is a common reason why your shot extraction time changes every single day. The PID is fighting a losing battle against the insulation of the minerals. If you want to keep your machine in top shape, consider browsing the choosing the best barista gear for coffee enthusiasts to find a reliable smart timer that starts your machine 45 minutes before you wake up, rather than leaving it on 24/7. This preserves your gaskets and ensures you’re always pulling from a perfectly saturated machine.It’s easy to get obsessed with the boiler, but your grinder is the silent partner in this relationship that usually gets the short end of the stick. I learned the hard way that a neglected grinder is exactly why your grinder settings feel like they changed overnight. If you aren’t brushing out the chute, those old, stale grounds are mixing with your fresh beans, causing massive flavor drift and inconsistent shots. I personally keep a dedicated set of dental picks and a specialized brush just for this task. If you’ve ever felt your adjustment collar seize up, you know how stressful it is when the grinder adjustment ring won’t budge. This usually happens because coffee dust has migrated into the threads, acting like a low-grade cement. I recommend a deep clean every two pounds of coffee or at least once a month. This isn’t just about flavor; it’s about mechanical survival. According to the technical support team at Baratza, the most common cause of motor strain and gearbox failure isn’t actually ‘hard’ beans, but rather the increased friction and heat caused by built-up oils in the discharge path. You have to learn how to clean your grinders discharge chute with a pipe cleaner to keep that motor from burning out.
The Essential Toolkit for Long-Term Consistency
Beyond the basics, you need a strategy for the components you can’t see. If you’ve ever had a shot go from a perfect 30-second pour to 15 seconds for no apparent reason, you know why your grinder adjustment moves while you’re grinding can be so maddening. It’s often a loose tension spring or a worn-out detent. Also, for those of you with shiny new setups, don’t forget how to properly season new steel burrs for better consistency. It takes about 5 to 10 pounds of ‘sacrificial’ coffee before the burrs stop producing excessive fines and settle into their true profile. While you are maintaining the dry side, don’t forget the wet side; you should periodically learn how to clean the inside of your steam wand pipe to prevent milk proteins from turning into a solid mass.
How do I maintain my espresso setup for the next decade?
Consistency isn’t a one-time setup; it’s a lifestyle of observation. If you notice your espresso shot volume varies even with the same dose, don’t just ignore it and pull another. It’s likely a sign of a scaling pump or a worn gasket that is slowly failing. Looking ahead, I predict we’ll see more home machines integrated with ‘health’ sensors—essentially an OBD-II port for your coffee bar that tells you exactly when a solenoid is dragging before it fails. Until then, you are the sensor. My advice? Start a ‘maintenance log’ in your phone or a notebook. Every time you descale or replace a group gasket, write it down. This prevents the ‘did I do this three months ago or six?’ guessing game. If you’re currently building or upgrading your station, spend time choosing the best barista gear for coffee enthusiasts that focuses on repairability. I personally use a small high-torque screwdriver set and food-grade silicone grease as my primary ‘performance’ tools. If you understand why your coffee grinder retains more grounds than it should, you can address the static or humidity issues before they ruin your morning. My challenge for you this week: pull your shower screen off entirely. If it’s covered in black, gummy residue, give it a soak in backflush detergent and tell me in the comments if your shots suddenly taste ‘cleaner’ and more vibrant.
The Hard Truths I Discovered in the Bottom of My Boiler
After years of tinkering, I’ve realized that the ‘perfect’ espresso shot is 20% technique and 80% machine health. If the foundation is shaky, your skills won’t save the flavor.
- Scale is a silent thief. It doesn’t just slow down your machine; it steals the subtle floral and fruity notes from your beans by creating inconsistent temperatures. By the time you see it, the damage is often deep.
- Your water is your machine’s blood. Treating your water isn’t ‘extra’; it’s the bare minimum. I spent way too much on top rated espresso machines only to ruin them with ‘filtered’ tap water that wasn’t actually soft enough.
- Maintenance is a rhythm, not a rescue. If you only clean when things break, you are constantly fighting a losing battle. Mastering the art of home espresso requires you to enjoy the cleaning as much as the brewing.
The Gear I Actually Use to Save My Mornings
I don’t believe in buying every gadget on the market, but there are a few essentials that have paid for themselves ten times over in saved repair bills and better flavor. #IMAGE_PLACEHOLDER_E# First, invest in a real titration kit for water hardness; paper strips are just guessing. Second, make sure you are choosing the best barista gear that is built to be taken apart. I also highly recommend keeping a set of long pipe cleaners specifically to clean the inside of your steam wand pipe, as a simple purge never gets everything. Finally, if you’re struggling with consistency, check how to select the perfect coffee grinder for your brew to ensure your mechanical partners are up to the task.
Take the First Step Toward Better Shots
It is incredibly tempting to just ‘wait one more week’ before descaling or deep cleaning, but your espresso machine deserves better. A well-maintained machine doesn’t just last longer; it makes your daily ritual something to look forward to rather than a mechanical chore. You don’t need to be a professional technician to keep things running smoothly—you just need to pay attention to the signs your machine is giving you. Whether it’s a slight rattle or a slow heat-up, listen to your gear. Once you get your machine back to its peak performance, you can focus on the fun stuff, like getting those milk frothers to produce the perfect microfoam for your morning latte. Have you ever opened up your machine only to find a ‘scaly surprise’ waiting for you? Let me know your maintenance horror stories in the comments below!