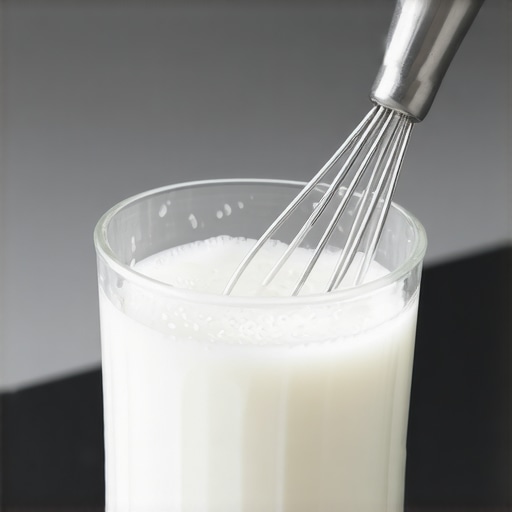
How to Remove Scale from a Handheld Frother Wand
I was standing in my kitchen at 6 AM, bleary-eyed and desperate for a latte, when my morning ritual hit a brick wall. I dipped my trusted handheld frother into the warm milk, pressed the button, and instead of a powerful vortex, I got a sad, rhythmic click-whirr. The motor was struggling as if it were spinning through molasses. When I pulled it out, I saw it: a stubborn, chalky white crust right at the junction where the whisk meets the wand. I’ll admit, my first instinct was to chuck it in the bin and browse for one of those milk frothers that transform your coffee experience online. But I’ve learned the hard way that most of our coffee gear doesn’t need a replacement; it just needs a little neighborly TLC. Today, I am going to show you exactly how to dissolve that buildup and get your frother back to its original high-speed glory.
Your Hard Water is Slowly Killing Your Morning Latte
[IMAGE_PLACEHOLDER]If you live in an area with even moderately hard water, you are fighting a losing battle against minerals. These aren’t just a problem for high-end top-rated espresso machines; those minerals hitch a ride on your frother wand every single time you rinse it under the tap. I made a huge rookie mistake early in my coffee journey—I tried to ‘deep clean’ my wand by using an industrial-strength bathroom descaler. Not only did it smell like a chemistry lab, but it also started eating away at the plastic casing and the internal seal. It was a complete disaster. According to the Specialty Coffee Association, water composition is the primary factor in equipment longevity, and calcium carbonate is the silent killer of all small appliances. Scale acts like sandpaper on moving parts, creating friction that drains your batteries and eventually burns out the tiny motor. If you’ve noticed your frother has lost its ‘zip’ lately, have you checked for those tell-tale white flakes?
Is it Really Worth the Effort for a Cheap Gadget?
I know what you’re thinking: ‘It’s a ten-dollar tool, why not just buy a new one?’ I used to think the same way until I realized I was tossing out perfectly good gear every six months just because of a bit of mineral crust. It’s wasteful and, frankly, totally unnecessary once you know the trick. Whether you’re trying to clean the screen on your automatic milk frother or just fix a basic handheld wand, the science of descaling remains the same. By taking ten minutes to treat the metal, you’re saving money and keeping plastic out of the landfill. It’s much like the way steam wand tips keep getting blocked by milk residue; it’s a simple maintenance task that makes a massive world of difference in your daily cup. To really master your setup, I highly recommend you learn the easy way to test your machines water hardness at home so you can predict when your gear will need its next bath. Now, let’s get our hands dirty—or rather, clean—and look at the simple household items that will melt that scale away safely.
Skip the Vinegar and Go for Citric Acid Instead
To get that motor spinning like a jet engine again, you need an acid that is strong enough to eat calcium but gentle enough not to ruin the finish. While many people reach for white vinegar, I strongly suggest you look into the best way to descale a boiler without using harsh vinegar. Vinegar leaves a lingering scent that is nearly impossible to purge from porous plastics. Instead, I use a tablespoon of food-grade citric acid dissolved in a cup of hot water. It is the same stuff used in sour candy, and it is a miracle worker for mineral breakdown. It is like sending in a specialized demolition crew instead of a wrecking ball. If you have ever had to learn how to recover from a failed descaling process, you know that using the wrong chemicals can lead to more headaches than the scale itself.
Submerge Only the Metal Whisk and Wand
This is where most people accidentally kill their favorite handheld tools. You want to soak the wand, but the motor housing is strictly a no-fly zone for liquids. Fill a tall, narrow glass with your hot citric acid solution. Submerge the metal portion of the frother, making sure the liquid level stops just below the plastic body.  I once got overzealous and filled the glass too high; the acid solution seeped into the battery compartment, and within two hours, the internal wires had turned a fuzzy, oxidized green. It was a total loss. By keeping the liquid contained, you ensure the acid works only on the parts that need it. This method is just as effective when you need to clean the inside of your steam wand pipe or when you are trying to clean the screen on your automatic milk frother.
Agitate the Build-up with a Soft Brush
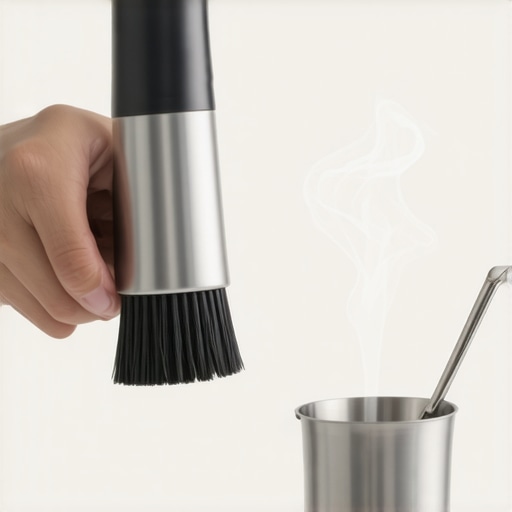
After about fifteen minutes of soaking, you will see the white crust starting to soften and look almost like wet chalk. Do not just rinse it and expect it to be gone. Take an old soft-bristle toothbrush and gently scrub the junction where the whisk meets the stem. This is the clutch of your frother; if scale is jammed in there, the motor has to work twice as hard. Think of it like a bicycle chain—if it is gunked up with sand, you are going to struggle to pedal. Once you have scrubbed it, dip it back in the solution and pulse the power for three seconds. This uses the centrifugal force to fling off any loosened particles inside the whisk coil.
Rinse Three Times to Prevent Off-Flavors
The final step is arguably the most important if you value the taste of your coffee. If you do not rinse thoroughly, you will encounter the reason your espresso tastes metallic after descaling. I always run the frother in a glass of fresh, clean water for thirty seconds, then repeat with a second glass of fresh water. This ensures no acidic residue remains to curdle your milk. This attention to detail is what separates a frustrating morning from the success you find when mastering the art of home espresso tips for beginners. If your frother still feels a bit weak after this, it might be time to check the battery contacts for corrosion—a common issue if you have been skipping the dry-wipe after use.While a clean wand is a victory for your latte, it is only the tip of the iceberg when it comes to maintaining a consistent setup. Most home baristas focus on the shiny exterior, but the real nuance lies in the parts you cannot see. Let’s talk about a major industry myth: the idea that darker and shinier beans equate to a more premium espresso experience. In reality, those beautiful oily beans are a nightmare for your equipment. If you want to keep your gear running smoothly, you must understand why you should never use oily beans in a super automatic or even a high-end stand-alone grinder. Those oils oxidize quickly, turning into a sticky varnish that coats the burrs and the discharge chute. This leads to the frustrating phenomenon of grinder drift. If you’ve ever wondered why your grinder settings feel like they changed overnight, it is rarely a mechanical failure. It is often the residual oils from yesterday’s beans creating a friction-laden environment that alters the gap between your burrs as they heat up. According to research by the Coffee Science Foundation, thermal expansion and oil buildup during grinding can shift your extraction profile by several seconds, making it impossible to pull the same shot twice. This is why how to select the perfect coffee grinder for your brew involves looking at more than just the motor—you need to consider how accessible the internal path is for routine deep cleaning.
The Rancid Truth Hiding in Your Portafilter
One of the most common mistakes I see coffee enthusiasts make is the assumption that a quick hot water rinse is enough for a portafilter. We spend hundreds on choosing the best barista gear for coffee enthusiasts, yet we let the most sensitive part of the extraction path go rancid. Coffee oils are incredibly volatile; once they sit on a metal surface and are exposed to heat, they begin to decay and turn sour. This is the danger of leaving old coffee oils in your portafilter spouts. That bitter, acrid aftertaste you might be blaming on your roast profile is often just the flavor of last week’s espresso being dragged into today’s cup. If you find that why your espresso shot tastes burnt even with light roast beans is a recurring problem, try taking a soft brush to the inside of your portafilter spout—the black sludge you will likely find is the real culprit. 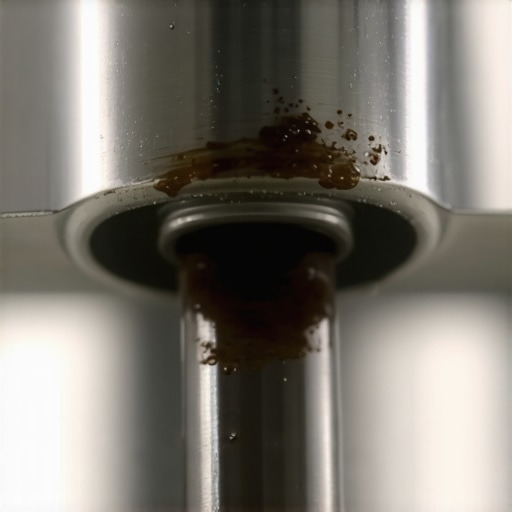
Why does my steam wand only make thin, hot milk?
This is a question I get from coffee lovers who have perfectly clean wands but still struggle with texture. You have scrubbed the tip and you have descaled the wand, yet the milk just does not spin. The nuance here is often internal pressure stability rather than cleanliness. If you are experiencing the reason your steam wand only makes thin hot milk, it could be a sign that your boiler is not maintaining the necessary dry steam volume due to a failing pressure stat or an air pocket. Often, the move for better espresso without buying a new machine is simply learning how to purge the steam wand properly to balance the boiler’s heating cycle. Have you ever fallen into this trap of over-complicating the machine while ignoring the basic oils and water chemistry? Let me know in the comments.If you are ready to stop being a casual coffee drinker and start being a home barista, you have to look past the shiny stainless steel. Most people wait for a total breakdown before they think about maintenance, but the real pros know that a machine’s lifespan is decided in the ‘dead zones’ where old coffee goes to die. One of those zones is your grinder’s exit path. I spent months frustrated by inconsistent shots until I realized that nearly 5 grams of old, stale grounds were trapped in the exit tunnel. This is exactly why you need to learn how to clean your grinders discharge-chute with a pipe cleaner. It sounds obsessive, but that tiny brush clears out the oily ‘bridges’ that cause your dose to vary wildly from shot to shot. When you are how to select the perfect coffee grinder for your brew, you should always check how easy it is to reach this chute. If you can’t reach it, you are eventually going to be drinking a blend of today’s fresh beans and last Tuesday’s leftovers.
How do I maintain my machine internal flow over time?
[IMAGE_PLACEHOLDER_D]Maintaining flow is about more than just descaling; it is about protecting the mechanical heartbeat of your setup. I recommend a monthly ‘flow audit’ where you measure exactly how much water exits the group head without a portafilter attached. You can follow this guide on how to check your espresso machines group head flow rate to see if your pump is struggling. A sudden drop in flow is often the first warning sign of a clogging 3-way solenoid valve. According to the technical service manuals from La Marzocco, a solenoid valve has a finite cycle life—usually around 100,000 actuations—but that life is cut in half if you don’t backflush regularly. Learning how to spot a failing solenoid valve before it floods your kitchen is a skill that has saved me hundreds in professional repair bills. It is one of those mastering the art of home espresso tips for beginners that separates the enthusiasts from the masters. If you notice a persistent hiss or a slow drip from the discharge tube, your valve is screaming for help.
The Future of Smart Maintenance is Almost Here
Looking ahead to the next five years, I predict we will see a massive shift toward integrated sensor arrays in even mid-range home machines. We are already seeing top-rated espresso machines for coffee lovers in 2025 that include Bluetooth-linked pressure transducers. Soon, your machine won’t just tell you it’s dirty; it will provide a telemetry report showing exactly which gasket is starting to fail. This is the move for better espresso without buying a new machine that I am most excited about—using data to prevent the ‘click-whirr’ of a dying motor before it ever happens. When choosing the best barista gear for coffee enthusiasts, keep an eye on these digital integration features. For now, my best advice is to take ten minutes this weekend to do a full flow-rate test. If your numbers are off, it is time to dig into your maintenance kit before a small clog becomes a permanent failure. Try measuring your water output today and see if your machine is actually performing at its factory spec.
The Truth About Why My Best Gear Used to Fail
[IMAGE_PLACEHOLDER_E] After years of tinkering, I’ve realized that the biggest enemy isn’t the price tag of your equipment, it’s the invisible neglect. I used to think a noisy machine was just ‘character’ until I tried the simple cardboard trick to quiet a vibrating machine and realized how much stress those vibrations were putting on my internal seals. Another lightbulb moment was discovering that a ‘broken’ grinder is often just a jammed one; knowing how to fix a grinder adjustment ring that is stuck saved me from a $200 replacement fee. Finally, never underestimate the power of a dry cloth. Leaving your wand or portafilter wet after a rinse is an open invitation for the very minerals we just worked so hard to remove.
Tools That Keep My Coffee Station Running Smoothly
If you are looking to build a setup that lasts, focus on utility over flashiness. When choosing the best barista gear for coffee enthusiasts, I always look for items with user-serviceable parts. I highly recommend keeping a small ‘maintenance kit’ that includes food-grade citric acid, a set of pipe cleaners, and a soft-bristle brush. For those moving beyond handheld tools, understanding how to select the perfect coffee grinder for your brew is the single best investment you can make for long-term flavor consistency. I also suggest bookmarking the water quality guidelines from the Specialty Coffee Association to ensure you are protecting your machine’s heartbeat from the very first drop.
Your Path to a Better Morning Brew Starts Now
Cleaning your equipment might feel like a chore, but it is actually the most direct way to respect the beans you buy. Every time you descale your milk frothers or scrub a portafilter, you are stripping away the bitterness of the past to make room for a cleaner, sweeter future cup. You don’t need a thousand-dollar setup to enjoy professional results; you just need the patience to maintain the tools you have. By mastering the art of home espresso tips for beginners, you are taking full control of your daily ritual. Have you ever noticed a sudden change in your frother’s power or your machine’s sound that turned out to be a simple fix? Let me know in the comments below!