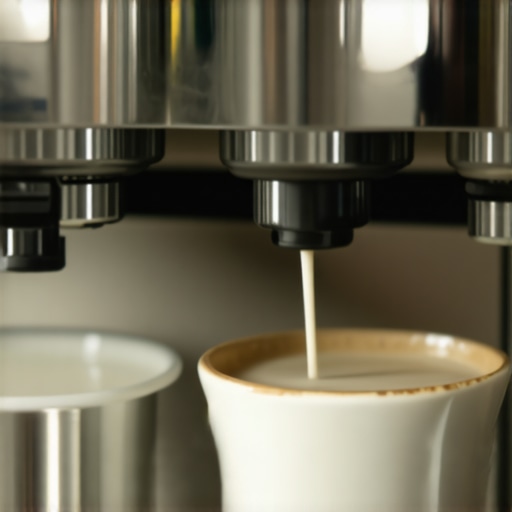
How to Train Your Staff to Steam Milk Without Wasting 20 Percent
Ever found yourself standing in front of the espresso machine, milk frothing test-kitchen disasters swirling in your mind? I remember the first time I watched a batch of milk go from silky microfoam to a messy puddle—without even realizing I was wasting nearly 20% of my milk. It was frustrating, to say the least. I knew I needed a better way, not just to improve my barista skills but to avoid throwing away good milk and money each week.
Why Proper Milk Steaming Skills Matter More Than You Think
Working with milk is an art, and mastering it can make or break your espresso experience. When milk is steamed incorrectly, not only do you lose valuable resources, but your drinks can suffer—less creamy, inconsistent microfoam, or worse, sour or bitter tastes. The real kicker? An improperly trained staff can waste up to 20% of milk, which piles up into hefty costs over time. If we’re honest, this isn’t just about saving money; it’s about creating consistently excellent coffee that keeps customers coming back.
Training your staff to steam milk correctly isn’t just a one-time lesson; it’s an ongoing process that involves understanding the nuances of temperature, texture, and technique. But where do you start? I’ve been through the learning curves, made costly mistakes early on, and now, I want to share what truly works. Because when I finally cracked the code—by observing what successful baristas do—I saved myself hundreds, if not thousands, of dollars in wasted milk.
Today, I promise to guide you step-by-step through training your staff to steam milk efficiently and accurately, drastically reducing waste and elevating your coffee quality effortlessly. We’ll cover actionable tips, common pitfalls, and the subtle cues that signal you’re on the right track. Ready to transform your milk steaming game and keep that waste at bay? Let’s dive in!
Does It Really Make a Difference if My Staff Isn’t Perfect?
Initial mistakes I made? Believing that milk steaming was just about the right temperature. Turns out, it’s a delicate balance—too hot, and the milk scalds; too cold, and the texture falls apart. Over time, I realized that consistent training and paying attention to those tiny details drastically reduced waste. Want to learn how? Check out how to fix common issues like splattering or thin microfoam here.
Start With the Right Equipment Setup
Ensure your espresso machine’s steam wand is clean and functioning correctly. Check for any mineral buildup or blockages by inspecting the steam tip and cleaning it with a needle (cleaning your steam tip?). Test the steam pressure to confirm it reaches optimal levels, typically around 1.0-1.2 bar.
Choose the Correct Milk Pitcher and Temperature
Use a stainless-steel pitcher with a spout designed for controlled pouring. Fill the pitcher with milk up to the bottom of the spout for better aeration and control. For soy milk, aim for a temperature of around 45-50°C to prevent curdling (temperature tips for soy milk).
Prepare and Froth Milk Systematically
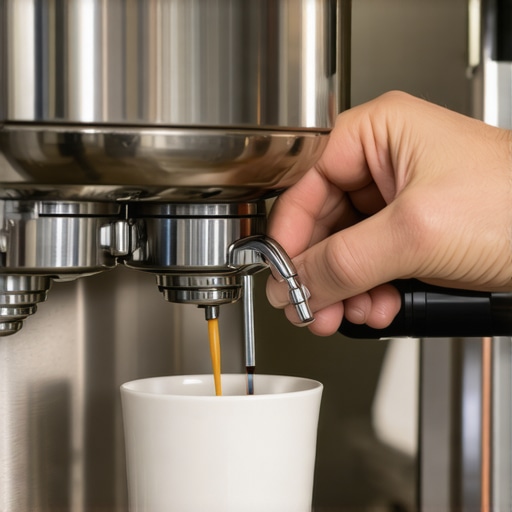
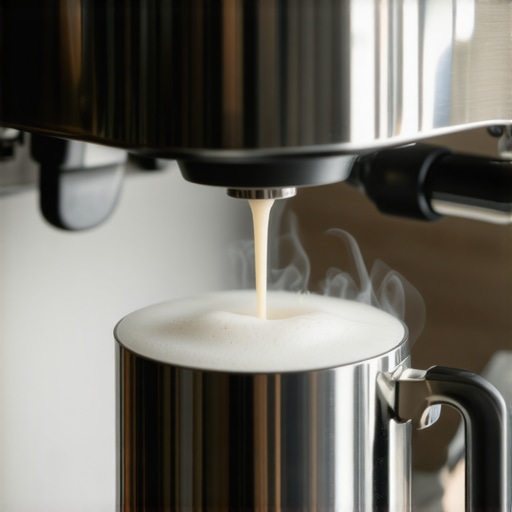
Begin by purging any residual water from the steam wand—turn it on briefly until only dry vapor escapes (fixing large bubbles in microfoam). Submerge the tip just below the milk surface and introduce steam, creating a gentle vortex. Aim for a steady, even swirl—think of it as spinning a globe smoothly, not swirling a tornado.
Control the Temperature Accurately
Use a thermometer to monitor milk temperature, aiming for 60-65°C. To avoid scalding, set a timer or rely on experience; lembing to the optimal point prevents waste and sourness (puck screen selection for better extraction).
Master the Art of Microfoam Formation
Watch for the milk’s surface to develop a fine, velvety foam. If bubbles are large or walls of foam are thick, it indicates too much air intake or improper positioning (common frothing mistakes). Once the milk has expanded by about 50%, lower the pitcher to blend the foam uniformly with the liquid milk—like folding a delicate cloth without tearing it.
Prevent Microfoam Breakage and Waste
Don’t overheat the milk or over-froth. A common mistake is reheating or re-frothing already steamed milk, which ruins the microstructure. Practice controlling foam consistency to prevent waste. When done correctly, your microfoam should be glossy and dense, ideal for latte art and creamy drinks.
Refine Your Technique With Consistent Practice
Apply each step deliberately: set steam, purge, submerge, introduce air gradually, and control milk temperature. Recall my own messy first attempts—milk sprayed everywhere, tiny bubbles, inconsistent texture. But with patience and routine, I learned to produce silky microfoam swiftly, reducing waste and elevating the drink quality. Regularly compare your microfoam texture to a mirror, aiming for creamy and smooth with no large bubbles or separation.
For more insights on common pitfalls and how to troubleshoot issues like splattering or thin microfoam, visit this guide.
 Many espresso enthusiasts and even seasoned baristas often believe that choosing the latest coffee grinder or a high-end espresso machine guarantees perfect shots every time. However, the real secret lies in understanding the nuanced flaws and overlooked details that can sabotage your brewing process. For example, a common myth is that all coffee grinders produce equally consistent particle sizes. In reality, subtle differences in burr alignment and even minor misadjustments, like a stuck adjustment ring, can cause uneven extraction and bitter flavors. To avoid this pitfall, regularly check your grinder’s calibration and ensure burrs are properly aligned, which you can verify with simple methods like the adjustment ring check.
Investing in quality espresso equipment is just the beginning; maintaining it ensures consistent performance and longevity. Personally, I swear by specific tools that make routine upkeep straightforward and effective. One such tool is a stainless steel puck screen. I use a 58mm diameter puck screen designed to prevent channeling and uneven extraction, which routinely results in better espresso shot consistency, well worth the investment (details here). Regularly checking and replacing worn gaskets and seals, especially in the group head, keeps leaks at bay and maintains optimal pressure—no one wants a leaking espresso machine.
Another critical component is the water reservoir. I sanitize mine monthly using a vinegar solution followed by a thorough rinse, preventing slime build-up that can negatively affect taste and machine hygiene. For descaling, I prefer a commercial descaling solution tailored to espresso machines; vinegar is tempting but can leave behind residues if not rinsed properly, which could impair flavor and damage components over time.
In terms of brewing consistency, a precision coffee grinder is indispensable. I personally rely on a burr grinder calibrated regularly—once a week or after adjusting grind size—to ensure particle size remains uniform. This consistency helps avoid over-extraction or under-extraction, which can lead to bitter or sour shots. If your grinder adjustment ring feels stuck, don’t force it. Instead, check out this guide to free it without damaging the mechanism.
For cleaning, I use a portafilter brush to remove residual coffee grounds from baskets and a microfiber cloth for wiping down the steam wand and machine exterior. Keeping these parts clean prevents clogs and ensures longevity. Regularly inspecting the steam wand for mineral buildup and using a quick pipe cleaner hack can prevent sputtering issues, ensuring you get dry vapor every time (read more here).
Looking ahead, I predict that smart sensors and IoT integration will become standard, alerting us proactively about maintenance needs. Imagine receiving a notification when your boiler scale reaches critical levels or your water filter needs replacement—saving you from unexpected downtimes and costly repairs.
How do I keep my espresso gear performing at its best over time?
The key lies in routine, targeted maintenance. Regularly check seals, clean your water reservoir and steam wand, calibrate your grinder, and stay attentive to signs of wear. Incorporate these practices into your weekly routine, and you’ll find your equipment not only lasts longer but also continues to produce exceptional coffee.
Now, I challenge you to try a more advanced tip: replace your puck screen with a model that has a built-in deflector. This feature helps distribute water evenly across the coffee puck, reducing channeling and improving extraction. Such modifications might seem subtle, but their effect on shot consistency is profound. Start experimenting with this upgrade and see the difference for yourself.
Maintaining your home espresso gear may seem labor-intensive, but with the right tools and a proactive approach, it becomes a seamless part of your brewing ritual. Remember, a well-maintained machine rewards you with cleaner, richer flavors—so keep it working flawlessly for years to come.
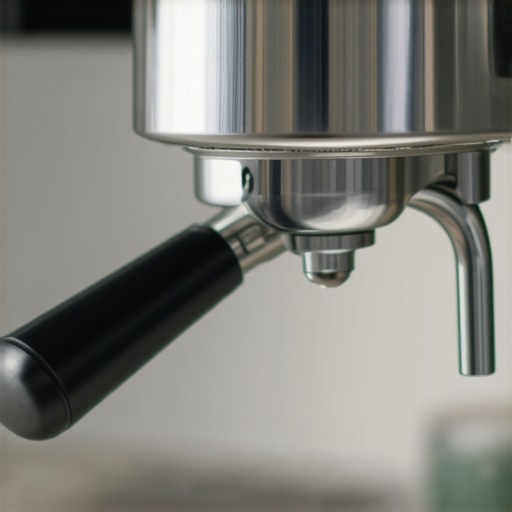 Prompt: Close-up of a professional-grade espresso machine’s group head with focus on gasket replacement tools and a clean portafilter in the foreground. Alt: Technician maintaining espresso machine gasket. Title: Proper maintenance for espresso machines.,
Lessons the Coffee World Won’t Tell You Too Soon
My biggest revelation? That even perfecting tamping or grind size isn’t enough if your milk steaming game isn’t up to par. Recognizing that microfoam is an art beyond just temperature—listening for the tiny bubbles and feeling the silkiness in the pitcher—transformed my approach entirely. The moment I started paying close attention to those subtle cues, waste dropped dramatically, and my drinks achieved barista-standard flair.
Another lightbulb moment? That routine maintenance goes way beyond cleaning; it’s about understanding how each component—the gasket, the portafilter screen, the steam wand—affects taste and efficiency. After realizing small upgrades like a puck screen with a built-in deflector markedly improved extraction consistency, I began treating my gear as an integral part of my craft rather than a mere tool. Trust me, this mindset shift sharpened my skills and saved money over time.
Tools and Resources That Keep My Barista Edge Sharp
Adding a high-quality puck screen with proper sizing to my setup made all the difference in eliminating channeling and getting even extraction. A good adjustment ring checker keeps my grinder calibrated, preventing inconsistent particle size that leads to bitter shots. And I swear by my regular machine maintenance routine: cleaning valves, seals, and regularly inspecting the steam wand ensures longevity and optimal performance. These tools keep my espresso as good as any professional’s, reminding me that precision matters just as much as passion.
You Can Elevate Your Espresso Ritual Today
The secret to extraordinary espresso lies not just in buying the latest gear but in understanding and nurturing it daily. Remember, each small tweak—whether it’s upgrading to a better puck screen or simply turning the boiler off after use—builds towards a higher standard. I encourage you to pick one aspect from this guide today, commit to perfecting it, and watch how your coffee journey transforms. Your future self will thank you for investing in these habits, and your taste buds will too.
What’s the one step in your espresso routine you’ve been meaning to improve? Let me know below — I’m excited to hear your next move toward coffee mastery!