Why Your Steam Wand Only Froths Large Bubbles and How to Fix It
There was a moment during my early days of home espresso brewing when I attempted to steam milk, only to be greeted by a cascade of gigantic bubbles dancing on the surface. It was frustrating—like trying to get silky microfoam with a gorilla chugging the milk. That lightbulb moment made me realize that my steam wand was playing tricks on me, not creating the smooth texture I craved. If you’ve been battling large, unruly bubbles instead of the velvety microfoam you know your espresso machine could produce, you’re not alone. And trust me, the fix isn’t as complicated as it seems.
The Key to Perfect Microfoam Starts with Your Steam Wand
Today, we’re going to dive into why your steam wand might only be frothing large bubbles and, more importantly, how to turn those bubbles into creaminess. Whether you’re a seasoned barista or a passionate home brewer, understanding what’s going wrong can save you time, frustration, and wasted milk. By tweaking a few techniques and paying attention to some little details, you can elevate your milk frothing game and impress yourself (and maybe even your friends) with café-quality microfoam.
Is It Really Worth the Effort or Just a Trend?
Now, I get it—some skeptics might roll their eyes, thinking, “It’s just milk, right?” But microfoam isn’t just about aesthetics; it’s about texture, temperature, and the overall experience of your coffee. Plus, I made my fair share of rookie mistakes early on—like rushing the steaming process or neglecting to purge my wand properly—that hindered my progress. Learning from these errors, I discovered that small adjustments can make a world of difference. For instance, did you know that even a tiny air leak in your equipment can prevent proper frothing? It’s true—that’s why I always recommend checking for maintenance issues as an initial step.
If you’ve faced this problem—gigantic bubbles instead of silky microfoam—don’t worry. You’re about to learn the strategies that transformed my steaming technique, turning it from a bubbling mess into smooth, luscious microfoam. Ready to get those tiny bubbles dancing instead of crashing? Let’s get started!
Prep Your Equipment for Success
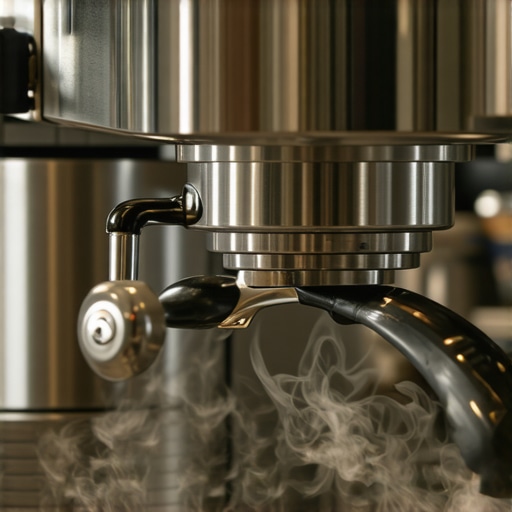
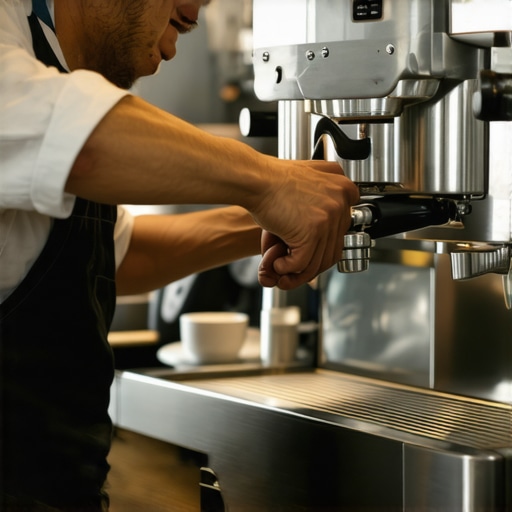
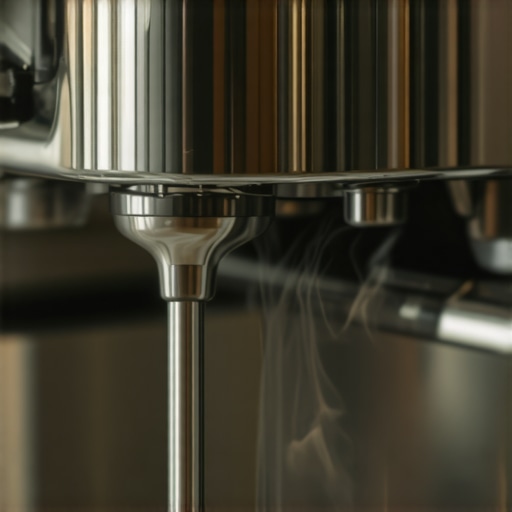
Begin by ensuring your steam wand is clean and free of any milk residue. Use a damp cloth to wipe it down after each use—think of it as tidying your tools before crafting a masterpiece. Check for any leaks or blockages; a small air leak can prevent proper frothing, similar to trying to inflate a balloon with a tiny hole. If you haven’t already, verify that your espresso machine’s boiler is adequately heated, as cold components hinder steam performance. Performing regular maintenance, such as descaling your machine here, keeps everything running smoothly.
Perfect Your Milk Steaming Technique
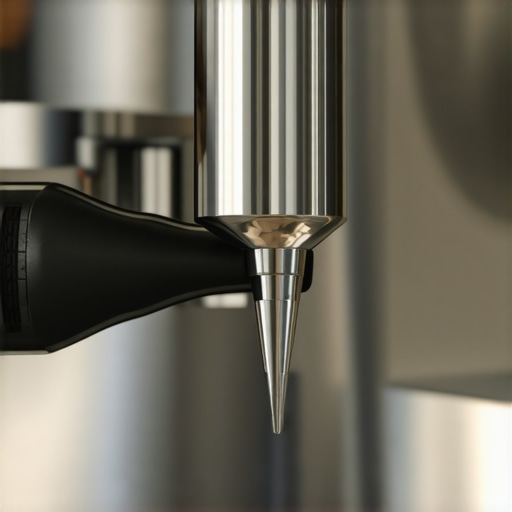
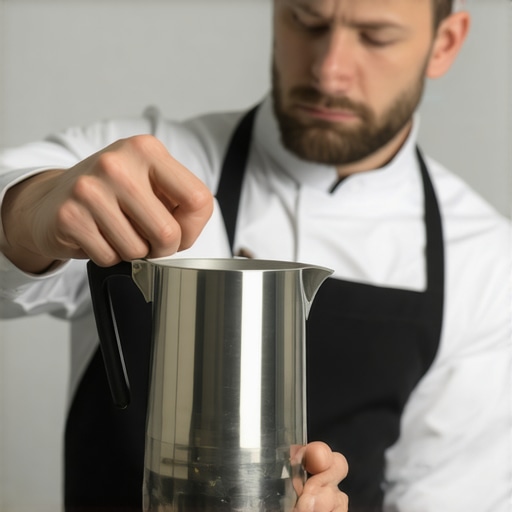
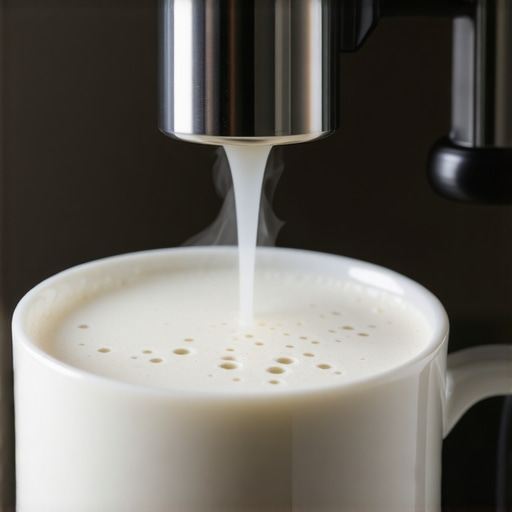
Fill your pitcher with fresh, cold milk—preferably whole milk for creaminess. Position your pitcher at a 45-degree angle beneath the steam wand, similar to a car’s steering wheel for optimal control. Begin by opening the steam valve fully to let a steady release of vapor flow, much like opening a faucet for a consistent stream. Slowly submerge the tip of the wand just below the surface of the milk; this introduces air, creating micro-bubbles. During my first experiment, I kept the wand too deep or too shallow, leading to large bubbles. Instead, keep the tip near the surface, like a painter’s brush, to gently incorporate air without overdoing it. Now, gradually lower the pitcher slightly to continue introducing air while maintaining a gentle whirlpool motion—think of spinning pizza dough, controlled and deliberate. 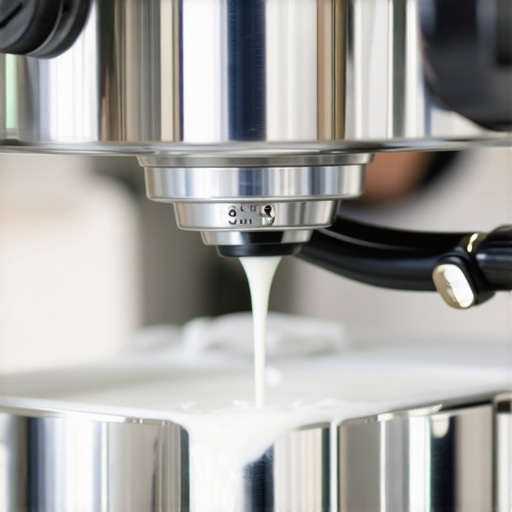
Control Temperature for Creamy Texture
Monitor the milk’s temperature with a thermometer or by feeling the pitcher—aim for around 140°F (60°C). Once reached, turn off the steam, even if the milk isn’t fully frothy. Over-heated milk can cause large bubbles or scalded flavors, much like burning toast. Swirl the pitcher to integrate the microbubbles, resulting in a glossy, velvety finish. When I mastered this step, the microfoam transformed from clumpy to silky smooth, dramatically enhancing my lattes. Practice makes perfect: try steaming the same amount of milk multiple times, refining your technique each round.
Final Touches and Presentation
Tap the pitcher gently on a countertop to settle big bubbles, then swirl to polish the foam. Pour your microfoam into your brewed espresso with a steady hand, aiming for a thin, precise stream that creates artful patterns—think of it as painting with foam, where patience and control are key. Remember, consistent practice and attention to each step will turn frothing from a messy task into a reliable skill—so keep experimenting and refining your craft.
Many espresso enthusiasts believe that simply owning high-end equipment guarantees perfect coffee and milk frothing. However, this misconception often leads users to overlook the nuanced factors that truly impact their brewing results. For instance, a common trap is assuming that a more expensive coffee grinder will automatically produce better shots, but in reality, grind retention, static buildup, and burr alignment play crucial roles—details you can learn to optimize through resources like our guide on fixing grinder static here. Many think that fancy milk frothers are a must for microfoam, yet even basic steam setups, if properly maintained and technique-refined, can achieve café-quality textures, especially when paying attention to milk temperature and pitcher angle. A notable myth is that espresso machines with multiple boilers or advanced features require no user calibration; in fact, advanced users often find that regular calibration, sensor checks, and temperature hacking significantly improve consistency. One advanced consideration is the importance of thermal stability; studies show that even slight temperature fluctuations can cause shot inconsistencies—a lesson covered in our post on thermal recovery tricks here. Watch out for the ‘what you see is what you get’ fallacy, as many believe that shiny surfaces or digital gauges tell the full story, but hidden issues like slow boiler recovery or sensor miscalibration can sabotage results. Make sure your gear’s internal components and software are up-to-date and functioning optimally. As someone deeply involved in espresso tech, I know that understanding the advanced nuances—like burr alignment precision or pump pulsation—can be the difference between mediocrity and mastery. Don’t fall into the trap of thinking gear alone defines your craft; meticulous tuning, maintenance, and knowledge are key. Have you ever fallen into this trap? Let me know in the comments and share your experiences with optimizing your gear beyond the basics.
Maintaining your espresso equipment is crucial for preserving consistent quality and extending the lifespan of your investment. Regular upkeep not only ensures optimal performance but also saves you money in the long run by preventing costly repairs or replacements. From calibrating your grinder to descaling your machine, a disciplined maintenance routine keeps your gear working seamlessly. One tool I highly recommend is the smart sensor system, which can monitor temperature and pressure in real-time, alerting you to issues before they affect your brew. However, these advanced tools require periodic calibration—think of it like tuning a musical instrument to stay in harmony. Specifically, regularly checking for sensor drift, such as through our guide on pressure lag fixes, can prevent inaccurate readings that lead to inconsistent shots.
How do I maintain my tools over time?
One of the most overlooked aspects of maintaining your gear is keeping your grinder burrs sharp and free of static buildup. Dull burrs slow down your grinding process and produce uneven particle sizes, which directly impact extraction. To spot dull burrs early, perform the paper towel test—an easy, effective method recommended in our post on checking for dull burrs. Additionally, static can cause beans to cling to your grinder parts, leading to inconsistent dosing. I personally use the RDT (reports de static treatment) hack outlined here, which significantly reduces static issues. My advice is to incorporate routine cleaning with a dedicated grinder brush, and to replace burrs every 5-10kg of beans—especially if you’re experimenting with light roasts, which are more abrasive. A well-maintained grinder produces cleaner, more consistent shots and helps preserve your machine’s health.
Another critical area is keeping your espresso machine descaled. Mineral buildup can impair heat transfer and pressure stability. Schedule a descale every few months, depending on your water hardness, and always use manufacturer-recommended solutions. For thermal stability, I recommend a quick daily flush—just 10 minutes with a simple thermal recovery trick—to keep temperature fluctuations at bay. Staying consistent with routine maintenance not only preserves the hardware but also allows you to enjoy the nuanced flavors that proper temperature control unlocks.
The future of gear maintenance looks promising
Emerging technologies like AI-driven calibration and IoT integrations are poised to revolutionize how we care for our equipment. These innovations will enable proactive maintenance, predicting component failures before they happen—much like a car’s predictive diagnostics. Investing in such systems now can position you ahead of the curve, ensuring your setup remains optimized for years to come. For now, a disciplined approach to regular cleaning, calibration, and awareness of your machine’s signals is the best strategy. I encourage you to start with a simple step—like performing a burr edge check or cleaning your steam wand thoroughly—and watch how it improves your coffee quality over time.
Remember, tools like the dull burr test and static reduction hacks are invaluable for long-term maintenance. Don’t let neglect turn your prized gear into a problem—take proactive steps today and enjoy consistent, barista-quality brews for years to come.
What I Wish I Knew Before Fooling With My First Microfoam
The biggest lesson I learned was that patience beats rush every time—waiting for the right milk temperature and not forcing the wand to churn out microfoam instantly transformed my drinks. I discovered that small, deliberate tweaks to my pitcher angle and steaming technique unlocked a silky foam I never thought possible, saving me countless espresso sessions of frustration.
How a Simple Trick Changed My Approach to Gear Maintenance
Instead of assuming my high-end machine would stay perfect without regular care, I started ritualistically descaling and checking for sensor drift. The revelation was that even the best machines need love—just a quick descale or calibration session could prevent costly repairs and ensure my shots were consistent, inspiring greater confidence behind the bar.
The Power of Personal Observations Over Sole Dependence on Tech
I realized that relying exclusively on digital gauges or sensors sometimes obscures real issues. Learning to trust my senses—smelling, feeling, and watching the flow—complemented my gear’s feedback, leading me to catch problems early, whether it was burr static or water temperature fluctuations, before they affected my brew quality.
Curated Tools That Guided My Journey to Better Coffee
Tools like the paper towel test became my secret weapon for spot-checking grinder burrs, revealing dull blades I hadn’t realized were slowing me down. Additionally, the RDT hack reduced static clinging during grinding, leading to cleaner, more precise doses. These simple yet powerful tools made me a more deliberate and precise home barista.