How to get the old coffee smell out of your hopper
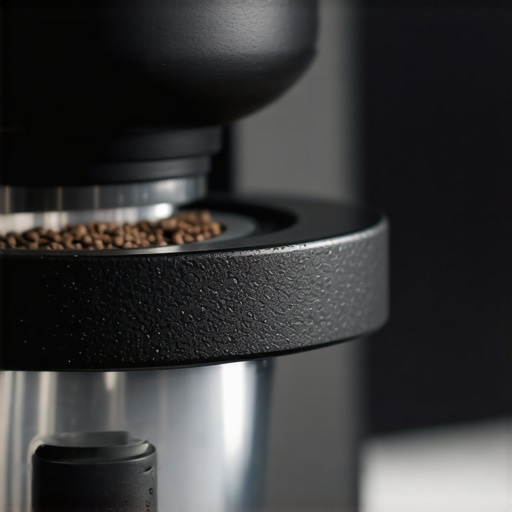
I stood there, portafilter in hand, ready for my morning ritual, but the moment I popped the lid off my grinder, I knew something was wrong. Instead of that intoxicating aroma of freshly roasted Ethiopian Yirgacheffe, I got a face full of rancid, stale funk. It was heart-breaking. I’d spent good money on those beans, and my hopper was actively sabotaging them. If you’ve ever noticed a yellowish film on the inside of your plastic bin, you know exactly what I’m talking about. It’s the ghost of every dark roast you’ve ever brewed, and it’s haunting your current cup. We aren’t just talking about a little dust here; we are talking about oxidized lipids that can ruin even the top rated espresso machines for coffee lovers in 2025 if the source material is tainted. Today, I am going to show you how to strip that smell away without damaging your gear.
Why Your Hopper Smells Like a Damp Basement
Most of us focus heavily on how to select the perfect coffee grinder for your brew, but we rarely talk about the maintenance of the parts we see every day. Coffee beans are packed with oils. The second those beans hit the air in your hopper, those lipids start to oxidize. According to researchers at the Journal of Agricultural and Food Chemistry, coffee oils begin to degrade significantly within days of roasting, and that sticky residue left behind is the byproduct of that decay. I’ll be the first to admit I messed this up early on. I once used a heavy-duty kitchen degreaser from under the sink. It worked, but it turned my clear hopper a cloudy, milky mess and made my next ten shots taste like lemon-scented floor cleaner. It was a catastrophic failure of judgment. Eventually, that buildup gets so thick it starts to go rancid, and that smell is incredibly difficult to shift once it’s baked in by the heat of the motor. It’s more than just an aesthetic issue; it’s a flavor killer. Have you ever felt like your morning shot was a bit ‘dusty’ or metallic despite having fresh beans?
Is a Little Bit of Oil Really That Bad?
You might think a thin layer of residue is just part of the ‘seasoning’ process. It isn’t. This isn’t a cast-iron skillet. Rancid oils will transfer their flavor to every new bean you pour in. I’ve found that even the move that saves your grinder from unnecessary wear won’t matter if the entry point is contaminated. You need a clean path from the hopper to the burrs. While you are at it, you might want to look into how to pick a coffee mat that doesnt absorb odors to keep your whole station smelling fresh. We’re going to fix this today. I’m going to walk you through the steps to deep-clean that plastic without scratching it or leaving a chemical aftertaste. We’ll also look at the mess-free way to clean a conical burr grinder as part of the total package. Trust me, your palate will thank you. Have you noticed a funky smell coming from your gear lately, or am I the only one who’s let it go too long?
Strip Away the Grease Without the Scratches
First, you need to get the hopper off. Most modern machines have a shut-off gate at the bottom so you don’t dump half a pound of beans on the floor. If yours doesn’t, just brew until it’s empty. Once it’s off, check the base. I’ve seen people struggle with the quick way to fix a sticky power switch on your grinder only to realize the issue was just a build-up of old, sticky coffee dust around the hopper’s safety interlock. If you force a dirty hopper back onto the machine, you risk snapping the plastic tabs that tell the grinder it’s safe to run. Think of the hopper as the windshield of your coffee setup; if it’s greasy, the whole experience feels obscured and messy.
Soft Cloths and Lukewarm Water
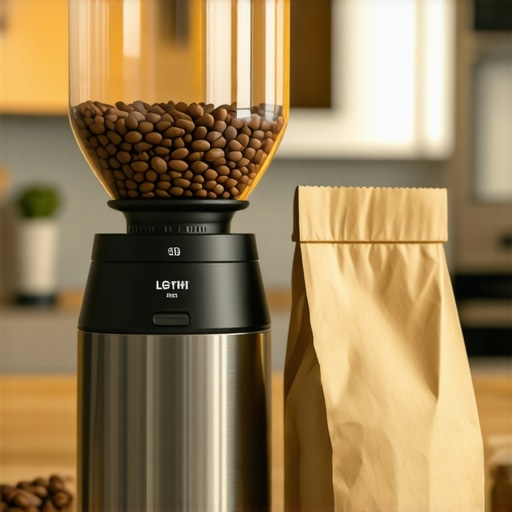
You aren’t scrubbing a cast-iron pan here. You are dealing with food-grade plastic. I once used a coarse scouring pad on a brand-new Mazzer hopper, and within thirty seconds, I’d permanently hazed the plastic. It looked terrible and, more importantly, those microscopic scratches became “oil traps.” Now, I only use a soft microfiber cloth and lukewarm water with a tiny drop of scent-free dish soap. If you have particularly stubborn residue from dark roasts—the kind that makes you wonder why your coffee grinder is stalling with dark roast beans—let the hopper soak for ten minutes. This softens the lipids without you having to apply pressure. Avoid using the dishwasher; the high heat can warp the plastic, making it impossible to seat correctly later. I noticed that yellow film I mentioned earlier actually starts to act like a glue for chaff. If you let it sit, it creates a textured surface that slows down bean flow. Keeping that plastic slick is just as important as keeping your burrs sharp.#IMAGE_PLACE_HOLDER_B#
Dry It Like Your Life Depends on It
This is where most people fail. They wash the hopper, give it a quick shake, and pop it back on. Moisture is the mortal enemy of your burrs. If even a few drops of water travel down into the grinding chamber, you’re looking at potential rust or a clumpy mess that will force you to learn how to clean the grinder chute without taking it apart much sooner than planned. I use a dedicated air-dry rack for at least an hour, followed by a final wipe with a dry microfiber to ensure there are no water spots. Think of it like drying a fine wine glass; you want it crystal clear and bone dry before any beans touch it.
Maintain the Path to the Burrs
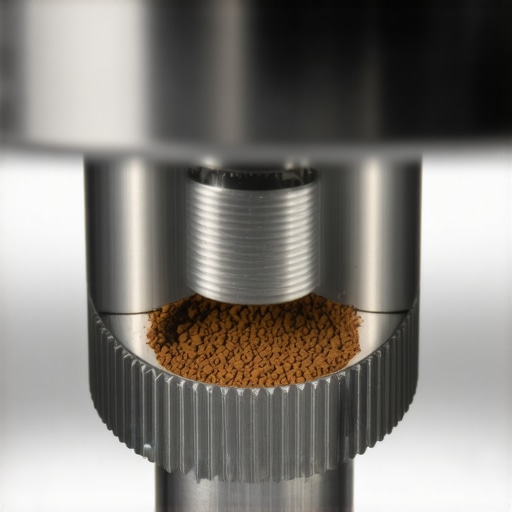
While the hopper is drying, take a look at the throat of the grinder. This is the “no-man’s land” where beans sit before hitting the blades. Use a vacuum or a small brush to clear out any shards. If you haven’t checked lately, this is a great time to see how to tell if your espresso grinder burrs are dull. If the hopper was that dirty, the burrs likely need some love too. A clean hopper ensures that the beans sliding down are as fresh as the day they were roasted, which is the first step in the move for better espresso distribution without fancy tools. If the input is oily and inconsistent, your distribution will be too. I once ignored a greasy hopper for six months and couldn’t figure out why my shots tasted like cardboard until I did a deep clean. The difference was night and day.
Stop Treating Your Hopper Like Cast Iron
Many enthusiasts fall into the trap of thinking a ‘seasoned’ hopper adds character to their brew. In reality, it’s just a breeding ground for rancidity. While some believe that a thin layer of coffee dust protects the beans from the plastic, the opposite is true. According to the Specialty Coffee Association (SCA), the accumulation of volatile organic compounds (VOCs) on equipment surfaces can noticeably alter the flavor profile of subsequent extractions within just 48 hours. If you’ve spent time choosing the best barista gear for coffee enthusiasts, don’t let a three-dollar layer of oil ruin a three-thousand-dollar setup. This residue doesn’t just smell; it changes the friction coefficient of the hopper walls, leading to inconsistent feeding into the burrs.
Why does my extraction time drift even when I haven’t touched the dial?
It’s one of the most frustrating parts of home brewing. You’ve dialed everything in, yet why your shot extraction time changes every single day remains a mystery. Often, the culprit is the varying ‘weight’ and ‘slickness’ of the beans as they slide down a dirty hopper. If the path is sticky, beans can bridge or hang up, causing the burrs to spin partially empty for a fraction of a second. This results in an inconsistent dose. While you might be looking at the right way to align your flat burrs for better shots, you might actually just need a bottle of mild detergent and a soft cloth. #IMAGE_PLACE_HOLDER_C#
The Tightness Trap to Avoid
One of the most expensive ‘oops’ moments I see involves brute force. We tend to think that tighter is better, but why your portafilter handle should never be tightened too far is a lesson that applies to your grinder too. If you over-torque the hopper assembly or the adjustment collar, you risk stripping the fine threads or cracking the plastic housing. I’ve seen enthusiasts wonder why your grinder adjustment moves while youre grinding, only to find they’ve cracked the internal carrier by trying to ‘lock’ the hopper in too tight. This is especially common when the hopper is already slick with oil—you keep tightening because it feels like it’s sliding, when it just needs a wipe-down. Have you ever fallen into the trap of over-tightening your gear or letting the ‘seasoning’ go a bit too far? Let me know in the comments.
Keep Your Group Head From Tasting Like Yesterday’s Ash
If you think the hopper is the only place where oils hide, you need to take a look at your shower screen. Every time you finish a shot, the 3-way solenoid valve sucks excess water and oils back up into the group head. If you don’t stay on top of this, you’re essentially brewing through a filter of burnt, recycled coffee sludge. This is exactly why your machine needs a backflush every single week with a high-quality detergent. I personally use a small stiff-bristled brush to scrub the gasket after every single session. It takes ten seconds, but it prevents that ‘carbonized’ flavor that people often mistake for a dark roast profile. If you have an E61 machine, you also need to know how to properly lubricricate your e61 group head cam because the detergents that clean the oils also strip away the food-grade grease required for a smooth lever action. I’ve felt that ‘gritty’ lever feel myself, and ignoring it is a one-way ticket to a broken internal pin. #IMAGE_PLACE_HOLDER_D#
How do I maintain my espresso machine’s performance over time?
Consistency isn’t just about your technique; it’s about the mechanical integrity of the seals. According to the technical service manuals from La Marzocco Home, the group gasket should be replaced every 6 to 12 months, regardless of how often you brew. Heat makes rubber brittle, and a brittle seal leads to leaks. You should also how to check if your portafilter gasket is actually sealed by performing a blind-basket pressure test. If you see water dripping from the sides, it’s already too late for a simple cleaning. For those using automatic frothers, don’t forget to how to clean the tiny air hole in your automatic milk frother, as even a microscopic blockage can turn your silky microfoam into a soapy mess of bubbles.
Your Steam Wand Deserves More Than a Quick Wipe
I used to be guilty of the ‘damp cloth’ habit, but I realized it was a hygiene nightmare. Bacteria love warm, milky environments. You should learn how to stop using a wet cloth on your steam wand and switch to dedicated microfiber towels that you change daily. If your pressure feels weak, it’s likely a blockage. I’ve found the one way to fix a clogged steam wand without chemicals is a long soak in hot water followed by a needle-clearance of the tip holes. This is often the real reason why your steam wand only makes thin hot milk instead of that luxurious texture you’re after.
The Shift Toward Predictive Espresso Maintenance
Looking ahead, I predict that the top rated espresso machines for coffee lovers in 2025 will move away from simple ‘timer-based’ cleaning alerts and toward real-time flow-rate sensors that detect scale and oil buildup before it impacts the flavor. Until then, we have to be the sensors. I highly recommend you go to your machine right now, remove your shower screen, and soak it in backflush detergent for ten minutes. You might be horrified at what comes off, but your next shot will taste like it came from a professional cafe. If you’re still refining your setup, check out choosing the best barista gear for coffee enthusiasts to ensure you have the right brushes and towels to make this maintenance easy rather than a chore.
The Bitter Truth About That Sticky Residue
After years of tinkering, I’ve realized that maintenance isn’t just a chore; it’s a flavor profile. One of the biggest lightbulb moments for me was realizing that those yellowed walls on a hopper actually repel beans, causing inconsistent feeding. If you find that you’re constantly struggling with why your espresso shot tastes salty and how to fix it, the culprit might be the rancid oils from three weeks ago contaminating your fresh batch. Also, never make the mistake of using a dishwasher; the high heat micro-cracks the plastic, creating tiny fissures that hold onto oils even tighter. If your hopper seems locked in place due to these oils, you’ll need to learn how to fix a grinder adjustment ring that wont budge before you snap the plastic tabs. Clean gear is the fastest way to improve your extractions without spending a dime on new beans.
My Secret Arsenal for a Sparkling Coffee Station
You don’t need a massive budget to keep things pristine, but you do need the right tools. I’ve spent a lot of time choosing the best barista gear for coffee enthusiasts, and my “holy trinity” for cleaning is simple: a high-quality scent-free detergent, a set of dedicated microfiber cloths that never touch your kitchen counters, and a soft-bristled nylon brush for those hard-to-reach crevices in the throat of the grinder. For those just mastering the art of home espresso tips for beginners, I highly recommend keeping a maintenance log on your phone. It sounds like overkill, but once you see how much better your coffee tastes after a fresh backflush, you’ll never go back to the “clean it when it smells” method.
Bring the Magic Back to Your Morning Ritual
There is a specific kind of joy that comes from brewing with a machine that looks and smells brand new. Even the top rated espresso machines for coffee lovers in 2025 are only as good as the care you provide them. By stripping away those old lipids and keeping your paths clear, you aren’t just protecting an investment—you’re respecting the journey of the bean from the farm to your cup. Go ahead and take five minutes today to wipe down that hopper. Your palate will thank you for the clarity. Have you ever found a stubborn yellowish film inside your hopper that just wouldn’t budge? Let me know your cleaning secrets in the comments below!