How to Pick a Coffee Mat That Doesn’t Absorb Odors
I remember the exact moment I realized my coffee station was betraying me. I had just finished dialing in a beautiful bag of Ethiopian beans, but as I leaned in to enjoy that floral aroma, I was hit with the unmistakable scent of sour milk and stale rubber. It wasn’t the beans. It was the bargain mat I’d bought six months prior. It had become a literal sponge for every spill, drip, and splash, holding onto odors like a grudge. If you’re tired of your brewing area smelling like a damp basement, we’re going to fix that today by finding a mat that actually stays fresh.
Stop Letting Your Gear Hold onto Yesterday’s Spills
When I first started mastering the art of home espresso, I thought a mat was just a mat. I grabbed a cheap, thick rubber one from a local shop, thinking it would protect my counters. It did, but at a cost. The problem with low-quality rubber is that it’s often surprisingly porous. Over time, those micro-pores trap moisture and organic matter. Even if you’re careful, excess water in the drip tray or a simple milk splash can seep in. My biggest mistake was ignoring the material science. I thought I was being thrifty, but I was just building a nursery for bacteria.
Is an Expensive Mat Actually Worth the Hype?
You might be wondering if you really need to spend more than ten dollars on a piece of silicone. I get the skepticism. However, when you’re choosing the best barista gear, the material is everything. High-quality, food-grade silicone is non-porous by design. According to research on food contact surfaces by the Journal of Food Protection, non-porous materials are essential for preventing bacterial growth and odor retention that causes those funky smells. If your station currently smells a bit off—almost like how an espresso shot smells like sulfur when things go wrong—it’s time to look at what’s underneath your machine. Have you ever noticed a lingering funk in your coffee corner that you just couldn’t scrub away? Let’s dive into what you should actually look for to ensure your next mat is a one-time purchase.
Swap Your Porous Rubber for Medical Grade Silicone
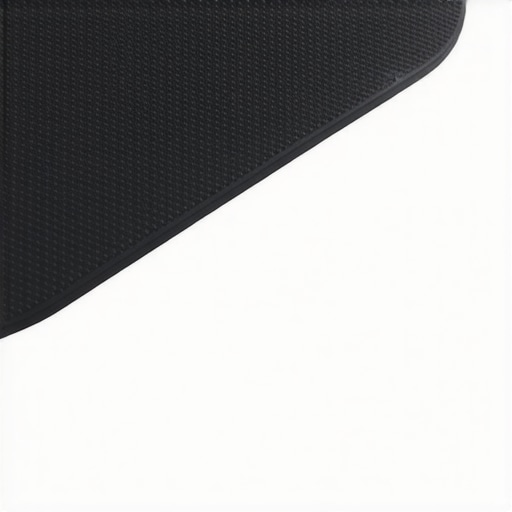
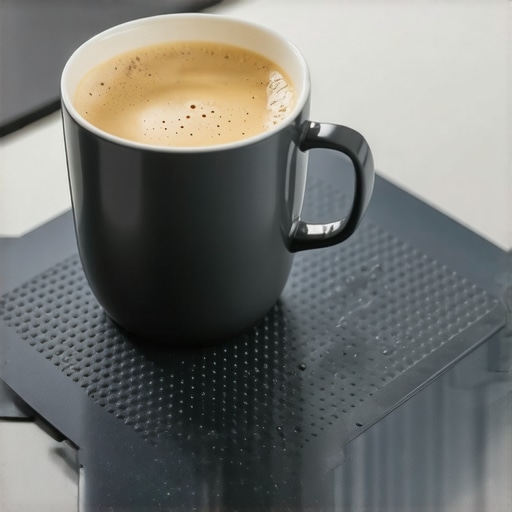
To fix a smelly coffee station, you have to stop thinking about a mat as a decorative piece and start seeing it as a laboratory-grade barrier. In my early days, I treated my espresso machine like a fragile museum piece, but I neglected the ground beneath it. I eventually swapped my generic rubber mat for a heavy-duty, food-grade silicone version. Silicone is the gold standard because it’s hydrophobic—water literally beads up on the surface like rain on a freshly waxed car rather than soaking in. When you’re choosing the best barista gear, look for silicone that can withstand high temperatures. This is vital because the heat radiating from your machine’s boiler can actually bake coffee oils into lower-quality materials, making them impossible to clean. I once spent three hours scrubbing a cheap mat with vinegar only to realize the ‘burnt rubber’ smell was now a permanent part of the material’s DNA. 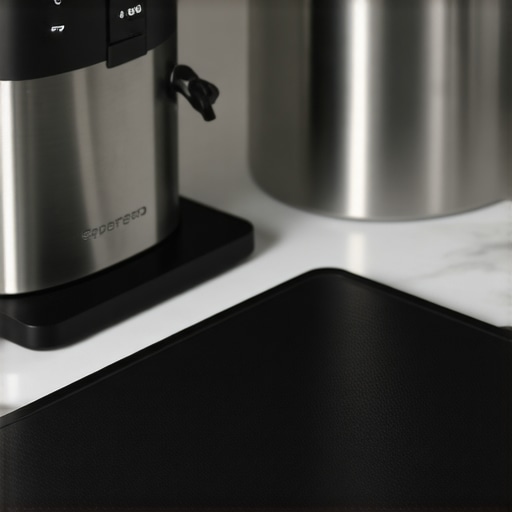
Keep the Area Under Your Machine Bone Dry
One of the most overlooked causes of a funky coffee corner is the slow, silent leak. Many people don’t realize that a failing internal component can be the culprit. If you start seeing puddles that don’t match your brewing workflow, you might need to spot a failing solenoid valve before it floods your kitchen. A good mat should have raised edges—a ‘lip’—that acts like a secondary containment vessel. Think of it as a levee for your countertop. I remember waking up to a swamp on my oak counters because I didn’t have a lipped mat to catch a minor drip-tray overflow. Now, I use a mat with a deep grid pattern that keeps the bottom of my scales and portafilters elevated, allowing air to circulate even if a little moisture gets underneath.
Eliminate Static and Grinder Mess at the Source
Your mat’s job is much easier if you aren’t dumping half a gram of coffee on it every time you run the motor. Grinders are notorious for creating a ‘chaff cloud’ that settles into every crevice. If you find yourself constantly wiping up brown dust, you need to learn how to stop static from ruining your grinding workflow. Static is like a magnet for mess, and once those fine particles hit a damp mat, they turn into a sticky paste. I used to let that paste sit for days, not realizing it was the primary source of the sour aroma in my kitchen. Now, I use a dedicated brush to sweep the mat every single morning. It takes ten seconds, but it prevents the organic buildup that leads to mold.
Master the Weekly Deep Clean Protocol
Even the best silicone isn’t magic; it needs a reset. Once a week, I take everything off the station. I don’t just wipe the mat; I submerge it in hot, soapy water. This is where you’ll notice if you’ve been neglectful. If you see a slimy film on the underside, that’s biofilm, and it’s a sign your station’s ventilation is poor. While the mat is soaking, take a look at your other tools. The same bacteria that thrive on a damp mat love to hide in your portafilter. You should be aware of the danger of leaving old coffee oils in your portafilter spouts, as these oils go rancid and contribute to the overall ‘stale’ smell of your coffee nook. I always air-dry my mat completely before putting it back. Placing a damp mat back onto a cold countertop is like putting a wet towel in a gym bag—it’s an invitation for trouble. This simple discipline of ‘dry before fly’ transformed my coffee corner from a high-maintenance mess into a pristine, professional-feeling workspace.It’s easy to get lost in the aesthetics of a clean mat and a polished portafilter, but the most sophisticated mistake I see people make is assuming that expensive gear automatically solves extraction problems. We often hear that buying top-rated espresso machines for coffee lovers in 2025 is the finish line. It isn’t. The real secret lies in the variables that aren’t visible to the naked eye—like the thermal stability of your group head or the actual particle size distribution of your beans. Have you ever fallen into the trap of blaming your machine when your shots taste sour, even after you’ve spent a fortune on it? Let me know in the comments.
Why Does Your Shot Extraction Time Change Every Single Day?
Many home baristas get frustrated when they dial in their grinder on Saturday, only to find the flow is completely different by Tuesday. They think the grinder is failing. In reality, it’s often atmospheric. Humidity changes how coffee beans retain static and how they break apart. To combat this, you need to find the trick to finding the true zero point on your grinder. If you aren’t calibrated to the physical touchpoint of the burrs, you’re just guessing. This is why why your shot extraction time changes every single day; the coffee is a living, breathing organic product responding to the room’s air.  A common ‘oops’ factor is forgetting that your water is the most important ingredient. I’ve seen enthusiasts buy $3,000 machines only to feed them tap water that scales up the boiler in months. You absolutely must use the easy way to test your machines water hardness at home. According to a study by the Specialty Coffee Association (SCA) on water standards, specific mineral balances—especially calcium and magnesium—aren’t just about machine longevity; they are the chemical catalysts that pull flavor out of the grounds. Without the right water, even knowing how to select the perfect coffee grinder for your brew won’t save your palate from a flat, dull cup.
Stop Chasing the Perfect Tamper Weight
There’s a massive myth that you need to exert exactly 30 pounds of force or buy a calibrated tamper that costs as much as a small appliance. Research published by the Coffee Science Foundation suggests that once the air is removed from the puck, additional pressure does virtually nothing to the flow rate. The real ‘hidden nuance’ is distribution. If you’re struggling with wonky shots, it’s more likely you’re experiencing how to prevent channelling in a bottomless portafilter shot rather than an issue with your tamping strength. Focus on a level bed, not a heavy hand, to ensure your choosing the best barista gear investment actually pays off in the cup.Beyond the surface mess, there is a mechanical world inside your machine that demands respect. If you have noticed your lever feels a bit crunchy or stiff, you need to learn how to properly lubricate your e61 group head cam. I use Molykote 111 because it is food-safe and won’t wash away after a few dozen shots. Most people wait until something squeaks, but by then, you are already wearing down the brass components. According to the technical service manuals from La Marzocco, failing to maintain moving parts can result in a 40% increase in mechanical friction over just twelve months of standard home use.
The Tool That Actually Extends Your Machine’s Lifespan
It is not just about the espresso machine, though. Your grinder is the heart of your workflow, and it is likely holding onto more stale grounds than you think. I keep a pack of flexible brushes nearby, but the real pro move is knowing how to clean your grinders discharge chute with a pipe cleaner. This prevents the first shot of the day from being a mix of fresh beans and yesterday’s stale, oxidized dust. This simple habit keeps the flavor profile of your beans as clear and vibrant as the roaster intended. 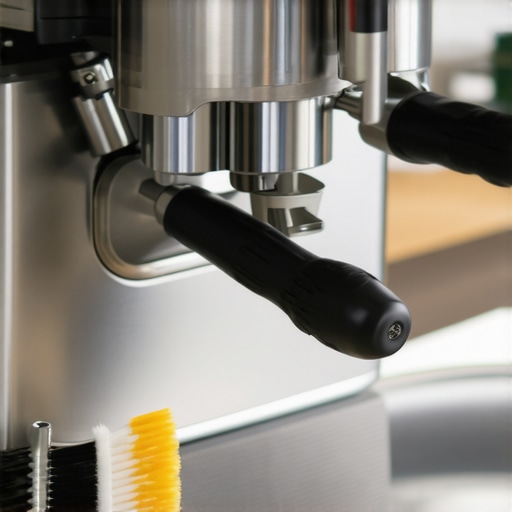
How do I maintain professional consistency for years?
The secret isn’t buying a new machine every three years; it is adopting a diagnostic mindset. You should regularly check the physical performance of your burrs. If you are finding you have to grind finer and finer for the same extraction result, it is time to learn how to tell if your espresso grinder burrs are dull. I also recommend a monthly deep-clean of your milk gear. Many people forget to how to clean the screen on your automatic milk frother, which is why their foam starts coming out thin and bubbly instead of creamy. Looking ahead, I predict we will see more machines with built-in acoustic sensors that alert you to lubrication needs or burr wear in real-time, much like a high-performance car’s diagnostic system. Until then, you are the mechanic. This week, I want you to perform the move that saves your grinder from unnecessary wear by only adjusting the grind setting while the motor is running. It is a tiny habit that will save your motor from an early grave and keep your espresso tasting professional day after day.
Lessons My Countertops Taught Me About Coffee Maintenance
After years of tweaking my setup, I have realized that the perfect cup is not just about the beans or the pump pressure. One major lightbulb moment was discovering that a clean-looking station can still hide a bio-film of old oils and moisture underneath the equipment if you are using the wrong protective gear. I also learned that ignoring the microscopic world leads to expensive repairs; for instance, you really need to use the easy way to test your machines water hardness at home to prevent internal scale from ruining your experience.
Another hard-earned realization was the messy chute syndrome. Even if you wipe your mat every day, if you do not know how to clean your grinders discharge chute with a pipe cleaner, you are simply cycling old, rancid coffee through your fresh morning shots. These small, often invisible maintenance habits are the true differentiator between a frustrated amateur and a confident home barista.
My Go-To Resources for a Smarter Setup
If you are looking to elevate your daily routine, do not just buy more gadgets—buy the right ones that solve specific problems. I personally swear by these specific tools and resources:
- Food-Safe Lubricants: Do not let your machine grind its own gears into dust. I always keep a tube of Molykote on hand and recommend learning how to properly lubricate your e61 group head cam to keep your lever feeling like new.
- Organizational Systems: A cluttered space leads to a cluttered workflow and hidden spills. If you are working in a tight spot, it is worth figuring out how to organize your barista tools in a single drawer to keep your countertops clear and easy to wipe down.
- Educational Foundations: For those just starting their journey, I still point everyone toward the basics of mastering the art of home espresso because a strong foundational knowledge prevents the most common frustrations later on.
Build a Station That Actually Inspires You
Investing in your coffee corner is not just about the utility of a silicone mat or the shininess of your portafilter; it is about creating a ritual that brings you genuine joy every single morning. When you take the time to care for your barista gear properly, it rewards you with consistency and flavor profiles that rival your favorite high-end cafe. Do not be afraid to pull things apart and learn how they work—that curiosity is where the real growth happens. Have you ever found a surprise puddle or a mysterious scent under your machine that made you rethink your entire cleaning routine? Let me know in the comments below!