How to Texture Milk for a Flat White Versus a Latte
I stood in my kitchen at 6 AM, staring at what was supposed to be a velvet-smooth flat white. Instead, it looked like a bubble bath. A literal cappuccino-disguised-as-a-flat-white. I’d spent months convinced that ‘milk is milk,’ but that morning, the clump of dry foam hitting my lip like a wet sponge told me otherwise. It was a humbling moment of barista-grade failure. I had the expensive machine and the fancy beans, yet I could not master the one thing that separates a hobbyist from a pro: texture. If you have ever felt like your steam wand has a mind of its own, turning your morning drink into a bubbly mess despite your best efforts, believe me, I have been there too. We are going to fix that today.
The Real Difference Between Latte and Flat White Foam
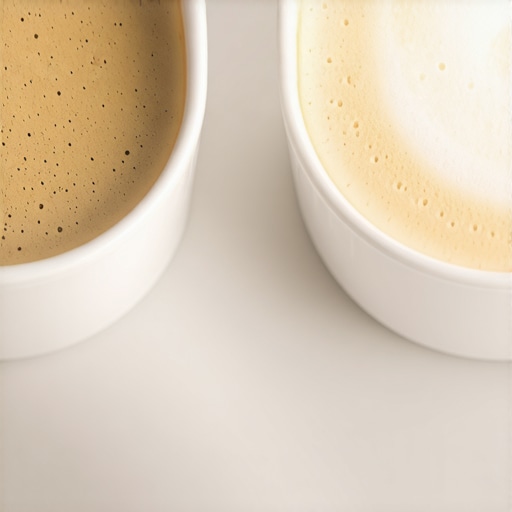
For the longest time, I thought a flat white was just a smaller latte. I would use the exact same steaming technique for both, and the results were always mediocre. The truth is that while both drinks rely on microfoam, the ‘micro’ part is much more literal for a flat white. A latte demands a bit more volume—usually about a centimeter of foam that sits on top like a soft, comforting pillow. A flat white, however, is all about integration. You want that foam to be so fine that it weaves into the espresso, creating a uniform, silky drink from the first sip to the last. Early in my journey, I did not realize that milk frothers that transform your coffee experience require a very specific touch to get this right. I was over-aerating everything and wondering why my art looked like a white blob.
Does Microfoam Texture Actually Change the Flavor?
It sounds like coffee-snob talk, doesn’t it? But there is real science behind why the texture matters. When you aerate milk, you are not just making it fluffy; you are changing how the sweetness hits your tongue. According to the Specialty Coffee Association, the ideal temperature for milk sweetness is between 131°F and 149°F (55°C–65°C), which is where the lactose is most perceptible. If you have too much air, the bubbles act as a physical barrier between the milk’s sweetness and the coffee’s acidity. If you have too little, the drink feels thin and watery. I struggled for weeks because the reason your steam wand only makes thin hot milk was not clear to me—I was burying the wand tip too deep into the pitcher far too quickly.
How I Finally Stopped Making Soap Suds
My turning point came when I started focusing on the ‘whirlpool’ rather than the ‘hiss.’ For a flat white, you only want to hear that paper-tearing sound for about two seconds. After that, it is all about the roll. If you do not get the milk spinning in a tight circle, those bubbles will not break down into that glossy, wet-paint look we all crave. I also realized that why your milk pitcher position is ruining your texture often comes down to the tiny angle of the wand. I used to hold the pitcher straight up and down, which just created big, ugly bubbles. Now, I tilt it slightly to the side to create a violent vortex. I also had to learn the best way to handle large milk pitchers for small drinks because using a massive jug for a tiny drink is a recipe for disaster. Once I switched to a smaller jug and mastered the trick to getting the perfect swirl in your milk pitcher, everything finally clicked. It was not magic; it was just physics. Have you ever felt like your morning coffee is a battle against the machine rather than a relaxing ritual?
Listen for the Sound of Tearing Paper
The first phase of steaming is what we call ‘stretching.’ This is where you introduce air to the liquid. If you have ever wondered how to stop your milk foam from turning into a big bubble, the secret lies in these first three seconds. You want the tip of the steam wand just barely kissing the surface. It should sound like you are rhythmically tearing small pieces of construction paper. If it sounds like a screaming jet engine, the wand is buried too deep; if it sounds like a bubble bath, the tip is too high and you are injecting massive air pockets. I remember a Tuesday morning when I was rushing and held the tip too high for just a second too long—I ended up with a stiff meringue that sat on top of my coffee like a dry biscuit. For a flat white, you only need a tiny bit of this ‘paper-tearing’ sound before moving to the next stage.
Force the Milk Into a Tight Vortex
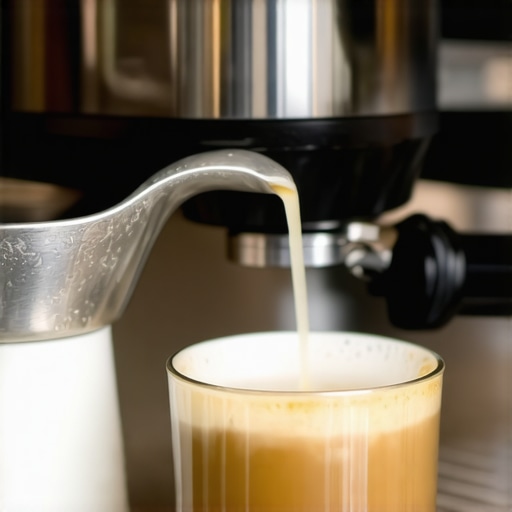
Once you have added your air, you need to hide it. This is where the vortex comes in. You bury the tip slightly deeper and tilt your pitcher so the milk begins to spin like a whirlpool. This motion takes the large bubbles you just created and shears them down into microscopic ones through friction and pressure. Achieving the trick to getting the perfect swirl in your milk pitcher is what gives the milk that glossy ‘wet paint’ look. If the milk is not spinning, you are not texturing; you are just heating. 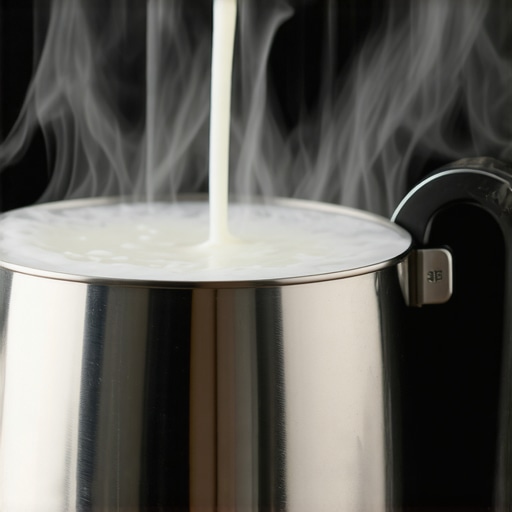 I have found that choosing the best barista gear for coffee enthusiasts often means finding a pitcher with a spout that helps direct this flow. A good vortex should be violent enough to pull the foam from the top down into the bottom of the jug, ensuring total integration. I once tried to steam milk in a giant pitcher for a single macchiato and the lack of volume made it impossible to start a swirl, which is why the best way to handle large milk pitchers for small drinks is to simply switch to a smaller vessel.
Stop the Heat Before You Burn the Sweetness
Your hand is the best thermometer you have in the kitchen. As the milk spins, keep your palm firmly against the side of the pitcher. The moment it becomes uncomfortably hot—that point where your brain tells you to pull your hand away—that is usually around 140°F (60°C). Stop there immediately. If you push further, you risk scalding the proteins, which results in a burnt, ‘eggy’ smell that masks the coffee’s delicate notes. After you turn off the steam, do not forget the best way to purge your steam wand without getting burned. A quick, sharp blast of steam into a damp cloth is essential for hygiene. I once skipped this for a week and had to learn how to clean the inside of your steam wand pipe because the dried milk had turned into a solid, foul-smelling plug. It is a messy, preventable headache that eventually ruins your steam pressure and your morning brew.
Even with the perfect milk texture, your drink is only as good as the espresso base. It is a hard pill to swallow, but your high-end machine is essentially a shiny paperweight if you pair it with a subpar grinder. I see so many enthusiasts spend their entire budget on the machine and grab a mid-tier grinder as an afterthought. In reality, the grinder is where the flavor is actually born. One thing I wish someone told me earlier is that how to select the perfect coffee grinder for your brew isn’t about the number of settings; it is about consistency and minimizing retention. If your grinder keeps two grams of stale coffee inside every time, your first shot of the day will always be tainted by the past. 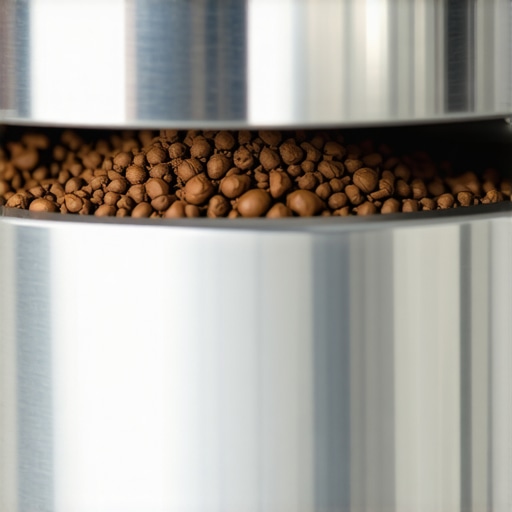
The Freshness Myth That Ruins Extractions
Common wisdom says ‘fresher is better,’ but for espresso, ‘too fresh’ is a genuine nightmare. Beans used within 48 hours of roasting are still off-gassing heavily. This CO2 creates a physical barrier that prevents water from entering the coffee particles effectively. According to research by the Specialty Coffee Association, using beans too early leads to massive ‘channeling’ because the escaping gas pushes the water away. I now wait at least 10 to 14 days for medium roasts to reach their peak balance. Have you ever fallen into this trap? Let me know in the comments.
Avoid the New Gear Trap
The biggest mistake I made when upgrading was ignoring the seasoning process. When you get a new set of steel burrs, they are not ‘ready’ for the first few kilograms. You must learn how to properly season new steel burrs for better consistency or you will spend weeks chasing a dial-in that keeps moving. It is frustrating, expensive, and completely avoidable. Also, do not ignore the physical state of your equipment; knowing how to check if your portafilter gasket is actually sealed can save you from a messy, low-pressure extraction that ruins your morning profile.
Why does your perfect shot still taste like vinegar after a clean?
This is a classic nuance that drives home baristas crazy. You spend an hour descaling, only to find the flavor is ruined. Often, why your coffee tastes like vinegar after descaling is due to residual citric acid trapped deep in the boiler or heat exchanger. If you do not flush triple the amount of water you think you need, that acidity stays behind. Similarly, understanding why your coffee grounds are clumping like little rocks often points to static or humidity issues in your kitchen rather than a mechanical grinder defect. Mastering these tiny details is what separates the average coffee drinker from a true home barista.
I’ve realized that the honeymoon phase with a new machine ends the moment you have to take the casing off for the first time. It is easy to get swept up in the aesthetic of top-rated espresso machines for coffee lovers in 2025, but the reality is that these are high-pressure, high-heat environments that want to fail. One tool I absolutely swear by, which people often overlook, is a high-precision scale with a fast refresh rate. However, even the best gear has its quirks. I once spent an hour recalibrating my grinder because I thought my yield was off, only to find that moisture on the sensor was why your espresso scale is jumping numbers while the shot is pulling. It’s those tiny, annoying technical glitches that can gaslight you into thinking your technique is failing when it’s actually just your hardware needing a wipe-down. 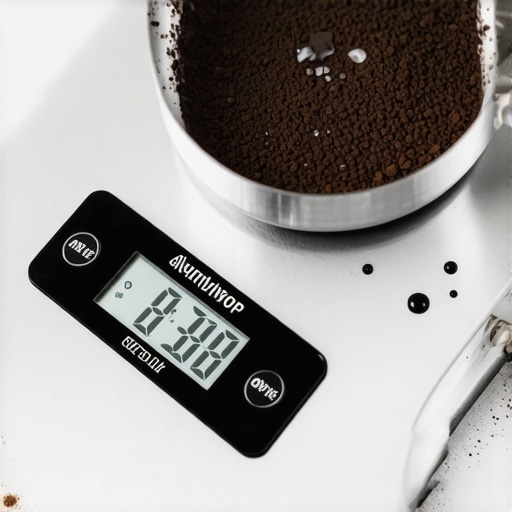
How can I maintain my gear for the next decade?
Maintenance isn’t just about descaling once a year and hoping for the best. If you own an E61 group head machine, you need to know how to properly lubricate your e61 group head cam because the lever will eventually start to grind and stick, leading to a miserable user experience. I personally check my gaskets every six months. If you ignore the signs, you’ll eventually notice why your espresso machine is leaking steam from the top, which is usually a sign of a dried-out O-ring or a loose fitting. According to the La Marzocco Home technical documentation, the most common cause of service calls isn’t catastrophic failure, but simple neglect of the ‘consumable’ parts like group gaskets and shower screens. I also make it a point to scrub my wand every single day; if you don’t, you’ll eventually be searching for why your steam wand tips keep getting blocked by milk residue. If your setup includes a grinder with a high retention rate, you should also be checking the chute weekly. I use a simple pipe cleaner to ensure no stale grounds are clogging the exit, which is the easiest way to prevent that ‘muddy’ taste in your third shot of the day.
Smart Sensors are the Future of Home Brewing
Looking ahead, I predict we are moving away from ‘blind’ brewing. We are seeing a massive shift toward machines with integrated IoT sensors that track flow rate and pressure in real-time, sending alerts to your phone before a gasket even starts to fail. This ‘predictive maintenance’ will change how we interact with our gear. It’s going to make the learning curve for mastering the art of home espresso tips for beginners much shorter, but it also means we have more electronics to look after. My advice? Don’t wait for a leak to happen. This weekend, take your portafilter apart, soak the basket in backflush detergent, and actually look at your shower screen. If it’s black with old oils, your coffee has been suffering for weeks without you knowing it. A clean machine is the only way to ensure that the how to select the perfect coffee grinder for your brew decision you made actually pays off in the cup.
Hard Truths from a Decade of Messy Countertops
Reflecting on my journey, the most humbling realization was that expensive gear only gets you halfway; the rest is sensory awareness. I spent years blaming my hardware when the issue was actually technique-driven, specifically why your milk pitcher position is ruining your texture. Another major lightbulb moment was understanding that consistency is the enemy of retention. Realizing why your coffee grinder retains more grounds than it should changed how I approached every single morning shot. Lastly, never underestimate the power of a pristine system—learning how to remove scale from a handheld frother wand can revive the performance of a dying setup in minutes.
Building Your Ultimate Home Cafe Toolkit
If you are looking to elevate your daily ritual, I always suggest starting by mastering the art of home espresso tips for beginners to firmly ground your fundamentals. When you feel ready to invest in your craft, check my curated list of top-rated espresso machines for coffee lovers in 2025. Beyond the big machines, I personally trust high-precision scales and dedicated cleaning brushes above all else. Even if you encounter glitches, like why your espresso scale turns off right before the shot ends, having these tools allows you to diagnose and fix problems rather than just guessing. A well-chosen kit transforms a stressful morning into a meditative experience.
Your Journey Toward the Perfect Pour Starts Now
Every professional barista started with a sink full of soapy bubbles and a bitter shot of espresso. Do not let the technical nuances of home espresso intimidate you; they are simply the milestones on your path to mastery. With the right persistence and a focus on small, incremental improvements, you will soon be pouring silk-textured milk that rivals your favorite local cafe. The ritual is just as rewarding as the caffeine kick itself. Have you ever struggled with getting that elusive ‘wet paint’ texture in your milk pitcher? Let me know in the comments below!