Why Your Shots Start Running Fast After Two Seconds
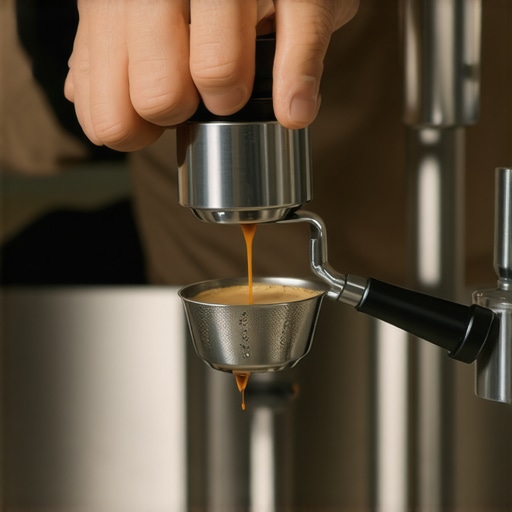
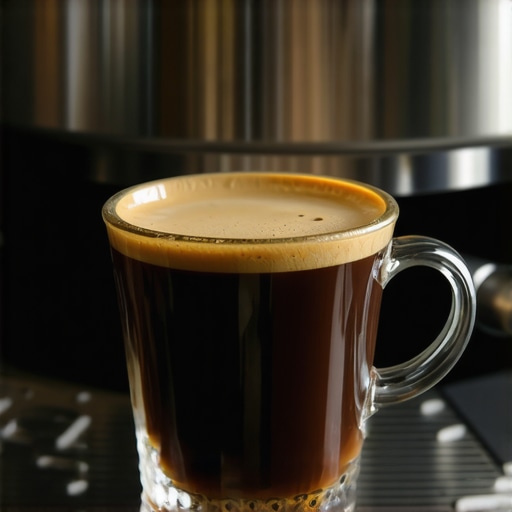
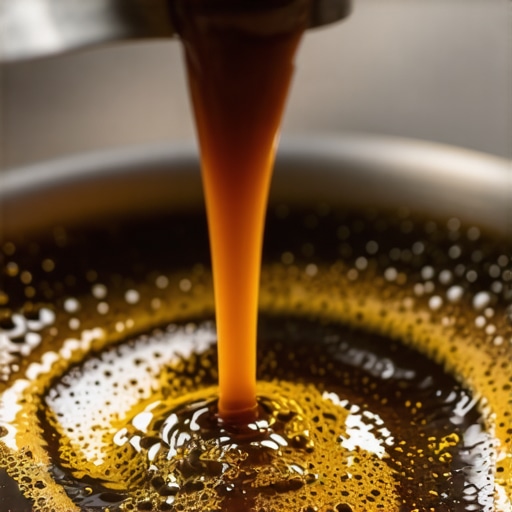
I remember standing in my kitchen at 6:15 AM, staring at my portafilter like it had personally insulted me. The first three seconds were pure magic—thick, syrupy tiger stripes that looked exactly like the photos in a high-end magazine. Then, without warning, the floodgates opened. The stream turned thin, watery, and a pale yellow. It was heart-wrenching. I used to think my machine was just being temperamental, but I soon realized that watching your shot accelerate like a race car mid-extraction is a cry for help from your coffee puck. Today, I am going to show you exactly why that resistance collapses and how you can stop the dreaded ‘fast-flow’ from ruining your morning.
Why Your Perfect Start Turns Into a Watery Mess
Usually, when a shot starts slow and then speeds up uncontrollably, we are looking at a phenomenon called channeling. Think of the water as a lazy traveler; it wants the path of least resistance. Early in my home barista days, I made the mistake of thinking that tamping harder would fix everything. I’d lean my entire body weight onto that tamper, only to find that the water just found a tiny crack in the puck and blasted through it even faster. This erosion of the puck structure is actually backed by fluid dynamics. A study cited by the Scientific Reports journal on espresso extraction physics notes that uneven flow leads to ‘preferential flow paths,’ which basically means once a small hole forms, the high pressure of your machine turns it into a canyon. This is often tied back to how to select the perfect coffee grinder for your brew, because if your particles aren’t uniform, those canyons form instantly. If you have been struggling with why your shot extraction time changes every single day, you are likely fighting an invisible battle with your puck’s internal structure.
Is expensive equipment the only way to fix this?
Many people think they need to drop thousands on top-rated espresso machines for coffee lovers in 2025 to get a consistent flow, but the truth is usually found in your prep routine. Even the most expensive barista gear won’t save a shot if the coffee bed isn’t distributed properly. Have you ever looked at your spent puck and seen a tiny hole near the edge? That’s the culprit. We need to focus on how the water enters the coffee, not just the pressure it’s under. If you’ve ever felt like throwing your portafilter out the window after a watery mess, you aren’t alone—drop a comment below and let me know if you’ve seen this ‘fast-run’ happening with your current setup! We’re going to dive into the specific distribution moves that saved my shots from the sink drain.
Fix the Foundation Before You Tamp
To stop the water from finding those shortcuts through your coffee, you must break up the clumps before the tamper ever touches the basket. I used to think a quick shake of the portafilter was enough, but that just settles the heavy particles at the bottom and leaves the top fluffy and prone to collapse. This is where the move for better espresso distribution without fancy tools becomes a game changer. Use a thin needle or a dedicated WDT tool to stir the grounds in a deep, circular motion, starting from the bottom of the basket and working your way up. I once thought I could skip this on a particularly busy Monday morning. I gave the portafilter a lazy tap and pulled the shot; within five seconds, a high-pressure jet of coffee sprayed directly onto my white kitchen backsplash. That is exactly why your bottomless portafilter is making a huge mess—the water found an air pocket and exploited it like a fire hose. 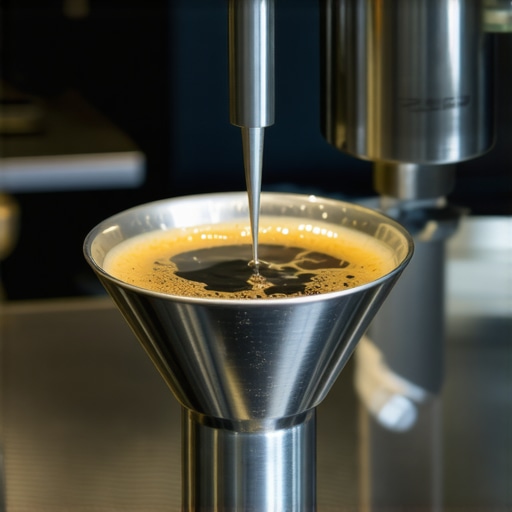
Align Your Burrs for a Uniform Grind
Even with perfect distribution, a faulty grinder will sabotage you. If your burrs produce a mix of ‘boulders’ and ‘dust,’ the water will always blast through the gaps between the larger pieces, regardless of how hard you tamp. You need to ensure your equipment is actually calibrated to a fine, even standard. Mastering the trick to finding the true zero point on your grinder is the only way to know your actual starting position. If your burrs are even slightly out of alignment, one side of your puck will be denser than the other, leading to that lopsided, watery flow that ruins the texture of your crema.
Control the Thermal Environment Inside the Group Head
The physics of the shot do not stop at the coffee grounds; the metal surfaces they touch are just as critical. Temperature plays a massive role in how coffee oils emulsify. If your portafilter is cold, it saps the thermal energy from the water, changing the liquid’s viscosity mid-stream and causing the puck’s resistance to drop off prematurely. I always advocate for the benefit of pre-warming your portafilter head by running a blank shot of hot water through the empty basket for at least five seconds before loading your coffee.
Keep the Water Temperature Consistent
On many home setups, the water temperature drops the longer the pump runs. This thermal dip can cause the coffee puck to degrade faster than it should because the extraction rate changes mid-pull. You can combat this by learning the move for better temperature stability on budget machines, which usually involves ‘temperature surfing’ or flushing the group head right before you lock in your shot. By keeping the thermal mass of the machine stable, you ensure that the water doesn’t become more or less aggressive as the shot progresses, maintaining that syrupy flow from start to finish.
The 30-Second Rule is Holding You Back
Most home baristas become obsessed with the ‘magic’ 30-second extraction window. While it is a helpful benchmark for beginners, sticking to it religiously is one of the biggest hurdles to reaching true expertise. In my experience, chasing a specific number on a timer often leads people to ignore the sensory cues of the coffee itself. If your shot flows in 22 seconds but tastes sweet and balanced, don’t change a thing. Conversely, if you hit exactly 30 seconds and find the coffee sharp or acidic, you are likely facing why your espresso shot tastes salty and how to fix it. According to research by the Specialty Coffee Association (SCA), the extraction yield—the amount of coffee solids actually dissolved—is far more critical than the time it takes to get there. High-altitude beans, for instance, often require longer contact times to fully bloom.
Why does my third shot always taste better than my first?
This is a common frustration for anyone using top-rated espresso machines for coffee lovers in 2025. The reason is usually thermal equilibrium and ‘stale’ grounds. Even if you purge your grinder, a few grams of coffee from your previous session often remain in the chute. This is why the first shot of the day is always a throwaway. The first shot encounters a group head that isn’t yet fully saturated with heat, while the second and third shots benefit from a machine that has reached a stable operating temperature. If you find your shots getting faster as you make drinks for guests, your grinder burrs are likely heating up and expanding, which actually changes your grind size mid-session.
Don’t Let Your Distribution Tool Ruin the Puck
Many enthusiasts buy expensive leveling tools (those shiny spinning wedges) thinking they solve channeling. However, I’ve found that these tools often do more harm than good by compressing only the top 2mm of the coffee bed, leaving the bottom loose and prone to internal cracks. This is exactly why your distribution tool might be ruining your extraction. You want a uniform density through the entire height of the basket, not just a pretty surface. 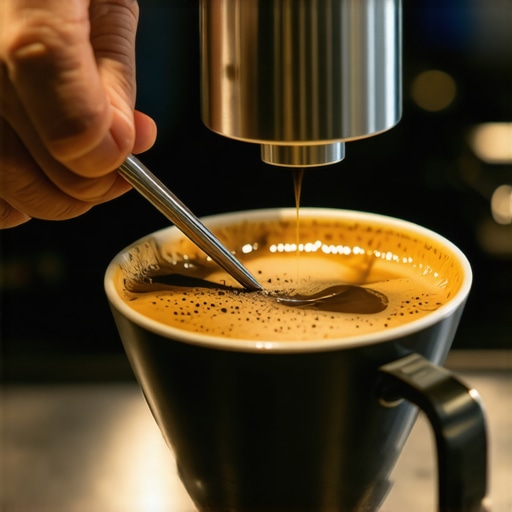
The Pressurized Basket Trap
A common ‘oops’ factor occurs when users upgrade their grinder but keep using the pressurized (double-wall) baskets that came with their entry-level machine. If you try to apply pro-level grind settings to these baskets, you’ll experience ‘choking,’ where the pump struggles to push any water through at all. Avoiding the error of grinding too fine for a pressurized basket is essential for machine longevity.
The Invisible Variable: Water Hardness
Even with the best barista gear, your water can sabotage your flow. Magnesium and calcium levels dictate how effectively water pulls oils out of the coffee. If your water is too soft, the shot will flow fast and taste ‘thin.’ If it’s too hard, you’ll scale up your boiler, leading to inconsistent pressure. I recommend learning the easy way to test your machines water hardness at home to ensure you aren’t fighting a losing battle against your local utility. Have you ever fallen into the trap of chasing a specific time over taste? Let me know in the comments below!
I used to treat my espresso machine like a microwave—I expected it to work perfectly every time without me ever looking under the hood. That changed the day my steam wand started smelling like a damp basement and my shots tasted like they’d been filtered through a charcoal grill. I realized that high-end barista gear isn’t a ‘buy it and forget it’ investment; it is a relationship that requires actual upkeep. If you have noticed that why your espresso machine takes longer to heat up recently, you are likely dealing with scale or oil buildup that is slowly suffocating your internals. For me, the turning point was realizing that why your machine needs a backflush every single week isn’t just a suggestion from the manufacturer—it is the difference between a bright, floral Ethiopian roast and a cup of bitter disappointment.
Stop Ignoring the Hidden Oil Buildup
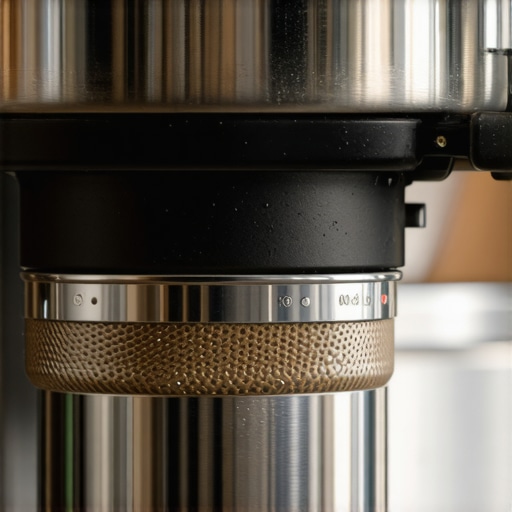
Coffee oils are incredibly volatile. When they sit on the metal surfaces of your group head or shower screen, they polymerize and turn into a sticky, rancid varnish. According to the technical documentation for the Decent DE1 series of machines, failing to clear debris from the group head manifold can lead to permanent scoring on the solenoid valve seals, causing internal leaks that are a nightmare to fix. I now follow the best routine for a weekend deep clean religiously. I remove the shower screen, soak it in a specialized detergent, and scrub the gasket. You would be horrified at the black sludge that hides behind that screen even after just seven days of use. Keeping these surfaces pristine ensures that the water path remains clear and your pressure stays consistent across the entire puck. 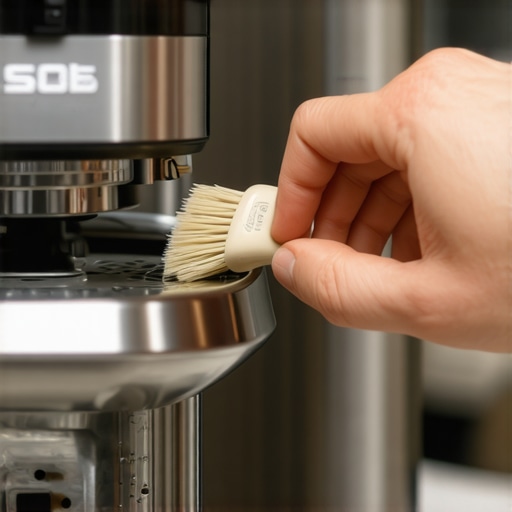
Save Your Grinder From Unnecessary Wear
Your grinder is the heart of your setup, but it’s also the piece of equipment most likely to be abused. I used to adjust my grind size while the motor was off, which is a cardinal sin. I learned the hard way that this can trap beans between the burrs and strain the motor. Now, I always practice the move that saves your grinder from unnecessary wear by ensuring the motor is spinning before I move to a finer setting. Additionally, stale grounds hide in the nooks and crannies of the exit path. Learning how to clean the grinder chute without taking it apart using a vacuum or a small bellows has saved me from ‘ghost flavors’ where a dark roast from last week haunts my light roast today. If you want to keep your counter clean while doing this, I highly suggest learning how to pick a coffee mat that doesnt absorb odors so your workspace doesn’t end up smelling like a compost bin.
How can I keep my equipment running like new for years?
The secret to longevity is preventing the small issues from becoming catastrophic failures. This means staying organized and being proactive. I found that how to organize your barista tools in a single drawer prevents me from losing those tiny brushes and O-rings that are essential for maintenance. In the future, I predict we will see more machines with integrated sensors that alert you to exactly when a gasket is failing or when the mineral buildup reaches a critical level, much like a car’s ‘check engine’ light. For now, we have to be the sensors. I challenge you to try backflushing with a blind basket tonight; the sudden ‘sparkle’ and clarity in your next shot will prove exactly why this effort is worth it. Don’t wait for your machine to scream for help—give it the care it needs before the flow starts to fail.
What My Worst Shots Taught Me About Puck Integrity
After years of pulling shots, I realized that the perfect recipe is often just a starting point, not a law. One of my biggest lightbulb moments was discovering that coffee beans can actually be too fresh; the trapped CO2 causes micro-bubbles that simulate the fast-flow problem we have been discussing. If your beans were roasted yesterday, they might be the reason for your erratic flow regardless of your technique. I also learned that how to tell if your espresso grinder burrs are dull is a skill every home barista needs, because even the most expensive barista gear won’t save you if the metal edges are rounded over. Finally, remember that your home espresso journey is meant to be fun—don’t let a sinking shot ruin your morning; it is simply more data for your next pull.
The Few Tools That Actually Move the Needle
If you are looking to upgrade your setup, do not just rush to buy a more expensive machine. Start with a high-quality WDT tool; it is the most affordable way to eliminate channeling instantly and ensure your espresso machines can do their job properly. I also highly recommend a 0.1g precision scale, because you cannot fix what you cannot measure. If you have noticed an odd flavor profile recently, it might be why your espresso shot tastes like paper, often due to water quality or filter issues. For those looking to build a solid foundation, I always point people toward mastering the art of home espresso tips for beginners. If you love lattes, do not forget to check out milk frothers that transform your coffee experience to match your improved extraction with silky, cafe-quality milk.
Stop Overthinking and Start Brewing
The road to a consistent, syrupy extraction is paved with a few bad shots and a lot of patience. Do not be afraid to experiment with your grind size or try a new distribution technique even if it feels counterintuitive at first. The most important thing is that you enjoy the ritual and the flavor in your cup. Every morning is another chance to refine your craft and achieve that elusive God shot. Have you ever had a shot start out looking like liquid gold only to turn into a watery mess five seconds later? Let me know in the comments how you fixed it!