The Move for Better Microfoam with Soy Milk
I still remember the morning I nearly gave up on my dairy-free journey. I had just spent a small fortune on one of those top-rated espresso machines, convinced that better gear would solve my “bubbly mess” problem. I pulled a gorgeous, syrupy shot, purged the steam wand, and dunked it into my pitcher of soy milk. Seconds later, it happened again: a loud, screeching sound followed by the unmistakable scent of scorched legumes. Instead of silky microfoam, I had a layer of stiff, dry suds that sat on top of my coffee like a cheap wig. It was frustrating, wasteful, and honestly, a little embarrassing for someone who claims to love home espresso. But that failure was the catalyst. I realized I was fighting the soy milk instead of working with it. Today, I’m going to show you exactly how to stop the curdling, kill the big bubbles, and finally achieve that glossy, wet-paint texture we all crave.
The Day I Finally Stopped Making Soy Scrambled Eggs
One of the biggest mistakes I made early on—and I see neighbors do this all the time—is trying to steam soy milk using the exact same technique we use for whole milk. It just doesn’t work that way. Soy is a different beast entirely. If you’ve noticed your milk smells like it’s burning long before the pitcher feels hot, you’re already in the danger zone. Soy milk proteins are incredibly sensitive to heat. While cow’s milk can handle temperatures up to 160°F or even 170°F before it truly breaks down, soy starts to “cook” and separate much earlier. In fact, research published in the Journal of Food Science suggests that soy proteins begin to denature significantly at lower thermal thresholds compared to bovine milk, leading to that grainy texture we all hate. I used to crank the steam, thinking “more power equals more foam,” but all I was doing was curdling the proteins before they had a chance to aerate.
Is Soy Milk Just Too Stubborn for Real Latte Art?
It’s a fair question. Many people assume that because it is plant-based, it will never be quite as good as the dairy standard. I used to think my milk frother was creating bubbles instead of foam because of some design flaw. In reality, it was my air injection timing. With soy, you have a much shorter window to get the air in. If you keep stretching the milk for too long, you’ll end up with a stiff meringue that won’t pour. You need to learn the trick to steaming soy milk without it curdling, which involves a shorter aeration phase and a more aggressive whirlpool. If you’ve ever felt like your latte art looks more like a Rorschach test than a heart, don’t worry. Even on a single boiler machine, you can get that texture. It just takes a specific move to stabilize the temperature. Does your soy milk turn into a bubbly mess the moment you touch the steam wand, or have you found a brand that actually behaves? Let me know, because I’ve tried them all.The first thing you need to realize is that soy milk reacts to heat like an over-cautious parent—it gets defensive very quickly. If you’re using a top-rated espresso machine, the steam power can actually work against you if you aren’t careful.
Keep Your Cool to Avoid the Dreaded Soy Clumping
Before you even touch the steam wand, check your milk brand. You want “Barista” edition soy milk whenever possible. Regular soy milk often lacks the stabilizers needed to handle the high heat and acidity of a concentrated espresso shot. I once tried to use a generic organic brand for a dinner party, and every single latte came out looking like miso soup. The acidity of the beans literally curdled the milk on contact. To prevent this, focus on the move for better temperature stability on budget machines: purge your wand and ensure your pitcher is ice cold before starting.
Shorten the Air Injection Phase
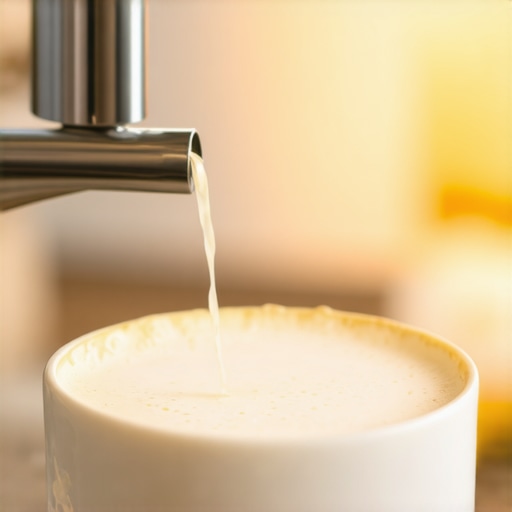
When you’re mastering the art of home espresso, you’re usually taught to “stretch” the milk until it reaches body temperature. With soy, you need to stop almost immediately. Think of it like a quick “paper rip” sound—you only want about 2 to 3 seconds of aeration. If you keep hearing that chirping sound for too long, you’ve already created a dry foam that will never integrate. #IMAGE_PLACE_HOLDER_B#
Spin it Like a Tornado
Once you’ve added that tiny bit of air, dunk the wand tip slightly deeper and tilt the pitcher to create a violent whirlpool. This is the stage where you’re folding those surface bubbles back into the liquid to create silk. If you’ve struggled because your milk frother creates bubbles instead of foam, it’s likely because your whirlpool isn’t strong enough to “eat” the surface air. Position the wand tip off-center to keep the rotation aggressive.
Stop Before it Smells Like Toasted Beans
Use your hand on the bottom of the pitcher to gauge the heat. The moment the pitcher feels “uncomfortably hot” to the touch, shut it off immediately. This usually happens around 140°F (60°C). If you wait until it’s 160°F like you would for dairy, you will trigger the reason your milk smells like it’s burning. Soy milk has a lower burning point, and once you cross it, the flavor turns from nutty to scorched cereal.
The Final Swirl and Tap
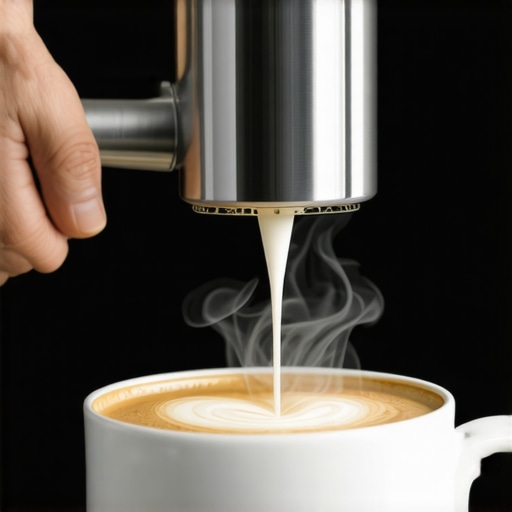
After steaming, don’t just let the pitcher sit while you prep your cup. Soy separates faster than dairy. Keep the milk moving. Give the pitcher a firm tap on the counter to pop any stray bubbles and then swirl it vigorously. This is the trick to swirling milk without it curdling—you’re keeping the proteins suspended and the texture glossy. When you pour, aim for the center and keep a steady, thin flow. If the milk looks slightly too thick as it hits the crema, try the trick to pouring a heart when your milk is too thick, which involves lifting the pitcher higher to thin out the stream as it breaks the surface.The coffee industry often suggests that if you want cafe-quality plant-based drinks, you simply need to invest in more expensive hardware. I completely disagree. While choosing the best barista gear for coffee enthusiasts is important, throwing money at a dual-boiler setup won’t fix a fundamental misunderstanding of soy chemistry. In my experience, the most expensive machines can still produce a curdled mess if you don’t account for protein aggregation. The real secret isn’t just the pressure; it’s the geometry of the steam delivery.
Why More Power Isn’t Always Better for Plant Milks
Most home baristas assume that high-pressure steam is the golden ticket to microfoam. However, with soy, high pressure can be your worst enemy. If you’ve noticed the reason your steam wand only makes thin hot milk, it’s likely because the force is too violent for the delicate soy proteins to handle. Instead of creating a stable lattice of air and liquid, you’re literally shattering the protein chains. I used to think I needed more ‘oomph,’ but I actually needed more finesse. If you find your milk feels watery despite looking foamy, you’re over-aerating at a velocity the soy cannot sustain.
Does the Number of Holes in Your Steam Wand Tip Actually Matter?
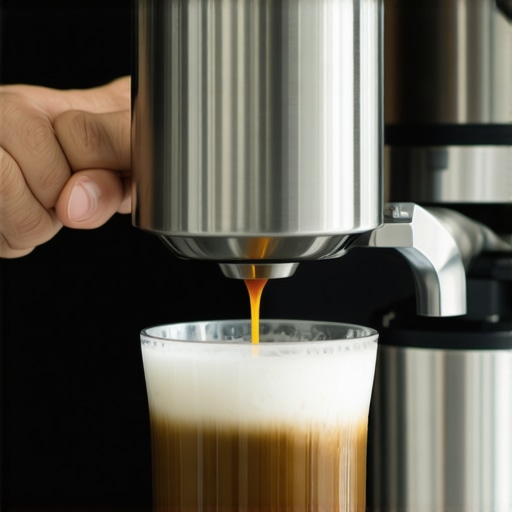
This is a question that separates the enthusiasts from the experts. Many top-rated espresso machines come with four-hole tips designed for high-volume dairy steaming. For soy, a two-hole tip or a smaller diameter orifice often works better because it allows for a more controlled, slower injection of air. The “oops” factor here is neglecting the maintenance of these tiny holes. Have you noticed why your steam wand tip holes keep getting clogged more frequently with soy? It’s because soy milk has a higher concentration of solids that bake onto the metal almost instantly. If even one hole is partially blocked, your steam pattern becomes asymmetrical, destroying your chances of a perfect whirlpool. #IMAGE_PLACE_HOLDER_C#
The Physics of Protein Stability
To truly master this, you have to understand what’s happening at a molecular level. A study published in the Journal of Agricultural and Food Chemistry highlighted that soy globulins undergo irreversible thermal aggregation at much lower temperatures than the casein found in cow’s milk. This means your window for success is microscopic. If you don’t purge your wand immediately, or if you use a steam wand that has lost its power due to scale buildup, you cannot achieve the rapid, consistent vortex needed to integrate those proteins before they ‘clump.’
The Trap of the Second Steam
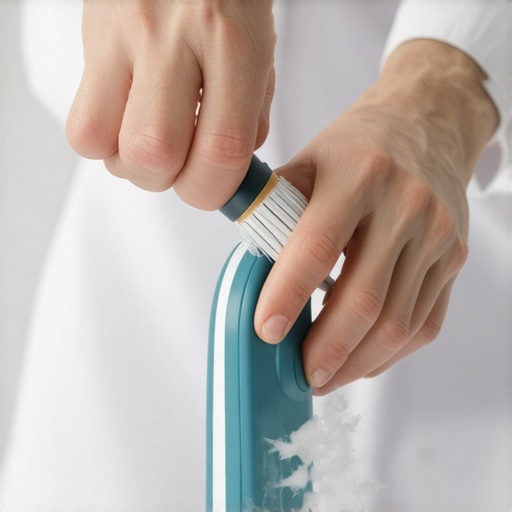
Another common mistake is trying to re-steam soy milk that has already been warmed. With dairy, you might get away with it for a casual drink, but with soy, the proteins have already denatured. Attempting a second steam will result in a gritty, separated texture every single time. It’s better to dump it and start fresh. Have you ever fallen into this trap of trying to ‘fix’ a cool latte by hitting it with more steam? Let me know in the comments, because I spent months doing exactly that before I realized it was a lost cause. Success with soy isn’t about having the flashiest gear; it’s about respecting the chemical limits of the bean. Stop treating it like dairy, and start treating it like the sensitive, complex liquid it actually is.Clean gear is the only way to save your soy latte from becoming a grainy disaster. I used to be lazy with my steam wand, but soy milk is far less forgiving than dairy. Because it contains higher levels of proteins and sugars that caramelize quickly, a neglected wand will develop a rock-hard crust faster than you can say ‘macchiato.’ I eventually learned how to stop using a wet cloth on your steam wand and switched to dedicated microfiber pads and immediate purging. If you don’t, your steam wand tip holes keep getting clogged, which disrupts the airflow and ruins that delicate whirlpool we discussed. When you are choosing the best barista gear for coffee enthusiasts, always look for wands with ‘no-burn’ coatings—they make this daily maintenance significantly less of a chore.
How can I keep my espresso setup running perfectly for the long haul?
Consistency in your cup starts with the chemistry of your water. The Specialty Coffee Association (SCA) specifies that water should have a Total Dissolved Solids (TDS) range of 75-250 mg/L for optimal extraction. If your water is too hard, it doesn’t just scale up your boiler; it actually makes soy milk more prone to curdling due to the high mineral content. I highly recommend the easy way to test your machines water hardness at home before you blame your technique. Furthermore, don’t ignore your grinder. I’ve found that the move that saves your grinder from unnecessary wear is cleaning the chute weekly. When the grind is inconsistent, your shot temperature fluctuates, and as we know, soy milk hates temperature surprises. If you are still mastering the art of home espresso, use a reliable scale. I once spent a week frustrated with sour lattes only to realize why my coffee scale was giving me inconsistent readings: the battery was dying, and my doses were off by two grams. #IMAGE_PLACE_HOLDER_D# Looking ahead, I predict we will see more top-rated espresso machines featuring integrated infrared sensors specifically calibrated for plant milks. This tech will automatically stop the steam when it hits the 140°F ‘soy danger zone.’ Until that becomes the standard, your best tool is your own thermal memory. I challenge you to do this: the next time you pull a shot, try the benefit of pre-warming your portafilter head for at least ten minutes. You will be shocked at how much a stable temperature improves the way soy milk integrates into the crema.
The Truth About Why My First Fifty Soy Lattes Failed
Steaming soy is more of a dance than a technical procedure. One ‘lightbulb moment’ for me was realizing that the sound of the steam matters more than the visual. If the ‘hiss’ sounds like tearing paper, you’re doing it right; if it sounds like a jet engine, you’re already making soap bubbles. I also learned that the reason your steam wand is leaking water into your milk can be the secret culprit behind curdling—excess water dilutes the proteins and makes them unstable. Finally, always remember that how to texture milk for a flat white versus a latte is a distinction that becomes even more critical with soy because of how quickly the foam sets.
Gear That Actually Plays Nice With Plant Proteins
If you are serious about this, you need the right kit. I personally recommend a 12oz stainless steel pitcher because it allows the milk to circulate faster, which is vital for soy’s short steaming window. When choosing the best barista gear for coffee enthusiasts, don’t overlook a fast-read digital thermometer; guessing the ‘soy danger zone’ by hand is a recipe for scorched beans. Also, ensure your grind is dialed in using a high-quality unit—check out my guide on how to select the perfect coffee grinder for your brew to ensure your espresso base provides the right viscosity to support the foam.
#IMAGE_PLACE_HOLDER_E#
Time to Pour Your Masterpiece
Don’t be discouraged if your first few attempts look like a bubbly mess. Mastering the nuances of plant-based foam takes time, but once you find that sweet spot between aeration and temperature, your barista gear will feel like an extension of your own hand. The reward—a silky, nutty, perfectly textured latte—is well worth the practice. Have you ever struggled with the ‘scrambled egg’ texture when steaming soy? Let me know in the comments below!