How to clear a jammed chute without damaging your grinder
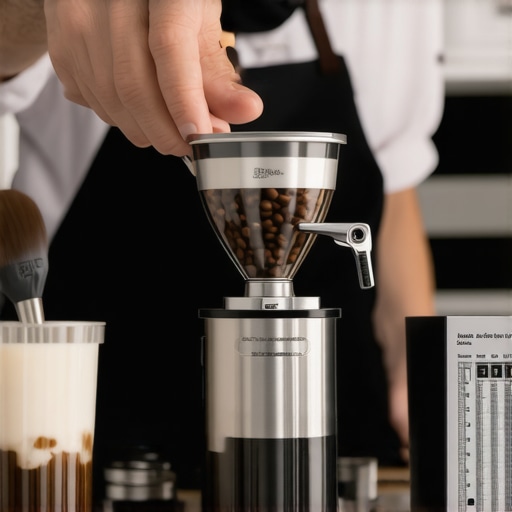
Have you ever been in the middle of your morning coffee ritual when suddenly, your grinder jams unexpectedly? I remember my own frustration when, one busy Saturday, I leaned in to retrieve freshly ground beans for my espresso, only to be met with a stubborn, unyielding chute. My heart sank—was I about to damage my beloved grinder just trying to fix a simple clog? That moment of panic is all too familiar for many coffee enthusiasts, and it’s a situation that can feel downright maddening.
Why Clearing a Jam Can Feel Like Walking a Tightrope
When a grinder jams, it’s usually because coffee grounds have built up in the chute or burr area. It’s tempting to use force—it’s quick and feels like the obvious fix. But the risk? Damaging delicate internal components or knocking out alignment, which could lead to more costly repairs or replacements. I once tried prying a stubborn coffee pocket loose with a metal object, only to realize I had bent a burr, turning a simple fix into a major headache. That experience taught me the importance of approaching the problem with finesse and patience.
What really makes this issue tricky is that every grinder is different, and what works for one may harm another. The key lies in understanding the right techniques—those that safely remove blockages without risking harm. Today, I want to walk you through proven methods from my own toolkit, so you can handle your grinder jams confidently and keep your machine humming smoothly.
Is It Really Worth Trying to Fix Yourself, or Should You Call an Expert?
This is a common concern. Many fear that attempting a fix will cause more harm than good. I made this mistake early on—thinking that brute force was the answer, which led to scratches and misalignments. But with the right knowledge, clearing a jam is often straightforward. Plus, regular maintenance and understanding your grinder’s quirks can prevent jams from happening in the first place. For more tips on keeping your gear in top shape, check out this guide on home espresso mastery.
So, if you’re tired of feeling helpless when your grinder gets clogged, don’t worry. We’ll go through step-by-step solutions that you can try safely at home—saving you time, money, and frustration. Ready to regain control of your morning brew? Let’s dive into the practical methods that will have you clearing that jam like a pro.
Remove External Obstructions Carefully
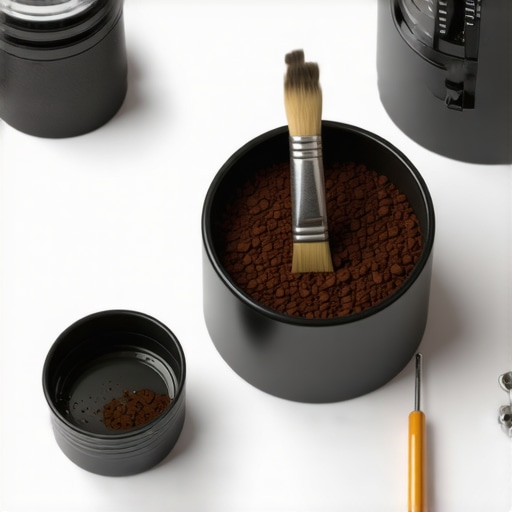
Begin by unplugging your grinder to ensure safety. Use a small brush or a soft cloth to wipe away loose coffee grounds around the grinding chamber and chute. In my experience, a clean surface prevents further buildup that could worsen the jam. For stubborn residues, a soft toothbrush can dislodge hardened coffee particles without damaging delicate parts.
Disassemble the Top Components
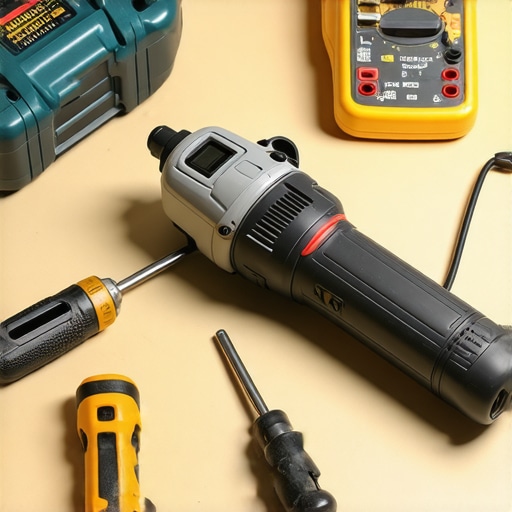
Next, remove the hopper if your grinder design allows. Carefully unscrew or slide off the hopper, exposing the burrs and chute. Be gentle—think of it as peeling an onion without tearing the layers. As I once did, I found that loosening burr mounting screws with a precision screwdriver helped access blocked areas more effectively. Remember, keeping track of small screws prevents losing parts during reassembly. Use a container to hold these tiny pieces and prevent misplacement.
Clear Coffee Clogs Using the Cardboard Trick
If the jam persists, insert a small, folded piece of cardboard or stiff paper into the chute to gently push out coffee grounds stuck deep inside. This method is akin to dislodging a stuck gear—firm but controlled pressure helps free stubborn blockages. I once used a cardboard strip to clear a frozen burr after several failed attempts, saving my grinder from costly repairs. Always ensure no metal tools are used, as they can damage internal components or scratch sensitive surfaces.
Clean and Lubricate Internal Parts
After clearing the jam, wipe down all accessible parts with a damp cloth. Use a vacuum or compressed air to remove residual particles from hidden crevices. Applying a light lubricant designed for small machinery can prevent future sticking—just a tiny drop on the axle or moving parts. A well-maintained grinder operates smoother and reduces the chances of recurrence. For more detailed maintenance tips, visit Barista Gear Selection Guide.
Reassemble and Test
Carefully put the components back, ensuring each part clicks or screws into place properly. Reinstall the hopper and check that it is securely attached. Plug in your grinder, and run a few test grinds with blank beans or old coffee to confirm the jam is resolved. If the device still struggles or makes unusual noises, revisit the cleaning process or consult a professional. Remember, consistent upkeep prolongs your grinder’s lifespan and keeps your mornings running smoothly.
 Even seasoned baristas and coffee enthusiasts often carry misconceptions about essential brewing gear. One common myth is that grinding coffee finer always leads to a better extraction, but in reality, grind size should match the brewing method, and oversetting can cause over-extraction or clogging, leading to bitter flavors. Additionally, many believe that more expensive equipment guarantees superior quality, yet a well-maintained, mid-range grinder paired with proper technique often outperforms overpriced machines with neglectful handling.
A trap worth avoiding is overpacking your espresso basket, thinking it will produce a richer shot. Excessive tamping doesn’t necessarily improve extraction; it can cause channeling, where water finds the path of least resistance, resulting in uneven extraction. For optimal results, aim for consistent tamp pressure rather than maximum force.
When it comes to milk frothers, some assume that electric handheld devices always yield creamier foam. But, in my experience, traditional steam wands, when correctly used, provide more control over texture and temperature, especially for latte art enthusiasts. An advanced mistake is neglecting the maintenance of your espresso machine’s internal components, particularly the heat exchanger or boiler. Scale buildup can diminish temperature stability, affecting shot quality. Regular descaling and component checks can prevent these subtle yet critical issues, backed by studies like those referenced in *Coffee Science Journal*.
How about barista gear? Many believe that buying the latest accessories automatically elevates your brewing. Yet, ergonomic setup and understanding your tools’ functionalities often have a more significant impact. For example, a simple, correctly positioned tamping station can improve consistency more than flashy new tampers.
Here’s a question for the advanced brewers: How does the material of the portafilter affect heat retention and shot temperature stability? While many focus on grind and tamp, portafilter design and material can influence brew consistency and flavor clarity. Copper or seasoned brass portafilters, for instance, tend to maintain temperature better than cheaper plastic or coffee-colored variants. Proper knowledge of these nuances can make the difference between good and exceptional espresso.
Remember, mastering your gear isn’t just about investing in premium equipment but understanding its intricacies. Regularly reading expert sources and engaging with detailed guides—like these advanced tips for home espresso—can elevate your craft. Have you ever fallen into this trap? Let me know in the comments.
Maintaining your coffee gear isn’t just about cleaning—it’s about ensuring consistent performance and extending the lifespan of your investment. One tool I swear by is a high-quality precision calibration lamp. This seemingly simple device allows me to regularly verify the internal temperature stability of my espresso machine, which has a direct impact on shot consistency. Regular use of such tools helps identify early signs of internal wear, saving me money and frustration down the line.
When it comes to long-term results, establishing a routine for descaling your espresso machine is critical. I recommend following detailed procedures like those outlined in this guide that emphasizes the importance of using descaling products compatible with your specific machine. Additionally, periodic replacement of worn-out seals and gaskets—like the portafilter gasket—prevents leaks and maintains proper pressure, which directly affects shot quality.
Scaling your workflow efficiently is achievable with smart organization. I use custom barista tool holders that keep everything within easy reach, reducing workflow disruptions. For example, keeping your tamper, knock box, and brushes organized optimally can shave precious seconds off your routine. As the trend moves toward automation, integrated workflows in smart kitchens could revolutionize home espresso setups—making consistency effortless.
How do I maintain my grinder and espresso machine over time?
Consistent cleaning is the cornerstone, including regular cleaning hard-to-reach crevices with small brushes and cotton swabs. For grinders, a technique I recommend is the tinfoil shim method to ensure burrs stay perfectly aligned after replacing or servicing, which you can find explained in-depth in this article. This proactive approach minimizes uneven grind size and preserves taste quality.
Additionally, applying a light, food-grade lubricant periodically to moving parts prevents stiffness and wear, much like maintaining a bicycle chain. Remember—well-maintained gear not only produces better espresso but also reduces the need for costly repairs down the line.
Looking forward, I predict a rise in smart diagnostic tools integrated into espresso machines, providing real-time feedback on issues like scale buildup or pressure inconsistencies. Embracing these advancements now can give you a significant edge in maintaining high-quality brews at home. If you’re eager to step up your maintenance game, try calibrating your grinder’s burrs with the chalk trick. It’s a quick, cost-effective way to ensure uniform grind size and perfect extraction every time.
My Biggest Surprise About Coffee Grinder Secrets
One unexpected lesson I learned was how surprisingly delicate some grinder components are—I’ve seen seasoned baristas accidentally misalign burrs because they underestimated their precision. It taught me that patience and understanding your specific model are crucial, not just brute force or guesswork.
Why Neglecting Maintenance Can Cost You More
I used to overlook regular cleaning, thinking occasional brushing was enough. But ignoring deep-clean routines led to inconsistent grinds and, ultimately, more expensive repairs. Now, I see ongoing maintenance as an investment in the longevity of my beloved espresso setup—something every enthusiast should prioritize.
The Power of Small Adjustments
Initially, I believed that only major repairs could fix poor performance. However, I discovered that tiny tweaks—like properly aligning burrs with the chalk trick or adjusting grind size gradually—can drastically improve shot quality. These small lessons have transformed how I approach repairs and regular use.
Curated Resources That Elevated My Home Brewing
For anyone serious about home espresso, I trust this guide on essential barista gear because it offers practical tips and honest reviews, helping me choose tools tailored to my needs. Additionally, this resource on milk frother repairs saved me from tossing a perfectly good device, reducing waste and saving money. Lastly, I rely on this comprehensive beginner’s guide to refine my technique with consistent, expert advice.
Your Next Brew Starts Here: Keep Improving
Remember, mastering your coffee gear isn’t a one-time effort—it’s a journey. Each tweak and repair you embrace makes your mornings more satisfying and your skills sharper. Don’t hesitate to tackle repairs head-on; with patience and the right knowledge, you’ll find a rewarding groove that elevates every cup. Are you ready to try a new repair technique or experiment with your grinder? Share your experiences below—I love hearing about your coffee adventures!