How Pitcher Angle Finally Fixed My Watery Microfoam
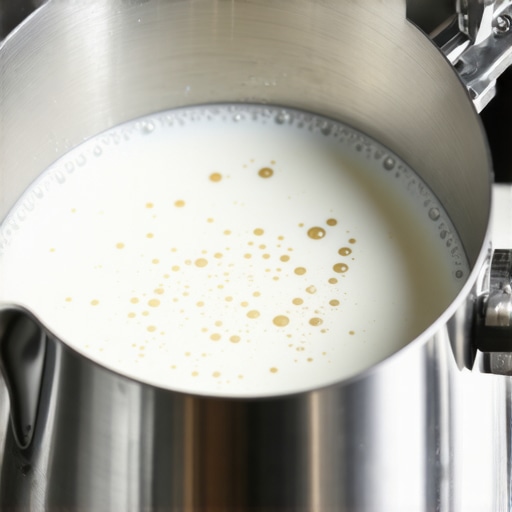
It happened during a quiet Sunday morning, in the dim light of my kitchen. I was attempting to pour silky microfoam onto my espresso, but no matter what I did, the foam kept turning watery and lifeless. Frustration bubbled up as I watched my little latte art dreams deflate before my eyes. I’ve been there, scratching my head over why my milk texture refused to cooperate, especially after hours spent chasing perfect microfoam. It’s a common woe among home baristas—those elusive, creamy microfoams that seem just out of reach, despite using quality equipment and following all the instructions. That was me, until I stumbled upon a simple tweak that turned everything around.
The Turning Point: How a Small Change Made a Big Difference
After countless failed attempts, I realized my mistake wasn’t in my milk or my machine but in a tiny, often overlooked detail: the pitcher angle during pouring. It sounds trivial, but it’s crucial. Adjusting the pitch of my pitcher—tilting it at just the right angle—allowed the microfoam to flow more evenly and blend seamlessly with the espresso. Suddenly, my foam was thick, glossy, and, most importantly, stable enough to create those delicate rosettas and hearts. This discovery was a game-changer, and I knew I had to share it with fellow enthusiasts who might be struggling the same way.
Could Your Technique Be Holding You Back?
Many home baristas make a common mistake early on: neglecting pitcher positioning, which can cause watery or uneven microfoam. I once thought that the key was the milk temperature or the frothing time, but it turned out that my pouring angle was the real culprit. In fact, even seasoned baristas sometimes get this wrong without realizing it. Want to see a noticeable improvement? Focus on that tilt—adjust it, experiment, and watch your microfoam transform from soupy to silky.
If you’re ready to unlock smoother, more velvety microfoam, stay tuned. Next, we’ll dive into specific techniques and tips that will help you master the pitcher angle and troubleshoot common issues. Until then, ask yourself: have you faced the frustration of watery foam, and are you ready to fix it once and for all? That simple tweak might just be the breakthrough you need, and trust me, it’s simpler than you think. For some deeper insights on related espresso machine tweaks, check out this guide on ceramic burrs—you might find other surprising issues lurking in your setup.
Adjust Your Pitch: The Key to Better Microfoam
Start by grasping your milk pitcher firmly with your dominant hand. Position your non-dominant hand to steady the pitcher’s base, ensuring stability. When pouring, tilt the pitcher forward at a 45-degree angle, then slightly adjust to find the sweet spot where microfoam flows smoothly. During my last attempt, I focused solely on my pour height, unintentionally neglecting the pitch. By consciously tilting the pitcher more upright, the microfoam became silkier and easier to control, allowing me to craft a detailed rosetta with minimal splash or splatter.
Focus on the Flow, Not Just the Height
It’s tempting to pour from high above, thinking it will help mix the foam better, but this often causes splashing and unstable microfoam. Instead, keep the pitcher close—about 1-2 inches above the cup—and control the flow with your wrist movement. A steady, slow pour at this height allows microfoam to glide smoothly onto the espresso surface, forming those delicate leaves and hearts. Remember, precision beats speed; patience during the pour is vital for microfoam stability.
Practice with Visual Feedback
Use a mirror or record your technique to observe your pouring angle and flow. When I first tried this, I noticed my wrist was too stiff, causing inconsistent stream and uneven foam. Relaxing my wrist slightly and maintaining a consistent tilt improved my control significantly. If your latte art is still shaky, try practicing with warm milk and a clear glass vessel to see how the foam flows. This visual feedback helps you refine your pitch and wrist movements for smoother, more controlled pours.
Fine-Tune Your Technique
Experiment with small adjustments—tilt the pitcher a bit more or less—until the microfoam settles into a glossy, thick layer that sits atop the espresso. In one session, I started with a steeper tilt but found that a flatter angle produced more even microfoam flow. Keep notes of your angles and pour speeds so you can replicate successful pulls. Remember, consistency is key, and tiny tweaks can make a dramatic difference in your latte art outcomes.
Create a Pattern with Flow Control
Once you master the pitch, focus on controlling your pour’s speed and position. For a heart, pour steadily in the center, then wiggle the wrist slightly to create the point at the end. For a rosetta, pour in a thin, continuous stream while sweeping the pitcher side to side. My biggest breakthrough came when I slowed my flow during the leaf’s tail, resulting in sharper, clearer shapes. Practice these variations repeatedly, paying close attention to how the microfoam responds to different pitch angles and flow rates.
Many enthusiasts believe that owning the latest espresso machine or a high-quality grinder guarantees perfect coffee, but this is a misconception. In reality, most people overlook vital nuances that can make or break their brew quality. For example, a common myth is that burr grinders must be replaced after a certain number of beans, but experienced baristas know that diligent cleaning and proper calibration extend their lifespan significantly. Failing to recognize these subtleties often leads to unnecessary expenses and subpar results.
One advanced mistake many make involves the calibration of ceramic burrs, especially with newer models like the 2026 series. Contrary to popular belief, burrs do not settle into optimal grinding after just a few kilograms of beans; they require a proper settling process that can take upwards of 10kg of beans to avoid uneven grind sizes. Skipping this step can cause inconsistent extraction, leading to bitter or flat shots. For a detailed guide on how to properly condition your burrs, visit this resource.
Similarly, many home baristas underestimate the importance of humidity and ambient temperature on their espresso machine performance. Variations can cause pressure and temperature fluctuations, impacting shot consistency. Advanced users often use tools like smart sensors and pressure profiling to compensate, but even basic awareness can help prevent common errors such as channeling or under-extraction. Did you know that even your milk frother’s material can influence foam quality? Some materials, like certain plastics, conduct heat poorly, making it harder to maintain stable frothing temperatures. An overlooked aspect like this could be the reason behind inconsistent microfoam. Check out this guide to optimize your frother setup.
Ask yourself, are you simply relying on default settings or assumptions? Smart baristas tweak variables like grind size, tamping pressure, and even little details such as pitcher angle to refine results. For example, adjusting the tilt of your pitcher during pouring profoundly influences the microfoam’s stability and latte art potential. It’s these nuanced steps that distinguish a good cup from a great one.
Understanding these advanced details reduces common mistakes and transforms your coffee experience. An important trap to avoid is neglecting the maintenance schedule of your equipment; skipping descaling and cleaning cycles can cause temperature inconsistencies and equipment wear. For more insights on routine maintenance, see this article.
So, rather than just investing in high-end gear, focus on mastering the hidden nuances and calibration tricks that truly enhance your craft. Remember, the difference between average and exceptional is often in these details. Have you ever fallen into this trap? Let me know in the comments and share your experiences!
Keep Your Equipment in Peak Shape for Consistent Results
Investing in high-quality barista gear is just the beginning; regular maintenance is key to ensuring long-term performance. For instance, I personally swear by using a cleaning schedule that includes descaling my espresso machine every 3-6 months, depending on usage. This prevents mineral buildup that can cause pressure inconsistencies and flavor degradation. Additionally, keeping your grinder burrs calibrated—such as performing the 5kg bean spin test for ceramic burrs—ensures uniform grind size, which directly impacts extraction quality.
Tools I Recommend for Reliable Maintenance
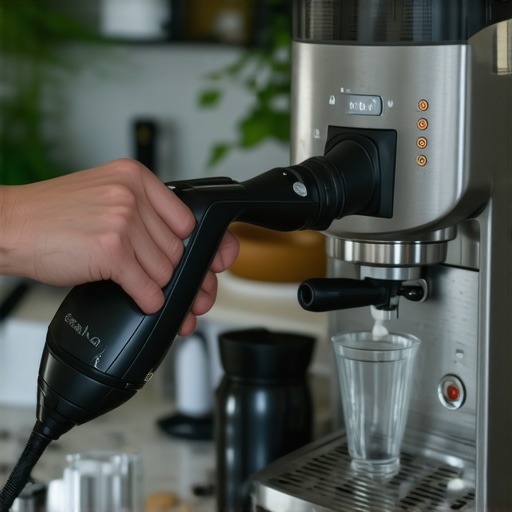
When maintaining espresso machines, I rely heavily on dual-purpose cleaning brushes that fit inside portafilters and group heads, making periodic backflushing straightforward. For grinders, a compressed air blower helps remove static-charged coffee dust from burrs and chute paths—saving time and improving grind consistency. I also use a digital pressure gauge connected to my machine, which I calibrate monthly to prevent pressure drops that can lead to sour shots. Such precise tools eliminate guesswork and help maintain shot clarity over years of use.
How do I maintain my gear over time?
Establishing routine checks and using the right tools can drastically extend the lifespan of your equipment. For example, regularly inspecting and replacing worn-out seals can prevent leaks and pressure drops. If you notice your boiler temperature drifting, consider calibrating your sensors—consult the detailed tips on sensor calibration to keep things accurate. Remember, neglected maintenance isn’t just about equipment longevity; it directly affects the quality of your coffee. A little proactive upkeep, such as descaling when you see signs of scale buildup, can avoid costly repairs down the road.
Preparation for Future Trends
Looking ahead, automation and smart sensors will likely become even more integrated into home espresso setups. Investing in tools that allow remote monitoring—like Wi-Fi enabled pressure and temperature sensors—will enable you to predict maintenance needs before issues occur. As these technologies evolve, mastering your gear’s calibration and upkeep will become more accessible and essential, allowing you to produce consistently excellent coffee with less guesswork.
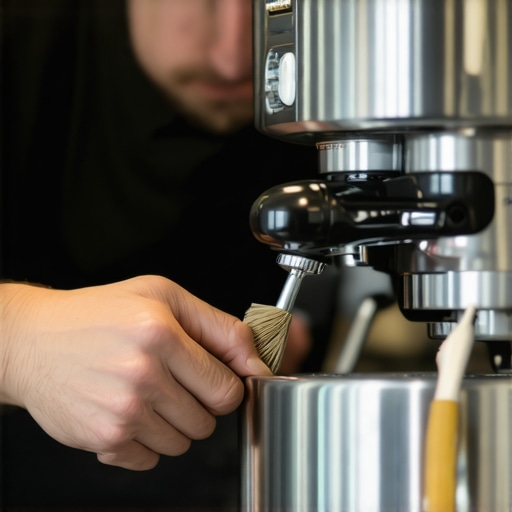
Image description: Close-up of a barista cleaning an espresso machine group head with specialized brushes, emphasizing routine maintenance. Alt text: Barista cleaning espresso machine group head with tools for maintenance. Title: Maintaining Your Espresso Machine for Long-Term Performance.
Try integrating a monthly sensor calibration check into your routine, especially if you own a model with advanced diagnostics. This small step can prevent flavor inconsistencies caused by inaccurate readings. Staying proactive about maintenance is the best way to enjoy flawless espresso day after day and prolong the life of your valuable gear.
Shattering the Myths That Stalled My Espresso Journey
One of the most enlightening lessons I learned was that even with top-tier equipment, mastering microfoam hinges on seemingly minor details. I used to chase perfect temperature and frothing times, but results remained inconsistent. It wasn’t until I prioritized pitcher tilt and pour technique that things changed dramatically. Realizing that subtle adjustments in pitcher angle could make all the difference was a lightbulb moment that propelled my skills forward.
Discovering Unexpected Benefits in Routine Tweaks
Implementing small focus points, like controlling pour height and wrist movement, didn’t just improve my latte art; it also enhanced the texture and stability of microfoam. These refinements led me to enjoy creating intricate patterns confidently, transforming an everyday routine into a satisfying craft. The most unexpected benefit? My overall espresso consistency improved as the microfoam’s stability facilitated better integration with the coffee itself.
Invest in Knowledge More Than Gear—The Power of Preserving Equipment
While it’s tempting to think high-end machines guarantee perfect results, I found that diligent maintenance is essential. Regularly cleaning, calibrating sensors—like ensuring your ceramic burrs are properly conditioned—and understanding your machine’s quirks elevate your brewing game. Learning these details has saved me from costly repairs and kept my espresso tasting consistently fresh, proving that knowledge truly complements hardware.
Uncovering Hidden Lessons in Equipment Maintenance
One overlooked aspect was how ambient environmental factors impact performance. Temperature fluctuations sometimes led to inconsistent extraction. Recognizing the importance of room stability and proper calibration—such as sensor calibration tips—helps maintain optimal conditions. This insight reminded me that being attentive to the environment and gear calibration is a game-changer for any dedicated home barista.
Transform Your Approach and Elevate Your Coffee Craft
The journey to great microfoam and espresso isn’t solely about expensive equipment; it’s about honing your technique, understanding your tools, and paying close attention to detail. Every small improvement compounds, elevating not just your coffee but your overall passion for brewing. Dive into these nuances and watch your skills flourish—quality coffee is well within your reach when you master these intimate details.