How to Fix a Grinder Adjustment Ring That Won’t Budge
I vividly remember that moment during my weekend espresso session—my fingers gripping the adjustment ring of my grinder tighter and tighter, only to feel it stubbornly resist any movement. Frustration bubbled up as I realized I was stuck with a grind size that ruined my shot and threw off my morning routine. If you’ve ever faced that helpless feeling when your grinder adjustment ring won’t budge, you’re not alone. It’s a common, yet often overlooked, challenge that can zap your enthusiasm for making perfect coffee at home.
Today, we’re going to dive deep into why your adjustment ring might be stuck and, most importantly, how to fix it without risking damage or giving up your beloved brew. I’ll share proven tips based on personal experience and best practices I’ve gathered over years of tinkering with espresso gear.
Why Do Adjustment Rings Get Stuck and Why It Matters
First off, let’s talk about why this happens. Over time, coffee grinders can accumulate grit, coffee oils, and even rust—especially if they’re not cleaned regularly. These tiny particles can cause the adjustment mechanism to seize up, making it nearly impossible to change your grind setting. Relying solely on factory settings or brute force can lead to stripped threads or broken parts—trust me, I’ve made that mistake early on, and it cost me more than a little frustration.
Getting your adjustment ring moving again isn’t just about convenience; it directly affects your ability to dial in the perfect extraction. A stuck adjustment ring can mean inconsistent shots, uneven grind sizes, and ultimately, subpar espresso. Plus, if you’re chasing ultra-light roasts or specific brew profiles, precise control over your grind size is non-negotiable.
What I love about tackling this problem is that it’s usually something simple—like cleaning or applying the right amount of pressure—that can restore your grinder’s full range. For a deeper understanding of grind consistency issues, check out this insightful article on [the hidden reasons your grinder motor labors even on coarse settings](https://espressotechguide.com/the-hidden-reason-your-grinder-motor-labors-even-on-coarse-settings). Now, let’s get to the nuts and bolts of freeing up that stubborn ring.
Are you tired of wrestling with your grinder just to make a small adjustment? If so, keep reading. We’ll explore the step-by-step process to unstick your adjustment ring safely and effectively, so you can get back to brewing perfect espresso without delay.
Apply Penetrating Oil Carefully
Start by selecting a light, food-safe penetrating oil like one used for kitchen appliances. Dip a toothpick or a small brush into the oil and apply a thin layer around the threaded area of the adjustment ring. I once used a tiny amount of WD-40 to loosen a stubborn grinder, but ensure it’s food-safe if you plan to use the grinder afterward.
Let It Sit
After applying the oil, give it at least 15-20 minutes to penetrate the rust or debris. During this time, you can gently wiggle the ring back and forth, avoiding excessive force. In a personal experience, patience during this step prevented stripping the threads.
Use Proper Tools and Technique
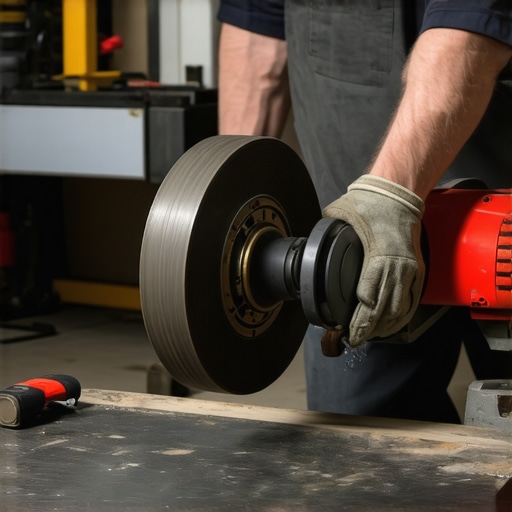
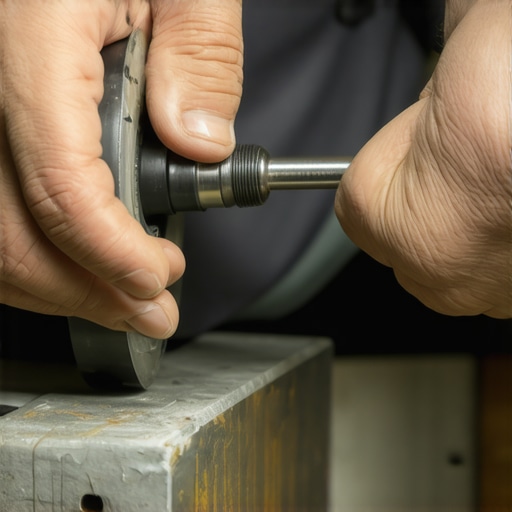
Secure the grinder base in a stable position. Wrap a rubber grip or a shop towel around the adjustment ring to increase friction. Gently turn the ring counterclockwise—think of unscrewing a stubborn jar lid—using slow, steady pressure. Avoid using a hammer or excessive force, which can strip the threads or damage the grinder.
Leverage Without Over-Torque
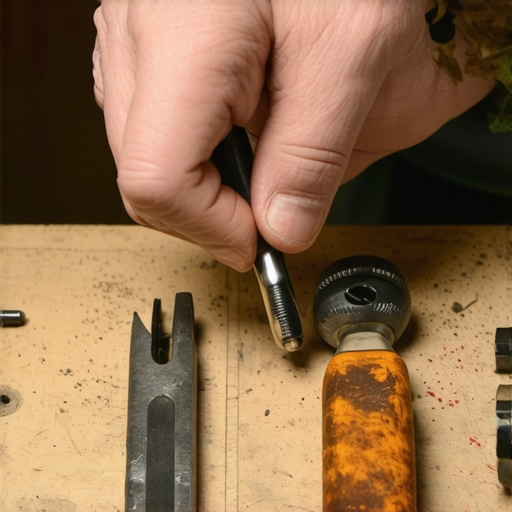
If the ring resists, try using a strap wrench or a custom-made tool designed for threaded parts. I once crafted a simple strap from an old bicycle inner tube, which provided enough grip to turn the ring without slipping or damaging it. Remember, a little torque goes a long way—it’s more about finesse than brute strength.
Clean and Reassemble
Once the ring moves freely, wipe away excess oil and debris with a soft cloth. For optimal maintenance, consider dismantling the grinder’s burr carrier to clean any hidden grit that might cause future jamming. A thorough cleaning can prevent the adjustment ring from seizing again and improve overall grind consistency.
Optional: Use a Paper Shim for Better Alignment
If you notice that reassembling causes slight misalignment, try inserting a small piece of paper shim between the burrs and the adjustment ring before tightening. This simple trick can help ensure smooth adjustment and prevent future sticking—more on this technique can be found in this guide on aligning burrs with paper shims.
Final Tips and Precautions
Always avoid forcing the adjustment ring if it doesn’t budge. Excessive force can strip threads or damage the mechanism. Instead, revisit the steps, apply more penetrating oil, or seek professional repair if needed. Regular cleaning and proper maintenance can significantly reduce the chances of your adjustment ring becoming stuck again, preventing the frustration I once experienced.
When diving into the world of home espresso, many enthusiasts rely heavily on popular advice that, while widespread, often overlooks crucial nuances. One prevalent misconception is that high-end equipment guarantees superior results—yet, in my experience, even the most luxurious machines can falter if not properly maintained or calibrated. For example, investing in an expensive grinder won’t fix inconsistent shots if the burrs aren’t aligned correctly or if static buildup causes uneven grind distribution. You can check out how this article on static reveals overlooked issues that disrupt grind consistency.
Another myth revolves around milk frothing: many believe that powerful steam wands automatically produce microfoam. However, the technique, pitcher angle, and milk temperature are equally critical. Misunderstanding this can lead to large bubbles and a lack of velvety texture, which is why mastering the art of milk steaming is essential.
For advanced users, a common trap is relying solely on factory zero points or factory calibration marks, assuming they’re perfectly aligned from the start. In reality, these settings often need fine-tuning—a process that involves understanding the subtle shifts caused by temperature fluctuations, burr settling, or even minor mechanical wear. A good starting point is examining this guide on factory zero points, which explains how to verify and optimize your grinder’s calibration.
Have you ever fallen into this trap? Let me know in the comments.
Why do even professional barista setups struggle despite premium gear?
Because beyond the equipment, it’s mastering the small, often overlooked details—like burr alignment, proper cleaning routines, and calibrated pressure profiles—that truly make a difference. A minor misalignment, for instance, can cause bitter notes or sour shots, especially when dealing with ultra-light roasts. Consistent calibration and understanding how your gear reacts to various beans are key—more than just the brand or price tag.
By digging deeper into these nuances, you can avoid costly mistakes and gain real control over your espresso quality. Embracing these subtleties transforms home brewing from a simple ritual into an art form, ensuring that every shot is as perfect as a professional barista’s. Keep questioning common wisdom, stay curious about your gear’s mechanics, and you’ll elevate your craft to new heights.Keeping your home espresso gear in top shape requires more than just initial setup; it’s an ongoing process of maintenance, smart tool selection, and understanding how to troubleshoot. Regular upkeep not only prolongs the lifespan of your machines but also ensures consistent, high-quality shots. One of the most crucial aspects is maintaining your grinder—since static buildup and worn-out burrs can severely impact grind consistency.
I personally rely on a few key tools that have proven invaluable over years of home brewing. For example, using a **simple paper shim** has saved me numerous times when aligning burrs for optimal extraction. This low-tech solution helps to fine-tune burr placement without costly repairs, and you can learn the technique in this detailed guide on aligning burrs with paper shims.
Beyond mechanical adjustments, software plays a critical role. Investing in a high-quality **smart scale** offers precise flow and shot timing, but only if it’s properly calibrated. Regularly checking its latency and response ensures your pour consistency and helps troubleshoot issues like flow disruptions. For example, fixing flow rate errors often involves recalibrating your scale—something I do monthly using manufacturer instructions followed by a quick verification. Learn more about this in this guide on fixing smart scale latency.
When it comes to cleaning, effective tools streamline the process. A **soft, food-safe brush** helps remove stubborn coffee oils from grinders and brew heads without damaging components. Additionally, my method includes a monthly deep clean with a vinegar solution to tackle mold and mineral buildup, especially in water tanks—more on which is covered in this cleaning guide.
Looking ahead, I believe the trend is moving toward smarter, more integrated maintenance solutions. Future machines may include self-cleaning mechanisms or remote diagnostics, reducing downtime and preserving flavor. For now, a vigilant maintenance schedule backed by these specific tools keeps my setup running reliably.
**How do I keep my espresso gear performing over time?** It’s about combining routine cleaning, precise calibration, and the right tools—like the paper shim trick or a dedicated scale—to prevent issues before they happen. I highly recommend trying out the paper shim technique next time you notice your burrs aren’t aligning perfectly; it’s simple but adds a level of precision that makes a real difference in your shots. For comprehensive tips, check out the related guides linked above and start building your maintenance routine today—your taste buds will thank you!
What I Didn’t Expect About Espresso Gear That Changed Everything
One of the most humbling lessons was realizing how critical regular cleaning and precise calibration are—no matter how high-end your machine is. I once thought a fancy espresso machine would compensate for neglect, but I learned the hard way that even professional setups need consistent maintenance to perform at their best. This insight pushed me to adopt a simple but effective routine, like the paper shim trick for burr alignment, which significantly improved my shots and boosted my confidence.
Tools That Turn Home Baristas Into Pros
My go-to toolkit includes a soft brush for cleaning, a smart scale to monitor flow rate, and, surprisingly, a tiny piece of paper used as a shim for burrs. The paper shim is a game-changer—find out how to use it in this detailed guide. I also trust my high-quality water filter because water quality directly impacts flavor. These tools and routines have transformed my home brewing, making each shot predictable and consistently delicious.
Embracing the Ongoing Journey of Espresso Excellence
It’s easy to get caught up in seeking perfection but remember that every espresso journey is unique. The key is to stay curious, continuously refine your techniques, and enjoy the process of learning. Whether it’s adjusting your grinder, cleaning your water tank, or experimenting with new beans, each small step brings you closer to barista-level results. Believe me, the satisfaction of pulling a perfect shot—every time—is worth every ounce of effort. Now, it’s your turn: what’s one small change you’ve made that significantly improved your espresso game? Share below!