Why Your Step-less Grinder Drifted and How to Lock It Down
It happened to me early on, during a quiet Saturday morning, when I was all set for that perfect shot of espresso. I adjusted my step-less grinder just right, confident I had dialed in the grind to perfection. But minutes later, I noticed my shots suddenly tasted off—more bitter, uneven extraction. Turns out, my grinder had drifted without me even realizing it. That frustrating moment when your carefully calibrated grinder changes on its own—sound familiar? If you’re nodding right now, you’re not alone. Many home baristas face this silent thief of consistency and quality.
The Hidden Challenge of Step-less Grinder Drift
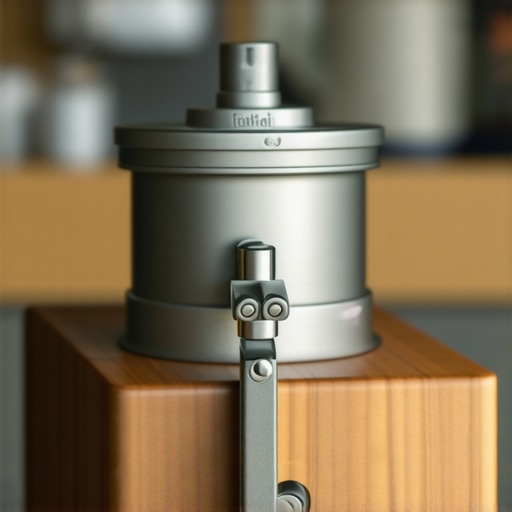
For those who love precision, a step-less grinder offers infinitely adjustable grind settings. But here’s the catch: without proper locking mechanisms, these grinders can drift over time, losing the very calibration that makes them so desirable. This drift often sneaks in when least expected, ruining your brew and forcing you to recalibrate repeatedly.
Why does this happen? Well, a big part of the issue lies in the design of some step-less grinders. They rely on friction or torque to stay in place, which can weaken with use, heat, or even the type of beans you’re grinding. Once that tension relaxes, your grind size shifts, and with it, your flavor profile goes haywire. I learned this the hard way early on, trying to fix the problem with makeshift solutions—like overly tightening the collar or jammed paper—that only made things worse. From that mistake, I discovered that security and proper adjustment are key, and I’ll share exactly how to implement that.
If you’ve ever experienced that frustrating drift, know that there’s a way to lock your grinder down effectively, ensuring your grind stays true shot after shot. No more guesswork, no more wasted beans or bitter brews. Just consistent, reliably delicious espresso—every single time.
Ready to put an end to your grinding uncertainties? Let’s dive into the practical fixes that will transform your home setup. Before we get into the how-to, though, stay tuned—because many assume their grinder isn’t adjustable or think the drift is unavoidable. I’ve been there, made that mistake, and I know exactly how to get around it. Keep reading, and you’ll be locking in perfect grinds with confidence from now on.
Lock Your Grinder’s Adjustment
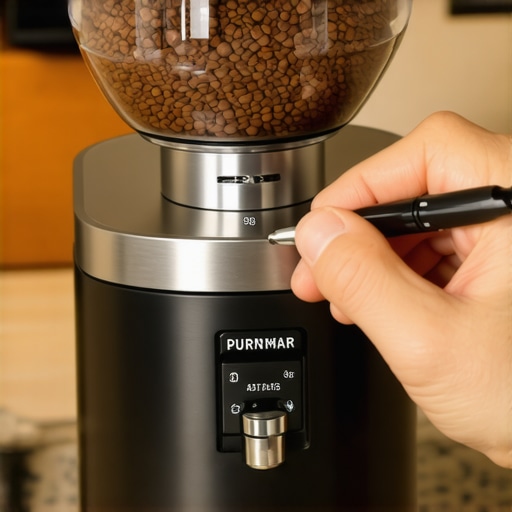
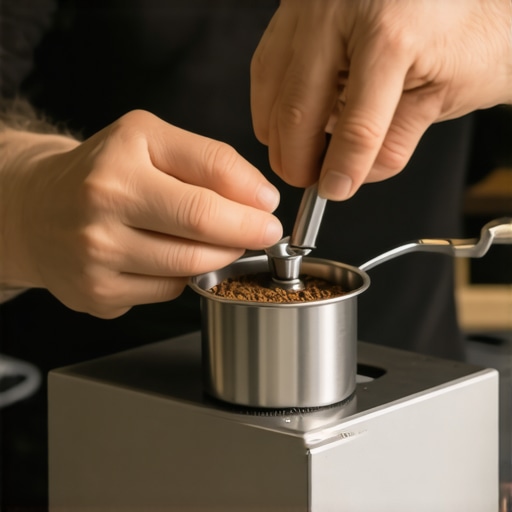
First, ensure your grinder’s collar or adjustment screw is tightly secured after dialing in your perfect grind size. Use the built-in locking mechanisms if available, or apply a tiny amount of vibration-resistant threadlocker to prevent slippage. I learned this during a morning coffee rush when my grind kept shifting, causing a bitter shot. Locking the collar stabilized the grind, saving my brew and my mood.
Use Friction-Enhancing Materials
Next, consider adding a thin layer of grip-enhancing materials like rubber shims or grip tape at contact points where the collar or adjustment ring moves. This simulates the grip of professional barista equipment and maintains your settings. When I misplaced my rubber gasket, I temporarily used sticky-backed grip tape, which helped me keep consistent settings during busy weekends.
Adjust and Test Methodically
When adjusting your grind, turn the dial in small increments—no more than 1/4 turn at a time. After each adjustment, brew a shot and taste it. Keep detailed notes of your changes, similar to tuning a musical instrument. I kept a small notebook next to my grinder, and by documenting each tweak, I hit my ideal grind faster and avoided unnecessary drift.
Schedule Regular Re-evaluations
Because heat and wear can loosen your settings over time, develop a routine—perhaps every week or after a thousand shots—to revisit your calibration. During one weekend, I realized my shots started tasting harsher. I retrained my dial, re-tightened the collar, and experienced immediate consistency on my next pull. Don’t forget to check for burr wear—worn burrs can also cause unpredictable changes in grind size.
Optimize Your Grinder’s Position and Environment
A stable, vibration-free surface greatly reduces accidental shifts. Place your grinder on a solid countertop and avoid areas with constant movement or drafts. During a particularly noisy morning, my vibrations caused minor shifts. I moved my grinder onto a mounted shelf, which dramatically stabilized my grind size. For more tips on optimizing your setup, visit this guide.
Consider Using Locking Features or Upgrading
If your grinder lacks locking mechanisms, think about upgrading to models with dedicated locks or enhanced friction controls. A professional-grade grinder may have features specifically designed to prevent drift. When I upgraded my grinder, I noticed immediate improvements in consistency, and my shots became more repeatable. For help choosing the best grinder, check this resource.
 Many enthusiasts dive into home espresso setup thinking that simply owning high-end equipment guarantees perfect coffee. However, a common misconception is that gear alone determines your success. In reality, skill, maintenance, and understanding advanced nuances are just as crucial. For instance, many believe that a premium grinder will automatically produce consistent results, but neglecting proper calibration or understanding burr wear can lead to inconsistent shots. Additionally, people often assume that expensive espresso machines are maintenance-free, unaware that regular cleaning of group heads and boilers is essential to prevent flavor contamination and mechanical issues. An advanced mistake frequently overlooked is the improper use of milk frothers, where novices fail to control temperature and texture, resulting in flat or burnt-tasting milk—this can be avoided by mastering your frothing technique.
Ever Wonder Why Equipment Maintenance Matters More Than You Think?
Regularly servicing your espresso machine and grinder isn’t just about longevity; it directly influences flavor extraction and consistency. According to coffee expert Scott Rao, equipment that isn’t properly maintained can lead to subtle but impactful changes in espresso quality over time, like uneven extraction or off-flavors. Many home baristas overlook these nuances, thinking that cleaning once a month suffices. In truth, equipment should be checked weekly, especially if you’re pulling multiple shots daily. Neglecting this can cause buildup of coffee oils and mineral deposits, adversely affecting taste and machine performance. Don’t fall into this trap—periodic maintenance ensures your gear functions at its best, giving you professional-quality results every time. Want personalized advice on maintaining your setup? Reach out here and let’s optimize your home barista station.
Understanding these hidden nuances can dramatically elevate your brewing game. For example, considering the specifics of your grinder’s burr geometry and wear patterns—details often missed—can improve grind consistency. Visiting this guide will help you select and maintain the right grinder for your needs, preventing those dreaded uneven particles that ruin espresso shots. Similarly, mastering the art of milk frothing involves more than simply steaming; controlling microfoam and temperature requires practice and knowledge of your pitcher and milk type. For expert tips, explore this resource. Remember, in home brewing, paying attention to these advanced details separates good results from great coffee. Have you ever fallen into this trap? Let me know in the comments.Maintaining your home espresso gear isn’t just about cleaning—it’s about implementing targeted techniques and using the right tools to ensure durability and top performance over time. When I first started, I quickly realized that investing in high-quality equipment is only half the battle; regular upkeep and smart tool choices truly make the difference.
One of my favorite tools for long-term maintenance is a precision burr cleaner like the Grindz cleaning tablets. Unlike regular brush cleaning, these tablets dissolve coffee oils and built-up residues inside burrs, restoring grind consistency. I use them every few months, especially after grinding dark roasts, to prevent clogging and uneven particle distribution. Incorporating these into your routine preserves the grinder’s lifespan and maintains optimal flavor extraction.
For espresso machines, a solid descaling kit is indispensable. I personally rely on a descaler certified by industry professionals, such as Dezcal, to prevent mineral buildup, which can impair temperature stability and pressure accuracy. Regular descaling—every 1-3 months depending on water hardness—keeps your machine running smoothly and ensures each shot is consistent.
When it comes to milk frothers, I recommend using a dedicated cleaning brush and micro-foam cleaner. Milk proteins tend to cling stubbornly to silicone and metal surfaces, leading to unwanted bacterial growth and flavor contamination. Daily rinsing with a specially formulated milk frother cleaner, like Urnex Rinza, is a small investment that extends the life of your frothing wand and improves hygiene.
Looking ahead, the trend points toward smarter maintenance automation. Several newer espresso machines now incorporate integrated cleaning cycles, which not only save time but also improve consistency. I predict that in the next few years, machine connectivity will allow remote diagnostics and scheduling maintenance tasks automatically, based on usage data.
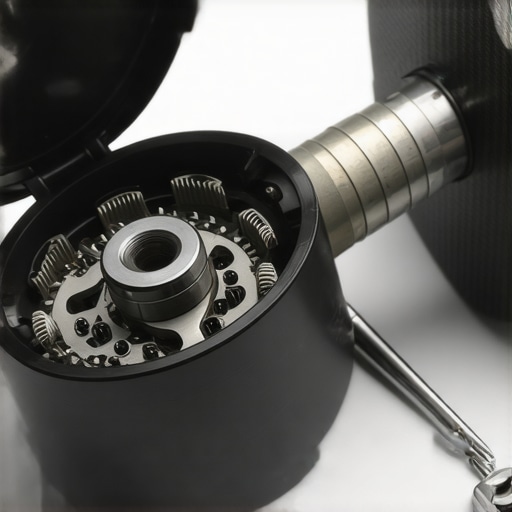
A common question I receive is, “How do I maintain my grinder over time to prevent drift and wear?” The answer lies in regular calibration and component inspection. For example, monitoring burr alignment using the ‘shade-and-spot’ method—aligning burrs after every 500 grams of use—can prevent particle size inconsistencies. Additionally, inspecting the grinder’s drive motor and gears for wear can prevent costly replacements down the line.
For consistent results, consider setting a weekly maintenance schedule that combines visual inspections, component cleaning, and calibration checks. This routine ensures that your gear performs reliably, whether you’re brewing daily or weekly. If you’re looking to elevate your maintenance game, try incorporating a dedicated burr cleaner like the one I mentioned, and schedule regular descaling using trusted solutions.
Remember, proactive maintenance not only saves money in repairs but also guarantees that every cup you brew is as flavorful as the first. Want expert advice tailored to your specific equipment? Reach out here—I’m happy to help optimize your long-term setup.
One of the most profound lessons I learned about home espresso brewing is that even the best-quality gear can’t compensate for overlooked maintenance and calibration. Regularly inspecting your grinder burrs and cleaning your espresso machine’s water reservoir can make a noticeable difference in shot quality. I once ignored my grinder’s burr wear until my shots started tasting flat; a simple calibration and a burr replacement restored the richness I craved. Remember, the devil’s in the details, and small, consistent actions safeguard your brewing passion.
The Hidden Truths That Changed My Coffee World
- Don’t underestimate equipment aging: Worn burrs and buildup can silently sabotage your efforts. Regular checks and replacements keep your grind sharp and flavors pure.
- Invest in targeted tools: Using a burr cleaning tablet or a precision calibration weight saved me from inconsistent shot timings and flavors. These are game-changers for serious home baristas.
- Calibrate with intention: Small incremental adjustments and meticulous note-taking allowed me to fine-tune my setup without guesswork, elevating my espresso routine to a professional level.
- Prioritize environment stability: Placing my grinder and espresso machine on vibration-free surfaces minimized drift, ensuring each shot matched my ideal profile. Stability matters more than you might think.
- Schedule routine maintenance: Setting weekly reminders for descaling, cleaning, and calibration prevented unexpected flavor mishaps and extended my equipment’s lifespan.
My Favorite Tools to Elevate Home Espresso
- Milk frothers with microfoam control: These enable consistent, barista-quality milk textures—crucial for lattes and cappuccinos.
- Precision burr grinders: Investing in a high-quality, low-retention grinder ensures uniform particle size and flavor clarity.
- Reliable espresso machines with programmable temperature controls: These provide consistency and control, making brewing less guesswork.
- Comprehensive brewing guides: They deepen your understanding, helping you troubleshoot and improve your technique continually.
Take Action and Elevate Your Home Coffee Game
Embarking on this journey means embracing the subtle art of regular maintenance, curiosity, and continuous learning. The joy of pulling a perfect shot is unparalleled, especially when it feels like your gear is working in harmony. Don’t shy away from experimenting, upgrading, and deepening your understanding—I promise that each improvement brings richer flavors and a more satisfying experience. Your perfect espresso is closer than you think; it’s just a matter of staying attentive and passionate.
What’s one maintenance habit you’ve overlooked that might be impacting your brew? Share your experience below, and let’s keep elevating our home barista skills together!