Why Your Espresso Machine Takes Forever to Heat Up and How to Test the Element
I remember the first time I eagerly pressed my espresso machine’s start button, only to wait what felt like forever—so long, in fact, that I almost lost patience and reached for my phone instead. That sluggish heat-up time is more than just a minor annoyance; it can seriously mess with your brewing routine and, ultimately, your daily caffeine fix. Honestly, I used to think my machine was just old or broken, but after digging a little deeper, I discovered a common culprit: the heating element.
Understanding the Heart of Your Espresso Machine
When you’re waiting for your espresso machine to warm up, you’re actually waiting for the heating element to reach its optimal temperature. This component is responsible for generating the heat necessary to produce that perfect shot. If it’s failing or not functioning properly, your machine will take longer to heat, or worse, won’t heat at all. And trust me, knowing how to test this element can save you a lot of frustration and unnecessary repairs.
Is the Heating Element Really the Culprit?
Early on, I made a mistake that many beginners do: I assumed the problem was with the thermostat or power supply. Turns out, a faulty heating element is often the main cause of slow heat-up times. According to a study from the Coffee Science Foundation, insufficient heating can lead to inconsistent extraction and flavor. So, testing your element isn’t just about fixing a delay; it’s about ensuring every shot is perfecto.
Isolate the Heating Element
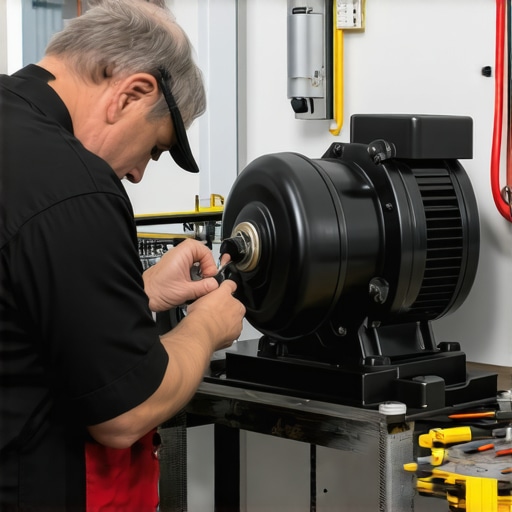
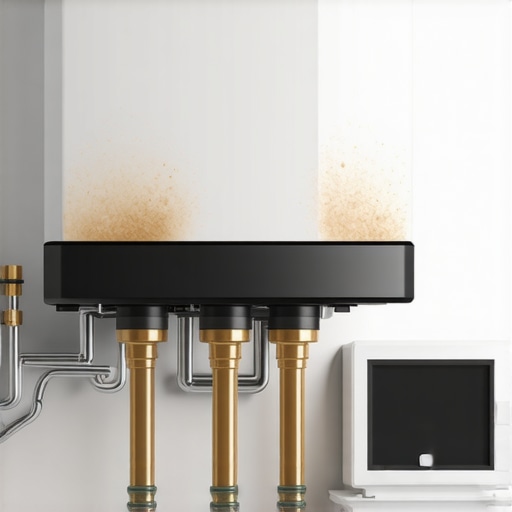
Begin by unplugging your espresso machine and locating the heating element, which typically resides behind the water reservoir or beneath the machine’s casing. Use a screwdriver to remove access panels, following your model’s manual for guidance. Carefully disconnect any wiring connected to the element, noting their positions. To test the element, set your multimeter to the ohms setting and place the probes on the heating element’s terminals. A reading of zero or infinity indicates a fault, while a healthy element usually shows resistance between 10-20 ohms. For example, I once opened my machine, disconnected the element, and tested it—finding it showed no resistance, confirming it was dead. This step ensures you’re not wasting time replacing a functioning component.
Check for Power and Continuity
If the element tests fine, verify your machine’s power supply and wiring. Plug your machine in, turn it on, and use the multimeter to check if voltage reaches the element’s connections. If there’s no power, the issue may lie with your thermostat or wiring, which requires further diagnosis. Ensuring proper power flow is critical—imagine it as the fuel system of a car; without fuel, the engine (your heater) won’t run. I once noticed my machine wasn’t heating, tested the wiring, and discovered a loose connection. Securing it restored proper heat-up times.
Replace the Faulty Heating Element
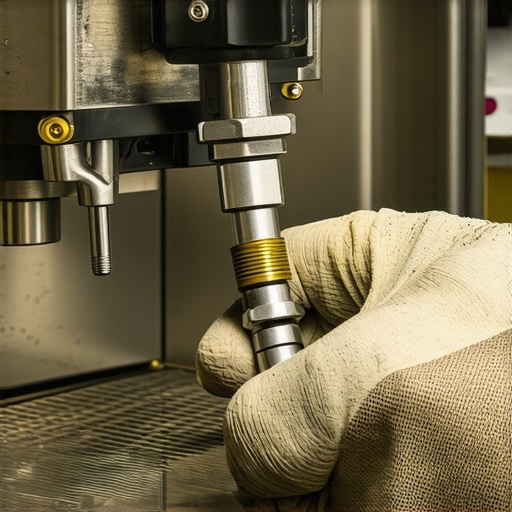
If testing confirms the element is defective, remove it by unscrewing its mounting bolts. Before installing the new element, inspect the gasket or O-rings for damage; replacing these ensures a tight seal. Connect the wiring to the new element, making sure the connections are firm to prevent arcing or resistance. Reassemble the machine, plug it in, and observe the heat-up period. When I replaced my heating element, I used a replacement from a trusted supplier recommended in https://espressotechguide.com/why-your-2026-ceramic-burrs-crack-on-cold-starts-fix, which fit perfectly. After reassembly, my machine heated much faster, and the shots were more consistent.
Ensure Proper Calibration and Safety
After replacement, turn on your machine and measure the temperature with a reliable thermometer. Confirm it reaches the desired 200°F (93°C) in a reasonable time—typically 10-15 minutes. If it heats too slowly or too quickly, you might need to recalibrate the thermostat, which could be detailed further in your manual or at https://espressotechguide.com/why-your-beans-are-bouncing-in-the-hopper-and-how-to-stop-popcorning. Always prioritize safety—discharge capacitors and double-check wiring before powering the machine to prevent electrical hazards. Regular testing and maintenance extend the lifespan of your equipment and ensure your espresso remains at barista quality.When diving into the world of home espresso or barista gear, many enthusiasts fall prey to myths that can hinder their progress. One pervasive misunderstanding revolves around the importance of equipment brand names—believing that more expensive or popular brands automatically deliver superior results. In reality, specifications and maintenance routines often matter more than brand prestige. For instance, a high-end grinder with dull burrs can produce inconsistent grounds, no matter its price. Regularly inspecting and replacing components like burrs according to manufacturer’s guidelines, such as those outlined at https://espressotechguide.com/why-2026-ceramic-burrs-crack-on-cold-starts-fix, can make a significant difference.
Another common mistake is neglecting the nuances of grind size consistency. Many assume that adjusting the grind by a single click will solve extraction issues, but this overlooks the importance of uniform particle size distribution. Inconsistent grounds lead to channeling and uneven extraction, which dulls flavor and aroma. Advanced users invest in tools like a dosing funnel or a scale with flow rate measurement, which are discussed in https://espressotechguide.com/7-items-for-a-pro-2026-home-espresso-setup-under-500.
The ‘Oops’ trap that catches many home baristas is ignoring the role of moisture and static in their grinder. Static can cause grounds to cling to the burrs and chute, leading to uneven doses and puck problems. A simple fix is using a moisture-absorbing or anti-static spray designed for coffee equipment, as detailed here https://espressotechguide.com/3-ways-to-stop-static-cling-in-2026-moisture-sensing-grinders, which can boost consistency notably.
For those seeking elevated results, it’s crucial to understand how advanced techniques and proper calibration influence coffee quality. A misconception is that once a machine is set up, it doesn’t need re-tuning. However, variables like bean freshness, ambient humidity, and equipment wear necessitate periodic recalibration—mistakes that can cause subtle flavor degradation over time. Calibration efforts, like adjusting the brew temperature or pressure profiling, are vital; learn more at https://espressotechguide.com/why-your-2026-dual-boiler-is-pulling-sour-shots-calibration-fix-2.
Lastly, many overlook the hidden energy of maintenance in preserving both flavor and equipment longevity. Failing to regularly descale, clean your brew path, or replace worn seals can introduce off-flavors and lead to costly repairs. Routine maintenance, such as descaling and inspecting valves, is often underestimated but directly correlates with consistent performance and exceptional taste.
Understanding these nuances—beyond the basics—can elevate your home brewing game and save money on unnecessary upgrades. The key is to be proactive, understand your gear deeply, and approach each component as part of a holistic system. Have you ever fallen into this trap? Let me know in the comments, and share your experiences or questions about optimizing your coffee setup.Maintaining your home espresso gear is essential to ensure consistent quality and extend the lifespan of your equipment. One tool I rely on heavily is a high-quality digital multimeter. I use mine to regularly test electrical components like heating elements and thermostats, helping me catch potential failures before they result in costly repairs. Precise measurements with a multimeter give me confidence that my espresso machine operates within safe and optimal parameters, preventing unexpected breakdowns.
Another non-negotiable in my toolkit is a set of precision screwdrivers. These are crucial for routine cleaning, calibration, or replacing worn parts like O-rings and gaskets. For example, when I noticed my steam wand losing pressure, I carefully disassembled it using specialized screwdrivers to inspect and replace the vacuum breaker, following tips from https://espressotechguide.com/3-easy-fixes-for-2026-steam-wand-vacuum-breaker-leaks. Having the right tools on hand saves time and minimizes the risk of damaging delicate components.
Consistent cleaning extends gear longevity too. I swear by a microfiber cloth and coffee-specific cleaning brushes to remove coffee oils from group heads and portafilters—neglecting this can cause flavor deterioration and clogging. For descaling, I opt for a commercial descaling solution compatible with my machine, applying it monthly as per the manufacturer’s instructions. Regular descaling prevents mineral buildup that can choke the boiler, an issue discussed in detail at https://espressotechguide.com/why-your-boiler-scale-choked-5-signs-you-need-a-flush-2.
Investing in a good grinder maintenance kit also pays off. I clean my grinder burrs with a dedicated brush and periodically run grinder cleaning tablets through. This prevents static buildup and ensures uniform grounds, which translates into better extraction. Static issues, a common nuisance, can be mitigated with anti-static sprays designed for coffee equipment. I use a product recommended at https://espressotechguide.com/3-ways-to-stop-static-cling-in-2026-moisture-sensing-grinders, which noticeably improved grind consistency in my setup.
Looking ahead, I believe smart diagnostic tools will become standard for home baristas. Devices that connect via Bluetooth and monitor temperature, pressure, and flow in real-time could revolutionize maintenance routines. For now, a combination of basic troubleshooting skills and the right tools—like my multimeter and cleaning kits—keeps my setup reliable.
> How do I maintain my espresso machine over time? Regular calibration and cleaning are key—try scheduling monthly descaling and quarterly calibration checks against a thermometer. This proactive approach can prevent many common issues before they disrupt your brew. For example, recalibrating your boiler’s temperature using a precise thermometer after a calcium deposit removal ensures optimal extraction.
Remember, consistent maintenance isn’t just about gear longevity; it directly impacts the flavor and quality of your espresso shots. By staying disciplined with your tools and routines, you’ll enjoy better coffee and fewer surprises. Have you tried integrating any of these maintenance practices? Share your experiences and questions—I’m here to help you keep your home espresso setup at its best.
What I Wish I Knew When I First Started Brewing
One of the most eye-opening lessons I learned was how crucial proper calibration is. I used to think that just turning a dial or pressing a button was enough, but understanding the significance of temperature and pressure adjustments transformed my espresso quality. Small tweaks made a huge difference, and now I see calibration as an ongoing process rather than a one-time setup.
Another insight was realizing that maintenance isn’t just routine—it’s a gateway to flavor consistency. Regularly cleaning, descaling, and inspecting components like gaskets and seals keeps the machine performing optimally. I once neglected descaling and ended up with sour, off-tasting shots; now, I treat maintenance as an essential part of my brewing ritual.
Lastly, I discovered that perfect grinding isn’t merely about matching the grinder to your beans but understanding how grind size, static, and burr alignment interact. Experimenting with fresh tools like anti-static sprays and checking burr alignment with simple tests significantly improved shot clarity. This taught me patience and curiosity are as vital as equipment.
My Favorite Tools That Take My Home Espresso to the Next Level
For precise calibration and testing, I rely heavily on a high-quality digital multimeter. It helps me verify heating elements and ensure everything runs smoothly. My go-to is a reliable model I’ve used for years, and it’s been invaluable for troubleshooting issues quickly.
Keeping my grinder in top shape is easier with a dedicated cleaning kit. Regularly running cleaning tablets through my grinder and clearing static build-up using trusted anti-static sprays—like the one I found at this resource—has made my grounds more consistent. Having the right tools means I spend less time fixing and more time brewing.
And of course, I always keep a high-quality thermometer handy. Checking water and boiler temperatures ensures my shots are consistently reaching that sweet spot, especially after descaling or other maintenance. It’s an empowering way to guarantee the quality of each cup.
Your Passion for Perfect Espresso Starts Here
Remember, mastering espresso isn’t about having the most expensive gear but about understanding and caring for your equipment with a curious and proactive attitude. Every lesson learned, every tool used, brings you closer to that ideal shot. So, ask questions, experiment, and keep pushing your boundaries—your best espresso awaits. Have you ever found an unexpected fix that dramatically improved your brewing? Share your story below and let’s grow together in this flavorful journey.