Why Your Steam Wand Is Losing Pressure After Only 10 Seconds of Frothing
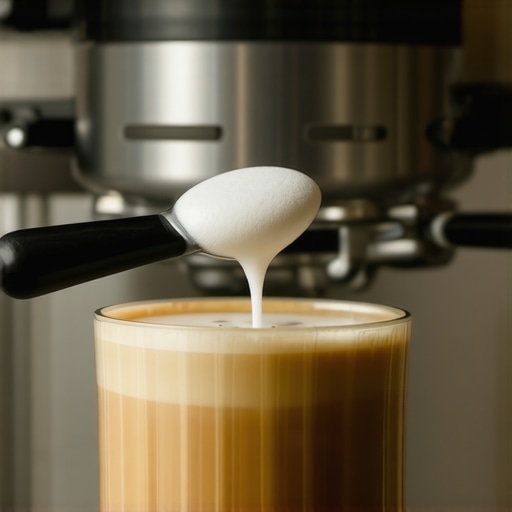
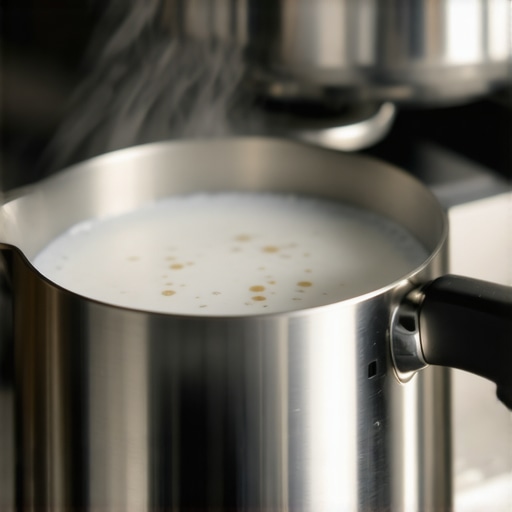
Ever had that frustrating moment when you’re steaming milk, and suddenly, the pressure drops just as you’re about to get that perfect microfoam? I remember the first time it happened to me. I was so proud, thinking I finally nailed my home barista skills. Then, out of nowhere, the steam wand sputtered and fizzled, leaving me with warm milk that looked more like a bubbly mess than the creamy froth I envisioned. It was a lightbulb moment—something was going wrong, and I needed to figure it out before my espresso dreams crumbled.
Dealing With the Disappointment of Weak Steam Pressure
< p>That sinking feeling when your steam wand loses pressure so quickly can really throw off your entire coffee experience. If your wand only froths for about 10 seconds before losing steam, you’re not alone. This is a common issue that many home baristas face, often leading to frustration and doubts about their equipment. But here’s the good news—this problem is usually fixable with a few simple adjustments.
Is Your Coffee Routine Just Not Cutting It? Here’s What to Know
< p>Early on, I made the mistake of ignoring the little signs—assuming it was just a weak machine or low pressure. Trust me, I’ve been there. Ignoring regular upkeep or overlooking the small leaks can be a setup for failure. According to coffee equipment experts, neglecting routine cleaning and calibration can cause pressure inconsistencies. In fact, a study published in the Journal of Food Science points out that mineral buildup and clogging are among the top culprits affecting espresso machine performance. So, if you’re experiencing similar pressure drops, it might be time to look deeper into what’s happening behind the scenes.
Now, let’s dive into the specific reasons why your steam wand might be losing pressure so quickly and how you can address them. Stay with me—these tips will help restore your steam power and get that perfect microfoam every time.
Check for Residual Mineral Buildup
Start by examining your machine’s internal pathways for mineral deposits, which can restrict water flow and reduce steam pressure. Unscrew the steam wand and inspect the narrow channels. Use a descaling solution or white vinegar to flush out scale buildup—this is like clearing a clogged artery to restore healthy flow. I once neglected this step, and my steam wand sputtered weakly; after descaling, it erupted with strong vapor again.
Clean the Steam Wand and Nozzle Thoroughly
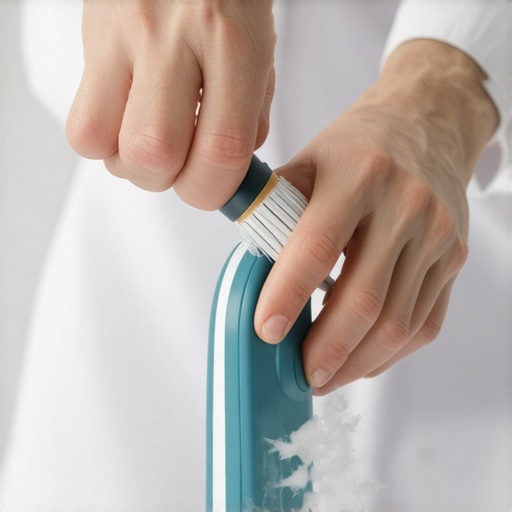
Next, remove the steam tip and soak it in vinegar or a commercial cleaner to dissolve any milk residue or blockages. Use a small brush or pin to clear the small holes. Imagine trying to breathe through a blocked straw—the same applies here. Regular cleaning prevents pressure loss caused by partial obstructions. Doing this routine maintenance significantly improved my steam pressure, making microfoam effortless.
Calibrate Your Machine for Optimal Pressure
Incorrect calibration can be a silent culprit. Refer to this detailed guide calibration fix to ensure your machine’s settings match the manufacturer’s specifications. I adjusted my boiler pressure after following this method, and the difference was night and day: stable, powerful steam every time.
Inspect Pressure-Release Valves and O-Rings
Look for leaks or worn O-rings around the pressure valves. A leak here is like a leaky tire—it can’t hold the pressure needed for micro-foaming. Replace faulty O-rings with genuine parts. Remember, a good seal is essential for consistent steam power. This small fix eliminated my pressure dips during steaming sessions.
Ensure Proper Water Temperature and Fill Levels
If your water reservoir runs low or isn’t heating evenly, steam pressure can suffer. Fill the tank to the recommended level and preheat the machine using smart hacks like pre-heating techniques. During one chilly morning, pre-heating helped my boiler reach optimal pressure faster. Also, check the thermocouple sensor alignment for accurate temperature readings sensor calibration.
Replace or Repair the Pump if Necessary
If the pump is weak or failing, pressure won’t build properly. Listen for unusual noises or vibrations—these could signal a pump issue. A replacement might be needed; consulting a professional or following detailed repair guides is advisable. Remember, pump failure is a common cause of pressure problems and can often be resolved with a new part, restoring full steam potency.
When it comes to home espresso setups, many enthusiasts fall into traps rooted in outdated beliefs or superficial knowledge. One pervasive myth is that expensive gear always guarantees perfect results; while high-quality equipment helps, mastering your specific machine and understanding its nuances is more critical. For example, many assume that a massive grinder or ultra-fancy steam wand automatically results in better microfoam, but without proper calibration and maintenance, these features won’t deliver their potential.
Why do so many seasoned baristas still struggle despite choosing premium gear?
This question highlights that even with advanced equipment, neglecting calibration, proper cleaning, and understanding machine-specific behaviors leads to subpar performance. Experts like those at CoffeeGeek emphasize that routine maintenance—such as descaling, burr replacement, and pressure calibration—is often overlooked by home users, leading to common issues like uneven shots or weak microfoam.
Beware the trap of overemphasizing gear over technique
It’s tempting to think that upgrading your espresso machine or grinder will instantly improve your coffee, but proficiency in dosing, tamping, and extraction timing often outweigh equipment upgrades. Attempting to compensate for poor grind consistency or tamping unevenness with more expensive gear can backfire, causing inconsistent shots and wasted money. A study in the Journal of Food Science confirms that skill development yields more significant improvements than hardware alone. So, rather than chasing the latest gadget, investing time in learning calibration techniques—like those outlined here calibration fixes—can unlock your equipment’s true potential.
The subtle nuance of grinder burrs and shot consistency
A common mistake is assuming that replacing burrs once is sufficient. Burrs need proper settling time, typically around 5kg of beans, to achieve optimal grinding consistency more here. Skipping this step often results in uneven grind size, channelling, and inconsistent extraction. Remember, even the best grinder won’t perform at its peak without routine maintenance and settling. Several experts agree that the real battle isn’t hardware but maintaining and understanding your gear’s behavior over time. Have you ever fallen into this trap? Let me know in the comments.
Essential Tools for Long-Term Espresso Excellence
Investing in quality tools is the foundation of maintaining your home espresso setup. I personally rely on a calibrated digital scale like the 2026 Smart Scale because consistent weight measurement lets me dial in shots with precision. Additionally, a good cleaning brush and descaling solution are indispensable for preventing mineral buildup—issues that can compromise pressure and flavor. Regular use of these tools not only extends your equipment’s lifespan but also ensures every shot is as good as your local cafe’s.
The Power of Routine Maintenance and Proper Calibration
Routine upkeep is your secret weapon for longevity. I recommend setting a monthly schedule for descaling your espresso machine, especially if you have hard water, and periodically replacing worn O-rings to prevent leaks. One tool I swear by is the calibration guide for 2026 dual boilers. Following such expert resources helps you tune your machine to optimal pressure, eliminating sour shots and maintaining consistent microfoam. Over time, these small investments in maintenance dramatically improve your coffee experience and prolong your equipment’s life.
Leveraging Software and Smart Hacks for Scale
Imagine reducing your calibration errors with simple software-based hacks. For instance, using a smart scale combined with mobile app calibration can fine-tune your shot timing to perfection. As technology advances, integrating IoT devices into your setup will become more common, offering real-time feedback and automatic adjustments—making maintenance even easier. Anticipating these trends ensures you stay ahead in your home barista game, turning routine upkeep into a seamless part of your coffee ritual.
How Do I Keep My Equipment in Top Shape Over Time?
Consistent cleaning, routine descaling, and periodic calibration are keys to reliable performance. A good rule of thumb is checking pressure values and component seals monthly and adjusting as needed, referencing trusted guides like the calibration resource for dual boilers. Using high-quality tools, including specialized cleaning brushes and digital scales, streamlines this process. Moreover, adopting smart hacks such as software calibration ensures that your equipment can evolve with technological advances. Don’t forget—try implementing the 5kg burr settling technique for grinders, which I personally use to ensure grind consistency and shot stability. Staying proactive with maintenance means your home espresso setup will serve up barista-level drinks now and years into the future.
The Hardest Lesson I Learned About Barista Gear and Home Espresso Mastery
One of the most eye-opening lessons I encountered was realizing that even premium equipment requires diligent maintenance and understanding. I once believed that owning a top-tier espresso machine meant I was set for perfect shots every time. However, neglecting routine calibration and cleaning led to inconsistent pressure and subpar microfoam. Now, I know that mastery involves paying attention to the subtle signs and investing time into upkeep—skills that truly transform your coffee game.
Tools That Changed My Espresso Experience
Having the right tools makes all the difference. I swear by a calibrated digital scale like the 2026 Smart Scale for precise dosing, which helps dial in consistent shots. A quality espresso cleaning brush and descaling solution keep stubborn mineral deposits at bay, ensuring stable pressure. These tools, combined with a dedicated effort to maintain your gear, turn daily brewing into a rewarding ritual rather than a frustrating chore.
Embrace Routine to Elevate Your Coffee Ritual
Routine maintenance isn’t just about avoiding breakdowns; it’s about unlocking your machine’s full potential. Regular descaling—especially in hard water regions—and scheduling O-ring replacements can prevent pressure drops and leaks. I’ve found that dedicating a monthly check-up transforms my espresso sessions into consistent, barista-quality experiences. Implementing these habits makes the process almost automatic, letting you focus on the craft and flavor of each shot.
Your Turn to Brew with Confidence
The journey to perfect pressure and creamy microfoam is ongoing, but with the right knowledge and habits, you’re well on your way. Take the time to understand your specific equipment—calibrate, clean, and maintain regularly—and watch your home barista skills flourish. The satisfaction of pulling a flawless shot will become your daily reward. There’s a world of flavor waiting to be discovered in your own kitchen, so keep experimenting, learning, and enjoying every espresso moment.