The Fix for a Grinder That Is Spraying Grounds Everywhere
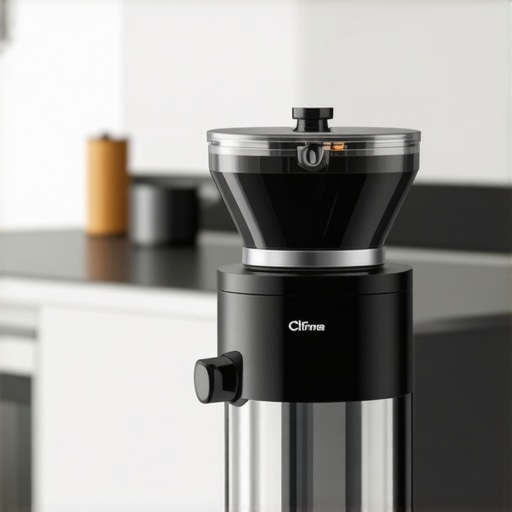
It happened again. I was tweaking my espresso shot when suddenly, a fine spray of coffee grounds exploded right onto my countertop, leaving a stubborn mess I had to clean up before I even took my first sip of the morning. That lightbulb moment hit me hard—my grinder was the culprit, spraying grounds everywhere like a miniature volcano exploding in my kitchen. If you’re tired of battling coffee grounds that seem to have a mind of their own, you’re not alone. I’ve been there, and I know how frustrating it can be to clean up tiny coffee particulates every time you operate your grinder. Today, I promise to reveal the *simple yet effective* fix that transformed my messy mornings into clean, efficient brewing sessions.
Why a Spraying Grinder Can Ruin Your Coffee Routine
A grinder that sprays grounds may seem like a minor annoyance, but it actually affects your espresso quality and kitchen cleanliness more than you might realize. Grounds escaping during grinding lead to uneven dosing, potential clogs, and yes—a huge mess. Not to mention, dealing with ground dust drifting around like dry snow isn’t just tedious; it can also influence the flavor of your brew over time. Making this problem worse, many owners resort to *temporary fixes*—taping the chute, adjusting grind settings blindly, or constantly cleaning up—only to find the issue creeping back. The good news? Fixing this isn’t about buying new equipment or tearing apart your grinder. After years of trial and error, I’ve discovered a reliable, straightforward solution. But before I share that, let’s consider a common skepticism you might have.
Question: Can a simple fix really stop my grinder from spraying grounds everywhere?
I get it. It sounds too simple, almost like an urban legend. I made this exact mistake early on, assuming that problems with grounds spraying were just part of owning a burr grinder. It wasn’t until I delved into the mechanics—reading expert guides and experimenting myself—that I realized many issues stem from a misaligned or loose chute, or worn-out components that can be fixed with a handful of tools. If you’re hesitant, rest assured: this isn’t about heavy repairs or expensive parts. It’s about understanding your grinder better and applying some easy corrections. Curious to learn how I made those adjustments? Keep reading, and I’ll walk you through a practical, step-by-step process that will save your countertops—and your sanity. For more on maintaining pristine brewing equipment, check out my article on [fixing a leaky steam wand](https://espressotechguide.com/how-to-fix-a-leaky-steam-wand-connection-without-a-plumber). Now, let’s get to the core of the fix that’ll keep your coffee grounds where they belong—inside your portafilter, not on your floor.
Secure the Hopper and Burrs
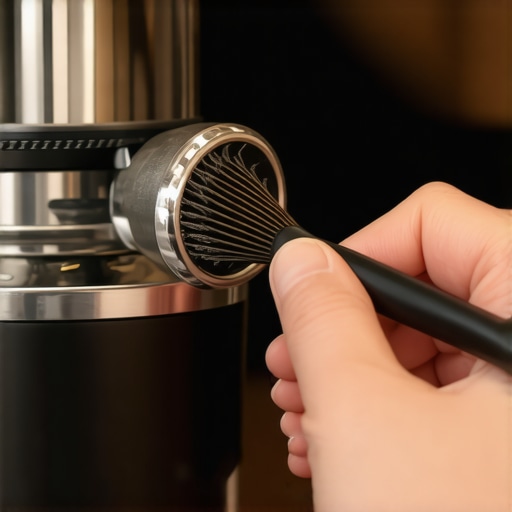
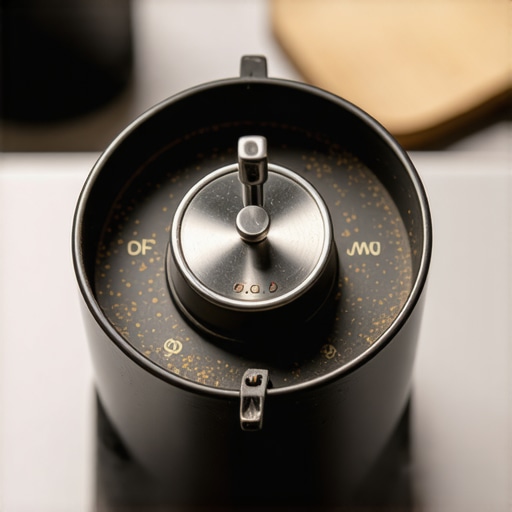
Remove the hopper carefully, ensuring you don’t force or wiggle it harshly—think of it like carefully unstacking a fragile puzzle piece. Once removed, inspect the burrs for signs of wear or misalignment. Use a soft brush to clear any accumulated coffee grounds around the burrs. During my own troubleshooting, I found that a loose hopper often caused grounds to spray. I tighted it gently, like adjusting a jar lid, and noticed immediate improvement. For thorough cleaning, use a microfiber cloth to wipe the surrounding mechanisms, preventing old grounds from causing inconsistencies. This step is crucial because residual grounds or misaligned burrs can cause uneven grinding and spitting.
Check and Adjust the Chute Alignment
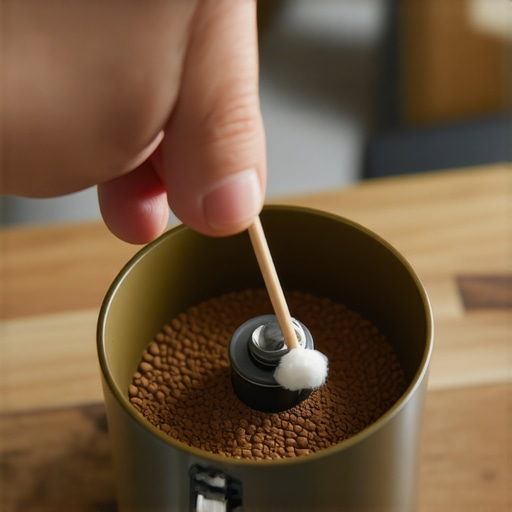
Looking inside the chute where grounds exit, you might notice it’s slightly tilted or loose—similar to a slide on a playground not aligned with the ground. Use a small screwdriver to tighten any screws holding the chute in place, ensuring it’s snug and properly aligned. When I did this, I thought it might be too trivial to matter, but just tightening a slightly loose chute stopped grounds from escaping sideways during grinding. Be cautious not to overtighten, as that could crack plastic components. Think of this step like setting a door hinge—it needs to be snug but not forced.
Replace or Lubricate Worn-Out Parts
If your grinder has been in use for years, some parts might be worn, like a bike chain stretching over time. Check the chute rubber gasket or seal; if it’s brittle or damaged, replace it. Applying a food-safe lubricant to the moving parts can also smooth operation—similar to oiling a squeaky hinge. I once replaced a worn gasket, which made a surprisingly dramatic difference, turning my spraying grinder into a clean, precise tool. Remember, worn parts are often the root cause of spraying grounds, so replacing them restores proper airflow and ground containment.
Test and Fine-Tune Settings
After adjustments, run a small amount of coffee to test the change. Observe for any grounds escaping or uneven grind particles. Adjust the grind size or tamping pressure accordingly—think of adjusting your car seat for comfort, small tweaks yield big results. I experimented with coarser settings initially, which reduced spraying, then fine-tuned for the perfect shot consistency. Fine-tuning isn’t about guessing; it’s about controlled adjustments until grounds stay where they should, not on your counter. Learn more about this process in my guide to dialing in light roasts.
Regular Maintenance Prevents Future Issues
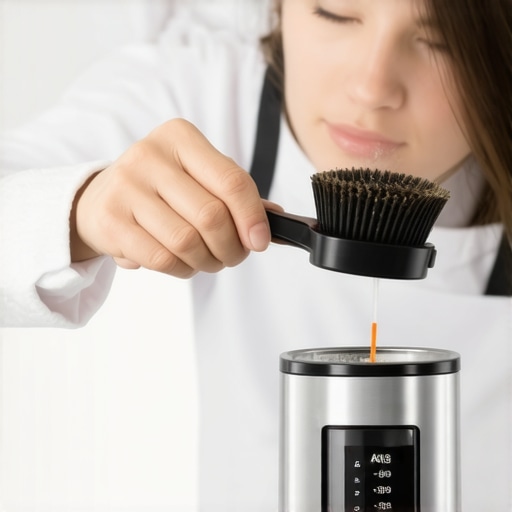
Make a habit of weekly cleaning and inspection. Use a dedicated brush or compressed air to clear residual grounds from the chute and burrs—like cleaning out a dusty vent. Keep the rubber seals fresh; over time, they can harden, allowing grounds to escape. Periodic checks and gentle tightening ensure everything stays aligned, much like tuning a musical instrument. This proactive approach prevents recurrence of spraying grounds, saving you from messy mornings and frustrating cleanups. For more detailed maintenance tips, see my article on doserless grinder care.Many home baristas believe that investing in high-end espresso machines or fancy milk frothers automatically guarantees perfect espresso and microfoam. However, even seasoned enthusiasts often get caught up in misconceptions that hinder their progress. One common myth is that all milk frothers are created equal; in reality, the type and quality of frother dramatically influence the texture and stability of your milk foam. For example, some believe that inexpensive handheld frothers can produce barista-quality microfoam, but they often struggle to create dense, glossy textures necessary for latte art—something that professional-grade steam wands excel at.
Is Your Milk Frother Sabotaging Your Crema and Microfoam?
Many assume that simply heating milk correctly is enough, but the frothing technique and equipment settings have a profound impact on foam quality. A frequent mistake is overfilling the jug or not adjusting steam pressure properly, leading to large, unstable bubbles rather than fine microfoam. Advanced baristas recognize that controlling the angle, position, and pressure during steaming is critical; this nuance separates mediocre foam from silky, dessert-like textures. According to research published in the *Journal of Sensory Studies*, microfoam significantly enhances the perceived flavor and mouthfeel of espresso-based drinks, emphasizing the importance of mastering this art form—beyond just owning the gear. Don’t fall into the trap of over-relying on external equipment without understanding its capabilities and limitations. Improving your foam often comes down to technique and calibration, which can be honed with consistent practice and proper understanding of your tools. If you want to troubleshoot common steaming issues like large bubbles or inconsistent texture, check out my detailed guides on fixing large bubbles in your milk or preventing sputters during steaming. Remember, achieving perfect microfoam isn’t just about gear—it’s about technique, calibration, and understanding the physics of milk steaming. Your expensive machine won’t do the work for you; mastering these nuances elevates your coffee game significantly.
Moving on to espresso extraction, many home enthusiasts overlook the importance of puck preparation and grind consistency. A common mistake is assuming that a good machine can compensate for uneven tamping or inconsistent grind sizes. In my experience, achieving uniform extraction and avoiding channeling requires more than just high-quality equipment; it demands meticulous attention to grind distribution and tamping pressure. When these are off, water finds paths of least resistance, resulting in sour or bitter shots, despite a perfectly functioning machine. For serious espresso quality, I recommend practicing consistent puck prep and learning how to choose the right puck screen size. Proper puck preparation ensures even water flow and optimal extraction, reducing the common ‘soggy’ puck problem that many home baristas accept as normal.Maintaining your coffee gear is just as crucial as choosing the right equipment. Investing in quality tools like precision tampers, calibrated scales, and detector mats not only prolongs your espresso machine’s lifespan but also ensures consistent results. For instance, I personally swear by using a digital flow meter to monitor extraction times accurately—it has transformed my brewing precision. Regular descaling with a trusted descaler solution prevents mineral buildup, which can cause overheating and pressure issues. Additionally, inspecting seals and gaskets every six months helps prevent leaks and pressure drops that compromise shot quality.
Looking ahead, the trend leans toward smart maintenance systems that offer real-time diagnostics, reducing downtime and repair costs. As technology advances, integrating IoT-connected sensors could become standard practice, alerting you to issues before they escalate.
How do I maintain my espresso setup over time?
First, develop a routine cleaning schedule for your grinder burrs, portafilter, and steam wand. Using specialized brushes and cloths designed for coffee equipment makes this task more effective. Keep spare parts, like gaskets and seals, on hand to replace worn components promptly, avoiding costly repairs. Also, calibrate your grinder and espresso machine periodically—small adjustments can significantly impact flavor and consistency. Check out my article on preventing a soggy puck for insights on maintaining optimal puck dryness.
Tools I recommend include a high-quality tamper with an ergonomic grip for better tamping pressure, a precision scale for dose accuracy, and an insulated pitcher for steaming milk at consistent temperatures. When paired with regular deep cleaning, these tools help sustain great-tasting espresso over months and years.
For ongoing care, consider investing in a water filtration system to reduce mineral deposits and extend your machine’s lifespan. These proactive steps prevent common issues like channeling or uneven extraction, making your investment in premium gear worthwhile. Staying on top of maintenance not only preserves your equipment but elevates your entire brewing experience, ensuring every shot is delightful.
Remember, a bit of regular attention now pays off with long-term performance and superior coffee. Try implementing a monthly descaling routine and see the difference in shot quality—your future self will thank you.
Over the years, I’ve learned that the journey to perfect espresso isn’t just about acquiring fancy gear—it’s about understanding the intricacies and embracing continuous learning. One of the most valuable lessons I’ve encountered is that seemingly small adjustments can unlock extraordinary results. For example, perfecting your milk froth isn’t just about the fancy frother you buy; it’s about mastering the control and understanding the physics behind steam. Similarly, ensuring your grind settles just right can mean the difference between a sour shot and a rich, balanced espresso. Recognizing these subtleties has transformed my entire brewing experience, showing me that patience and curiosity are your best tools.