How to Spot a Leaky Boiler Fitting Before It Ruins Your Electronics
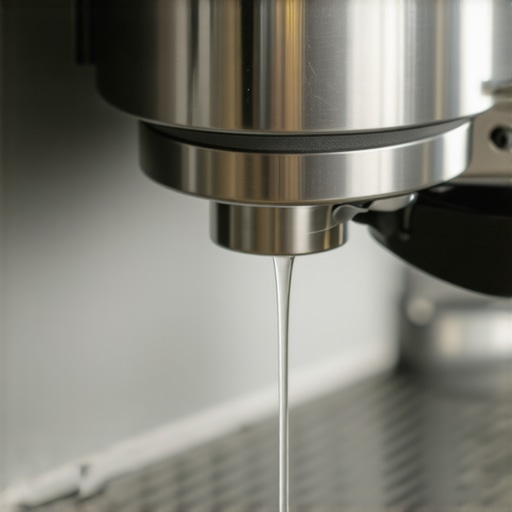
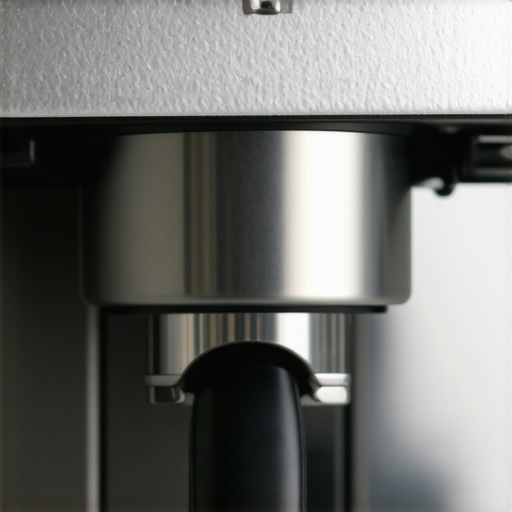
I remember the morning vividly. I was midway through pulling what I hoped would be my perfect espresso shot when suddenly, I noticed a faint hissing sound and a tiny puddle forming under my machine. Panic set in as I realized that a small leak in my boiler fitting could very well be the silent enemy sabotaging my precious equipment. It’s a frustrating moment—one that can turn a peaceful coffee ritual into a frantic scramble to prevent costly damage.
Why Catch a Leaking Boiler Fitting Early Matters for Your Coffee Sanctuary
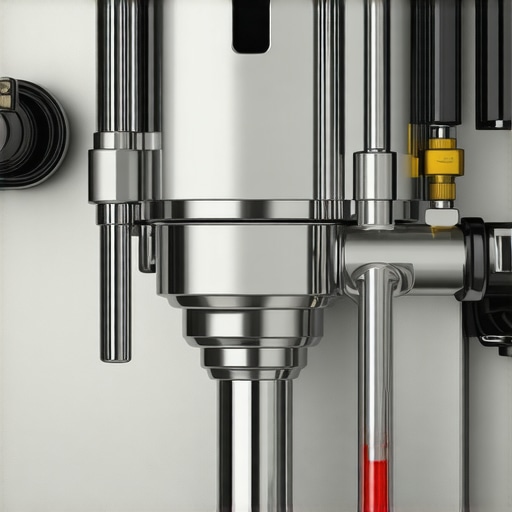
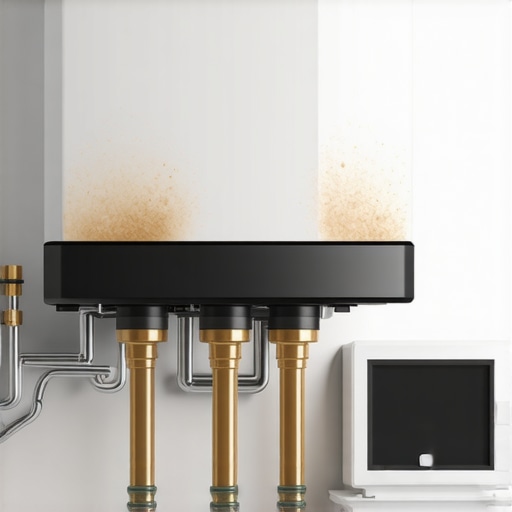
Many home baristas and café owners alike overlook the significance of inspecting their boiler fittings regularly. These tiny connections, if compromised, can lead to water leaks that seep unnoticed, risking damage not only to your machine but also to your electronics and surrounding cabinetry. Leaks often start as small drips but can escalate quickly, causing electrical shorts or even complete system failure.
According to industry experts, water leaks are among the most common yet overlooked causes of espresso machine breakdowns, accounting for a significant percentage of service calls. Preventative checks can save you hundreds of dollars and hours of frustration.
Is It Really Worth the Hassle? My Early Mistake
I confess—I once ignored a tiny, slow leak coming from my boiler fitting, assuming it was a minor issue that would fix itself. That mistake cost me dearly when the leak worsened, leading to a costly repair that could have been avoided. Taking proactive steps isn’t just about protecting your machine; it’s about ensuring every cup you brew remains perfect and safe. Curious if your setup might be at risk? Keep reading to learn how to identify the signs of a leaky fitting before disaster strikes and to implement simple checks that can prevent costly damage in the future.
Identify the Leak Location
Begin by unplugging your machine and allowing it to cool down completely. Carefully inspect the boiler fitting area, looking for any signs of water pooling or moisture buildup. Use a dry cloth to wipe away any water to better see the source. Remember, leaks often start as tiny drips that can become more noticeable over time.
Use a Flashlight and Mirror for Better Inspection
Position a flashlight at different angles and use a small mirror to check hard-to-see spots behind or underneath the fitting. If you spot a small water trail or corrosion around the fitting, you’ve likely identified the source of the leak. I once used this method on my home setup, noticing a tiny wet trail that I initially ignored, which later led to a costly repair—lesson learned about early detection.
Prepare Your Workspace and Tools
Lay down a towel or small container to catch any residual water. Gather necessary tools such as adjustable wrenches, screwdrivers, and replacement gaskets or O-rings if needed. Having these ready prevents unnecessary delays once you start working on the machine.
Remove the Affected Fitting Carefully
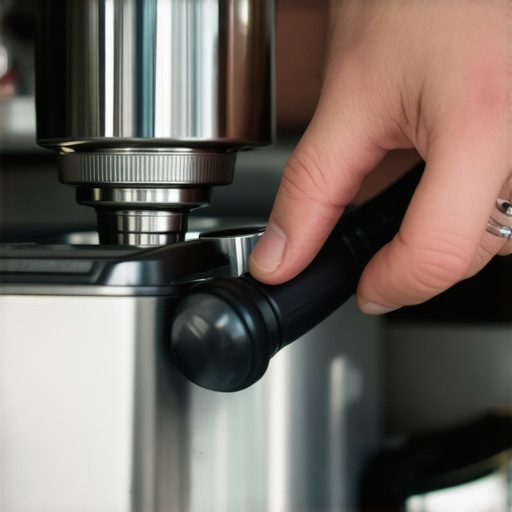
Start by disconnecting the water supply line if accessible. Use your adjustable wrench to gently loosen the fitting—think of it like unscrewing a stubborn jar lid but with care to avoid damaging surrounding components. Keep a container or towel underneath to catch any remaining water. Remember, applying steady, controlled pressure is key. If the fitting is over-tightened from previous attempts, use penetrating oil and wait a few minutes before trying again. This step was crucial when I fixed my machine, preventing cracks in delicate parts.
Check and Replace the Gasket or O-ring
Once the fitting is removed, examine the gasket or O-ring inside. Look for cracks, flattening, or signs of wear. Replacing worn seals is often the simplest fix. When I replaced mine, I ensured it was the correct size and material, which made my machine as good as new. For advice on selecting or maintaining parts, consider this guide on barista gear.
Reassemble and Tighten Properly
Before screwing the fitting back in, inspect the threads for debris or damage. Hand-tighten initially, then use your wrench for a snug fit—avoid overtightening, which can strip threads or crack the fitting. Imagine tightening a screw just enough so it doesn’t wobble, but not so tight that you cause damage. After reassembly, run water through the system without extracting a shot to observe for leaks. This cautious process ensures a sealed connection, saving you future headaches.
Test and Monitor
Power on the machine and let it heat up to operational temperature. Observe the fittings closely during warm-up and during a brewing cycle. If no water is escaping and the leak has stopped, you’ve successfully fixed the issue. If water still appears, re-tighten slightly or revisit the seals. In my experience, patience and careful tightening made the difference between a temporary fix and a lasting repair.
Prevent Future Leaks with Routine Checks
Regularly inspect fittings and seals, especially if you notice a change in water pressure or a new drip. Moisture around fittings can be an early warning sign. Additionally, keep an eye on mineral buildup that can cause fittings to loosen or corrode. Regular descaling and cleaning of your espresso machine prolong its life and ensure top performance. For cleaning tips, see this quick cleaning routine.
Many passionate home baristas believe that investing in high-end espresso machines and gear guarantees perfect espresso every time. However, even seasoned users often overlook subtle nuances that significantly impact extraction quality and flavor profile. For instance, the myth that grinding finer always improves shot quality overlooks the importance of uniform grind size and proper tamping pressure, which are equally critical for optimal extraction. Focusing solely on the grinder’s fineness can lead to over-extraction or channeling, especially if the grinder produces inconsistent particles—a mistake often made by beginners but also by pros neglecting regular equipment maintenance. Advanced users should consider the impact of static buildup in grinders, which can cause uneven dosing, and explore techniques like applying anti-static treatments or dusting the burrs with a small amount of rice to minimize static, as suggested by industry experts. Moreover, many assume that milk frothers are all created equal, but the hidden nuance lies in the temperature control and steam pressure settings; using a frother without precise control can result in burnt or thin foam, hampering latte art and texture. Did you know that some professional baristas prefer manual steam pitchers for their control over microfoam, yet many home users rely solely on automatic frothers, which can be inconsistent? When selecting barista gear, the mistake of ignoring material quality—such as choosing cheaper stainless steel or mismatched filters—can lead to durability issues and inconsistent shot quality over time. Finally, a common misconception about home espresso setups is that merely buying the most powerful or most expensive machine guarantees success. In reality, mastering maintenance routines—like descaling regularly and checking seals—is vital to prevent issues like water leaks or pressure drops that compromise flavor and consistency. As research indicates, routine maintenance can extend the lifespan of your equipment and improve extraction stability, which many overlook amidst the allure of newer gadgets. So, what’s the hidden nuance many enthusiasts miss? It’s the intricate balance of good technique, meticulous maintenance, and understanding the subtle influences of equipment variables that make the difference between a decent brew and a truly exceptional one. Have you ever fallen into this trap? Let me know in the comments!Maintaining your espresso setup is crucial for ensuring consistent quality and extending the lifespan of your machines and accessories. One of my go-to tools is a high-precision digital torque wrench. I personally use it when tightening fittings, as it helps prevent over-tightening that could crack delicate components—something I learned the hard way early on. For deep cleaning, I recommend a dedicated descaling solution like Dezcal, which effectively removes mineral buildup without damaging internal parts. Regular descaling not only preserves the machine’s performance but also maintains the purity of your brew flavor.
When it comes to ongoing maintenance, investing in a good vacuum pump oil like Pelican Bio-Pac is essential for Vortex-type espresso machines. Change the oil every six months, as recommended by technical manuals, to prevent pump failure and pressure inconsistencies. For grinders, I prefer a visual inspection routine using a flashlight and a soft brush to clear out old coffee grounds from burrs, ensuring uniform particle size and preventing static buildup that can affect dosing accuracy.
Predicting where our industry is headed, smart integration of IoT (Internet of Things) devices into espresso gear will become more common. Future machines might self-diagnose and alert us to maintenance needs via smartphone apps, streamlining upkeep and reducing downtime.
How do I maintain my espresso tools over time? Regularly inspect seals, gaskets, and filters; replace worn components proactively; and adhere to cleaning schedules. For example, I follow the 10-second cleaning habit described in this guide to keep my solenoid valves free of debris. Applying a small amount of food-grade silicone lubricant to o-rings during reassembly also helps prevent leaks and extends their lifespan.
Consistent maintenance routines are the cornerstone of reliable home espresso brewing. To take your setup to the next level, try oscillating your grinder blades with a product like the Baratza Preciso Burr Kit—it’s a game-changer for achieving particle uniformity. For detailed advice on selecting the right tools, check out this resource. Properly caring for your equipment now ensures that each shot remains as exceptional as your first, long into the future.
The Hardest Lesson I Learned About espresso machines,milk frothers,coffee grinders,barista gear,home espresso
I realized early on that the biggest barrier to perfect coffee isn’t just equipment — it’s understanding the subtle interactions between gear and technique. Over-tightening fittings, for example, seemed trivial until I cracked a delicate portafilter basket. That taught me patience and precision matter more than raw power or speed.
3 Myths About espresso machines,milk frothers,coffee grinders,barista gear,home espresso That Held Me Back
I used to believe that expensive gear guaranteed great results. It’s not about the price but knowing how to maintain and optimize what you have. Skip the myth that static in grinders isn’t a big deal—controlling static and static buildup can radically improve grind consistency and shot quality.
What Experts Won’t Tell You About espresso machines,milk frothers,coffee grinders,barista gear,home espresso
It’s surprising how crucial regular maintenance is. Simple routines like replacing worn seals or descaling can extend your equipment’s lifespan and keep performance top-tier. I wish I’d started routine checks sooner — it saves time, money, and coffee.
Curated Resources for Aspiring Home Baristas
My go-to guide, Mastering the Art of Home Espresso, broke down complex techniques into actionable steps that transformed my brewing. For selecting the perfect grinder, this detailed guide helped me understand grind retention and static control. When I want reliable equipment reviews, I trust reviews from industry insiders. Lastly, to enhance my technique, I always refer to quick maintenance tips—they’re simple but game-changing.
Your Next Coffee Leap Starts Today
Remember, the journey to stellar home espresso isn’t about chasing perfection overnight but embracing steady learning and routine care. Each small fix or adjustment builds toward consistent excellence and deep satisfaction in your brewing. You’ve got this—every great barista started just like you, with curiosity and a willingness to learn. Join the community, share your experiences, and keep pushing the limits of what your gear can do. The future of your home espresso journey is bright — start turning those beans into magic today!
What’s the biggest lesson you’ve learned while mastering your espresso setup? Drop your story below and inspire others on this flavorful journey!
,