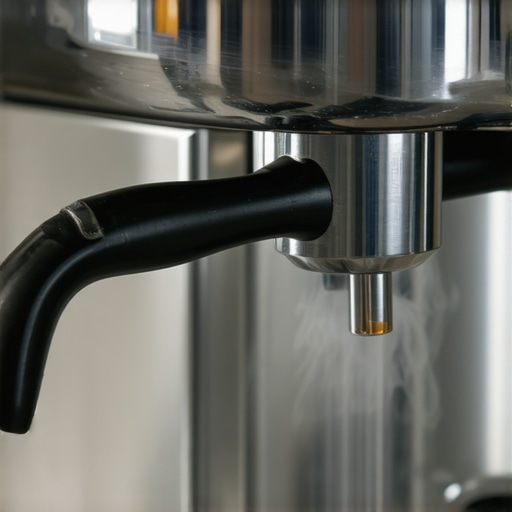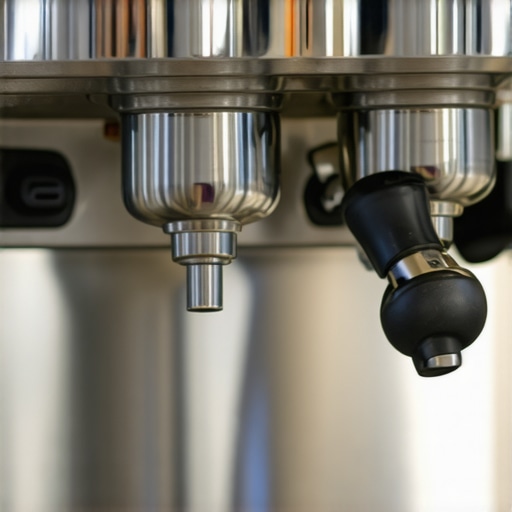
The secret to keeping your steam wand from smelling like old milk
It was a morning like any other, but as I tamped down my espresso shot, I noticed an unwelcome scent wafting from my steam wand—stale, sour, unmistakably like spoiled milk. My enthusiasm for brewing had suddenly dimmed. Anyone who’s spent time with espresso gear knows that telling signs of a neglected steam wand aren’t just about bad smell; they can affect flavor, hygiene, and even the longevity of your machine. Believe me, I’ve been there, peeling back the panel more times than I can count, trying to figure out why that persistent odor refused to go away.
The Hidden Culprit Behind the Smell
The truth is, that funky smell isn’t just an annoyance—it’s a sign of bacteria and milk residue buildup lurking inside the wand. If left unaddressed, it can compromise your drinks’ taste and your health. After countless experiments and quick fixes, I discovered that regular, simple maintenance could make all the difference. Today, I want to share with you the methods that transformed my routine and kept that pesky smell at bay.
Is It Really Worth the Effort to Clean Your Steam Wand?
Initially, I dismissed some basic cleaning steps, thinking they were just extra chores. But neglecting proper upkeep led to more frequent smell issues and even occasional clogging, which made steaming difficult. One mistake I made early on was using aggressive cleaners that damaged the wand’s rubber seals. Once I realized that delicate cleaning was key, the process became straightforward—and it kept my steam wands fresh and odor-free. Want to avoid the same pitfalls and keep your machine pristine? Stick around; I’ll guide you through simple, effective steps.
And if you’re unsure whether your cleaning routine is enough, you’re not alone. Many baristas and home enthusiasts overlook the importance of routine maintenance, leading to buildup and smell. In fact, according to industry experts, bacteria can multiply rapidly in damp, neglected parts of espresso machines—so regular cleaning isn’t just recommended; it’s essential. (Learn more about steam wand issues here.)
Now, let’s explore how you can confidently keep that steaming tool smelling fresh—no more sour surprises during your morning brew.
Disassemble and Inspect the Wand Regularly
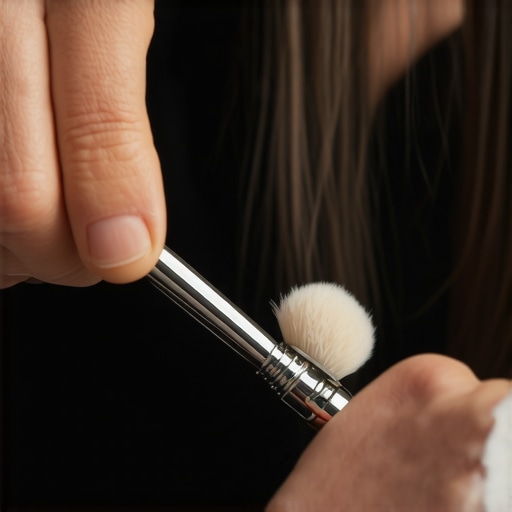
Start by turning off the machine and allowing the steam wand to cool. Detach the tip by unscrewing it carefully, mimicking the way you’d gently remove a stubborn cork from a bottle. Use a small brush or a soft cloth to remove any milk residue lodged inside, similar to cleaning a paintbrush after a project. During my messy first attempt, I used a toothbrush but realized a thinner brush worked better to reach deep into the narrow tube, preventing buildup and foul odors.
Deep Clean with a Baking Soda Solution
Mix a tablespoon of baking soda with warm water until fully dissolved. Submerge the detachable parts into the solution for about 10 minutes. This process breaks down milk fats and bacteria, much like how a mild detergent lifts grease from kitchen surfaces. When I first tried this, I noticed a significant reduction in sour smell after a single soak, and my steam wand looked noticeably cleaner.
Flush the Inside Properly
Reattach the tip and run hot water through the wand for 15-20 seconds to rinse out residues. To simulate this, I used a syringe to force hot water through the wand, ensuring thorough cleaning of every tiny passage. Be cautious not to use excessive force, which could damage seals. Doing this regularly prevents stubborn deposits, much like flushing a drain early before clogs form.
Sanitize Safely
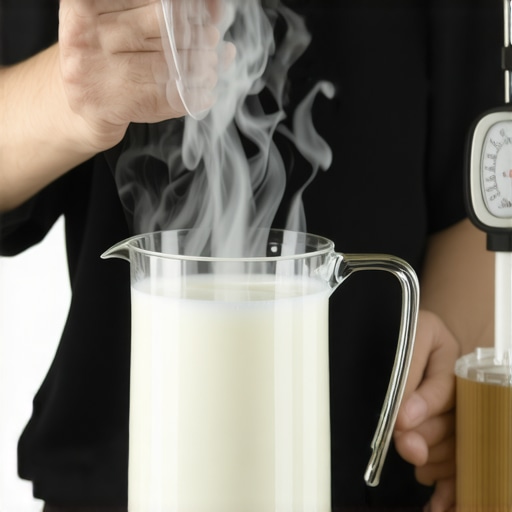
Mix a small amount of espresso machine cleaning solution or a white vinegar solution—about 1 part vinegar to 3 parts water. Use a cloth soaked in this mixture to wipe the exterior, then run steam to push the solution through the wand, followed by a water rinse. This step kills bacteria and neutralizes odors, akin to disinfecting a cutting board after chopping raw meat. I’ve adopted this as part of my weekly routine, and the freshness lasts longer.
Reassemble and Test
Once everything is cleaned and dry, reassemble the wand carefully, aligning threads like tightening the lid on a jar. Turn on the machine, run some water and steam to ensure everything works smoothly. If you notice persistent odor or clogging, repeat the process. Remember, regular maintenance is your best defense—think of it as brushing your teeth daily rather than only when you have a cavity.
Prevent Future Build-Up
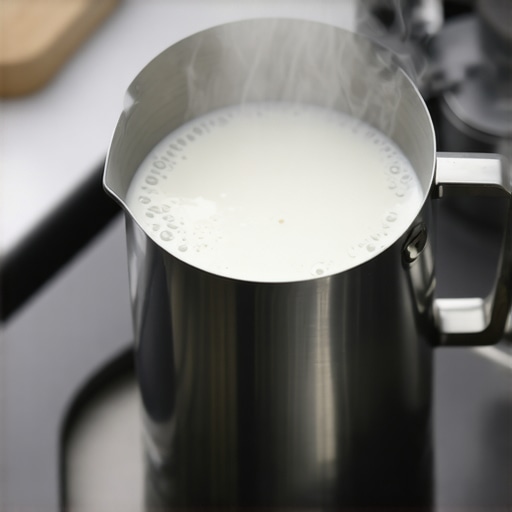
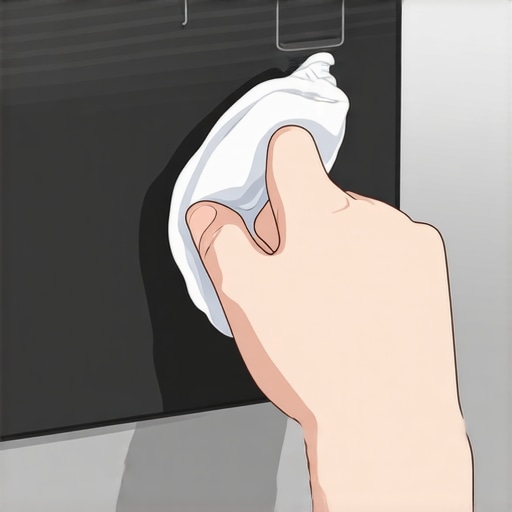
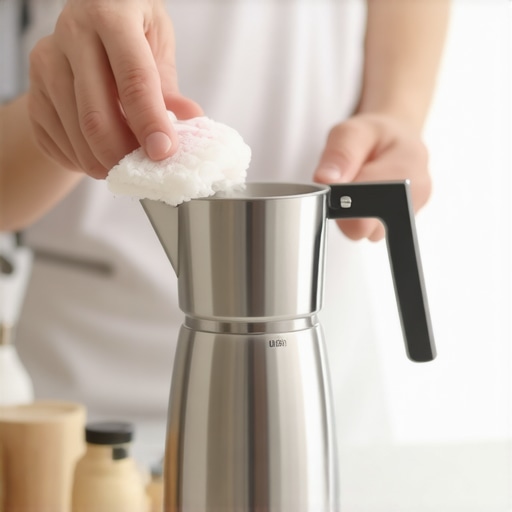
Wipe down the wand after each use to remove residual milk, similar to wiping a countertop after cooking. Use a microfiber cloth or paper towel, and consider using a silicone cover over the tip during steaming, which prevents milk from splattering and seeping into seals. Over time, these habits can save you from intensive cleanings and keep your steam wand smelling fresh and performing optimally.
< >Many coffee enthusiasts believe that choosing the most expensive milk frother or the latest grinder automatically guarantees perfect results, but that’s a misconception worth challenging. In my experience, what most people overlook are the nuanced differences in equipment design and maintenance that truly impact quality. For instance, a common myth is that all burr grinders produce consistent grounds; however, conical burrs often create less static and heat, leading to better flavor retention—yet many overlook this detail when shopping. Moreover, beginners frequently assume that a higher wattage grinder will crush beans faster, but they forget that grind consistency and particle size distribution are more critical for extraction quality. One advanced mistake I see is neglecting to account for water hardness or the descaling frequency—these factors can significantly affect espresso flavor and machine longevity, as confirmed by studies from specialty coffee research institutions.
Why do certain small adjustments have such a big impact on your espresso quality?
These nuances often escape the average home barista because they focus solely on the equipment itself rather than the delicate calibration and maintenance practices. For example, using the right portafilter basket size and distribution technique, like the simple cork trick, can dramatically improve extraction even with entry-level machines. Similarly, understanding the importance of boiler water hardness and its effect on scale buildup is essential to avoid costly repairs or flavor taints. Make no mistake—attention to these finer details distinguishes an average home setup from a professional-quality espresso station. So, next time you upgrade your grinder or frother, ask yourself if you’re also considering these subtle, yet powerful, factors that influence coffee excellence. Have you ever fallen into this trap? Let me know in the comments.Maintaining your espresso equipment is crucial to achieving consistently excellent brews and extending the lifespan of your gear. One of the most overlooked aspects is investing in the right tools for routine upkeep. For instance, I highly recommend a high-quality brush set designed specifically for cleaning group heads and portafilter baskets. These brushes, like the rubber bristle versions, help dislodge coffee residues and scale deposits without scratching sensitive surfaces, as detailed in this guide. Personally, I keep a set dedicated to my machine and another for grinder maintenance, ensuring every part receives proper attention.
In addition to physical tools, software plays a vital role if you’re working with digital scales or temperature management systems. I find that an advanced espresso scale with built-in timers and Bluetooth connectivity allows me to fine-tune shot timing and weight, crucial for consistency. Regular calibration using these tools helps maintain precision, especially when experimenting with different beans or brewing parameters.
A common mistake home baristas make is neglecting descaling routines. The trend toward using descaling solutions that claim to be safe for all materials is tempting but can be harmful—particularly to copper boilers, as warned in this resource. I’ve shifted to a routine that involves only industry-recommended descaling agents and strict adherence to manufacturer guidelines. This disciplined approach prevents scale buildup, which can cause pump strain and inconsistent temperatures.
Looking ahead, the trend is leaning toward digitally integrated maintenance routines. Firmware updates for espresso machines and smart cleaning alerts are becoming more common, offering proactive maintenance prompts. I predict that in the near future, apps that monitor usage patterns and automatically schedule maintenance will become standard, making it easier for enthusiasts to keep their gear in top shape.
So, I challenge you to try the simple yet effective trick of regularly running a cleaning cycle with a dedicated brush set combined with precise calibration using your digital scale. Insist on using tools that target specific maintenance needs, like descaling solutions compatible with your machine’s materials. This approach not only enhances flavor clarity but also preserves your investment. Want to elevate your routine? Start by inspecting your equipment with a detailed cleaning, and notice the difference in your next few pulls.
Throughout my years of brewing, I’ve learned that the subtle details often make the biggest difference. From tiny adjustments in tamping pressure to the choice of water filters, these insights have transformed my espresso experience from mediocre to extraordinary. The real benefits come not just from upgrading equipment but from understanding the nuances that influence flavor and machine longevity. Embracing these lessons has allowed me to enjoy consistently better shots and avoid common pitfalls that can sabotage my efforts.
What I Wish I Knew About Maintaining My Equipment Beyond the Basics
- Regularly inspecting and cleaning internal components prevents hidden buildup—trust me, slipping in a quick check has saved me from costly repairs and flavor compromises.
- Using the right descaling solutions for your specific machine material is crucial—coffee shops rarely talk about how improper descaling can damage copper boilers, a mistake I learned the hard way.
- Calibration isn’t just for scales; calibrating your grind size, tamp pressure, and shot timing creates a harmonious brewing process—mastery of these small tweaks elevates your coffee significantly.
- Investing in specialized tools like a distribution tool or a precision tamper can seem unnecessary, but these small upgrades swiftly improve even a humble beginner machine’s output.
- Developing a routine routine—be it a weekly deep clean or daily wipe-down—cements good habits that protect your investment and maintain flavor clarity over time.
Here Are the Resources That Elevated My Coffee Game
- The Simple Magnet Hack: A game-changer for keeping your dosing funnel in place, reducing mess and misdosing, and saving time during busy mornings.
- Water Hardness Insights: Understanding water composition transformed my approach to descaling and water filtration, extending my machine’s lifespan.
- Portafilter Tips: Tips that helped me perfect my grind distribution and prevent channeling—small details with big flavor impacts.
- Descaling Techniques: Proper procedures that keep my boiler functioning smoothly and my espresso tasting fresh.
Take Your Coffee Journey to the Next Level
Unleash your inner barista by embracing these insights and tools—your taste buds will thank you, and your machine will thank you too. The path to perfection is paved with small, deliberate actions that build up over time. Don’t wait for your next sour shot to realize how much your routine matters; start today, experiment, and enjoy the fruits of your upgraded knowledge. What’s one small tweak you’re planning to try first? Let me know below and share your journey towards better espresso mastery!