The Truth About Using Frozen Coffee Beans for Better Extraction
I remember the moment I spilled a freshly roasted batch of beans all over my kitchen counter, realizing that I had just made my coffee grind even messier. Frustration flooded in, and I couldn’t help but wonder: is there a better way to store and prepare my beans to enhance my espresso shots?
Getting Real About Frozen Coffee Beans
For a long time, I was skeptical about freezing coffee beans. I believed fresh beans were always the way to go. That was until I discovered that freezing can actually preserve the beans’ essential oils and freshness better than leaving them out on the counter for weeks. But here’s the twist: frozen beans can also improve extraction if you know how to handle them correctly.
Today, I want to share my experience and insights on using frozen coffee beans—something that transformed my home brewing game. Whether you’re a seasoned barista or a home enthusiast struggling with inconsistent shots, understanding how to optimize your beans’ storage can make a noticeable difference in taste and quality.
Is Freezing Coffee Beans Really Worth the Hype?
Early on, I made a critical mistake—thawing beans at room temperature before grinding. Doing so caused moisture to seep into the beans, leading to clumping and uneven grind size, which ultimately ruined the shot. Trust me, I learned the hard way that patience and proper handling are key. For a more detailed guide on choosing the best gear and managing different variables, check out this resource.
Research supports that freezing, when done correctly, can slow down oxidation and extend shelf life without sacrificing flavor. So, if you’ve experienced stale or flat-tasting espresso, freezing might be an option worth exploring—if you do it right.
In the next sections, I’ll walk you through practical steps to store, thaw, and grind frozen coffee beans, ensuring you get the most excellent extraction possible. Are you ready to take your home espresso to the next level?
Storing and Thawing Properly
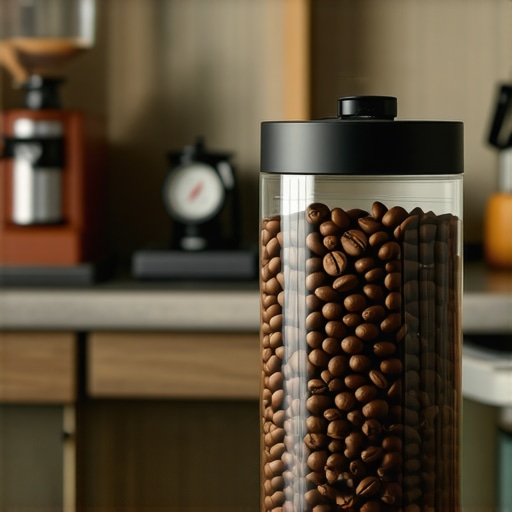
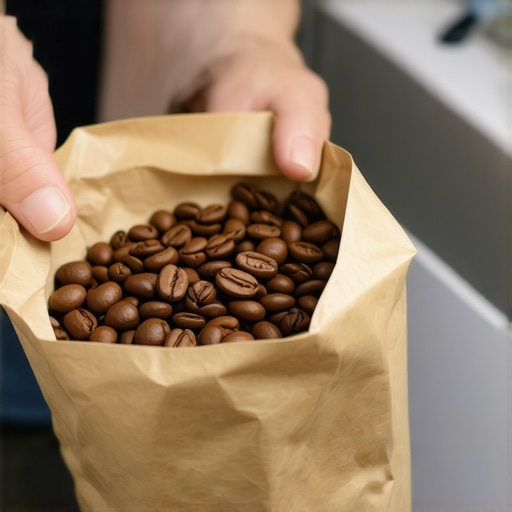
First, transfer your freshly frozen beans into an airtight container or vacuum-sealed bag, removing as much air as possible to prevent freezer burn. When ready to brew, take out only the amount you need—never thaw the entire batch at once. I learned this the hard way when I once left a frozen bag out for hours, which led to moisture seeping into the beans and clumping them together.
To avoid this, always plan your brew and freeze in small, measured portions. When it’s time to grind, remove the frozen beans from the freezer and let them sit at room temperature for just 30 seconds—enough to slightly warm the outer layer, making grinding easier without risking moisture infiltration.
Grinding Frozen Beans with Precision
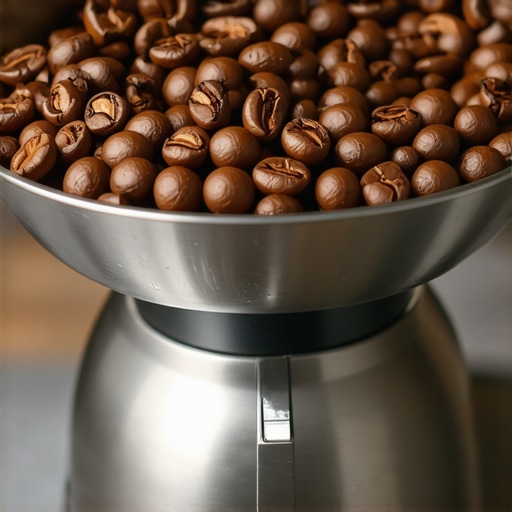
Use a high-quality burr grinder, like those recommended here, to ensure consistent particle size. Place the beans directly from the freezer into the grinder; do not defrost. This method prevents static and clumping, which can cause uneven extraction.
For instance, I once attempted to grind partially thawed beans, and the static caused coffee grounds to scatter everywhere, making cleanup a mess. Grinding directly from frozen minimized this issue and resulted in a more uniform grind size, essential for optimal extraction.
Dialing In Your Espresso Shot
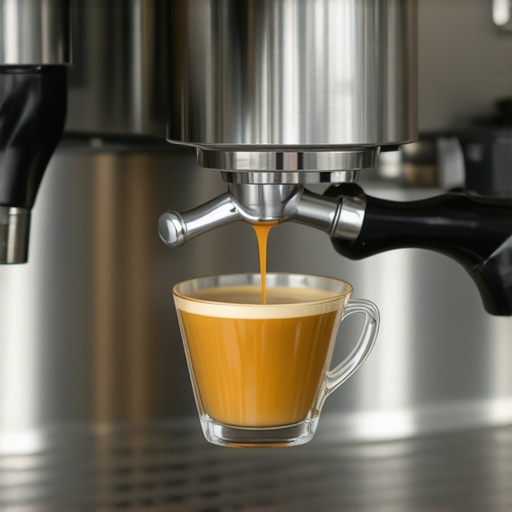
Since frozen beans tend to extract slightly differently, start with a slightly finer grind than usual. Tweak the grind size and tamping pressure until you find the sweet spot. Pay attention to shot timing: aim for a 25-30 second extraction. If your espresso pulls too quickly or slowly, adjust your grind accordingly.
Remember that the freshness of your beans impacts flavor; using freshly frozen beans doesn’t mean sacrificing taste if you calibrate your equipment correctly. Regularly cleaning your barista gear ensures consistent results.
Handling and Serving
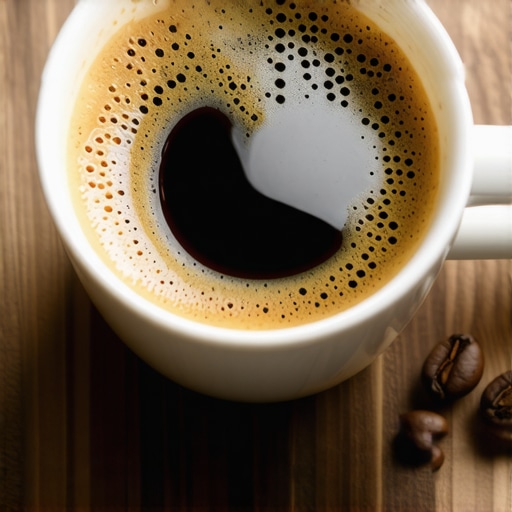
Once extracted, serve your espresso immediately to enjoy the vibrant aromatics preserved during freezing. If you’re making milk-based drinks, warm your milk with a high-quality frother, such as those discussed here, to complement the rich flavors of your properly stored beans.
By adopting these concrete steps—airtight storage, direct grinding from frozen, calibration of grind size, and prompt serving—you’ll notice a significant improvement in your espresso quality, even when using beans that have been stored for weeks in the freezer.
Many home baristas and even seasoned enthusiasts fall into traps when selecting and using coffee gear, often based on misconceptions that hinder optimal brewing results. One prevalent myth is that more expensive or complex equipment automatically guarantees better coffee, but in reality, understanding nuances is key to true mastery. For example, a high-end espresso machine won’t perform well if your grinder isn’t calibrated correctly or if your tamping technique is off. Proper grind size adjustment, consistent dosing, and calibrated pressure are vital—don’t assume gear alone will fix underlying technique flaws.
Another sneaky misconception revolves around milk frothers. Many believe all frothers produce equal microfoam, yet the secret lies in the frothing method and milk temperature. Using a cheap handheld frother with the wrong technique can lead to flat or overly frothy textures, affecting latte art and mouthfeel. Check out this guide for selecting a frother that matches your skill level and needs.
Why Skipping Calibration Can Cost You Flavor
Even advanced home setups falter when calibration is ignored. For example, the temperature stability of your espresso machine directly impacts extraction quality. Many users overlook periodic calibration, leading to inconsistent shots with sour or bitter notes. Experts recommend regular calibration of temperature and pressure—see this calibration process to maintain consistency. Neglecting calibration is a common mistake that can ruin what should be a simple process, so don’t overlook this step.
Furthermore, many assume that rapid, high-volume brewing is the goal. However, rushing often results in under-extraction, which produces sour, thin coffee. Slow, deliberate shots allow for complex flavors to develop fully. This nuance is often missed by newcomers eager for speed, but mastery comes from patience and precise control.
Beware the trap of misjudging equipment quality—many discount affordability, but selecting tools like grinders with precise adjustment dials and reliable burrs shows that excellent results can come without astronomical costs. For guidance on choosing the right gear, this article covers essentials that won’t break your budget.
In essence, the path to great coffee isn’t just about high-end gear but understanding and applying advanced techniques, calibrations, and nuances. The secret lies in mastering these finer points that most overlook. Have you ever fallen into this trap? Let me know in the comments.
Keep Your Coffee Equipment in Top Shape for Consistent Results
Investing in quality coffee gear is just the beginning; regular maintenance is crucial to ensure longevity and performance. Handling your espresso machine, grinder, and accessories with care not only extends their lifespan but also guarantees that every shot delivers optimal flavor. I personally recommend setting a weekly cleaning schedule, including backflushing your espresso machine with a recommended technique outlined here, to prevent build-up that can impair pressure and temperature stability.
For grinders, keep burrs sharp by replacing them every 1,000 to 1,500 pounds or as recommended by the manufacturer. When replacing burrs, follow the precise alignment guidelines to avoid uneven grind sizes, which can cause inconsistent extraction (details here). Using a dedicated burr calibration tool helps maintain your grind consistency over time.
How do I maintain my espresso machine over the long term?
Maintaining your espresso machine involves more than just cleaning. Regularly checking seals and gaskets prevents leaks and pressure drops, which can severely affect shot quality. For example, replacing worn boiler seals before they leak can save you from costly repairs and flavor issues (here’s a helpful guide). Additionally, calibrating your PID controller every few months ensures temperature stability, a key factor for perfect extraction. Stay ahead of wear and tear with routine inspections, and always use recommended cleaning products to avoid damaging sensitive components.
In the future, I see smart cleaning systems integrated into advanced espresso machines, which will remind you when maintenance is due and automatically perform some procedures. This trend will simplify long-term care, making it easier for enthusiasts and professionals alike to keep their equipment in top shape without guesswork.
Tools I Trust to Keep My Coffee Setup Running Smoothly
My go-to tools include a high-precision PID calibration kit to maintain temperature consistency, and a dedicated cleaning brush for thorough group head maintenance. For grinders, I rely on a burr alignment tool to ensure uniform particle size. These investments pay off by delivering consistently excellent espresso shots and reducing troubleshooting time.
Choosing the right tools isn’t just about quality; it’s about understanding the nuances of your specific equipment. Explore recommendations at this guide to find gear that matches your skill level and setup. Remember, meticulous care and reliable tools create a foundation for brewing excellence that lasts for years.
Turning a simple coffee bean storage mistake into a game-changing technique was a lightbulb moment for me. The key insight came from realizing that proper freezing and handling can elevate my espresso quality far beyond my initial expectations. Trust me, embracing these nuanced adjustments transformed my approach from guesswork to precision, filling each cup with richer, more vibrant flavors that I now cherish every morning.
The Hardest Lessons I Learned About Barista Gear and Freezing
- Don’t rush the thaw—allow beans to rest briefly after removal to prevent moisture absorption that ruins grind consistency. This small step ensures a uniform extraction, which is critical for flavor clarity.
- High-quality burr grinders make a huge difference—grinding directly from frozen preserves static-free grounds and yields an even particle size, something I struggled with initially when overlooked.
- Experimenting with grind calibration for frozen beans is essential. A slightly finer setting from the start saves time and produces better shots, especially when you adjust for the unique characteristics of frozen beans.
- Regular maintenance of your espresso machine and grinder amplifies your efforts, ensuring that the subtle benefits of frozen beans shine through with every pour—think of it as tuning your gear for optimal performance.
My Essential Toolkit for Better Home Espresso
- Calibrated PID temperature controller: Keeps my shot temps stable, especially crucial when using frozen beans. I trust this calibration kit for consistent results.
- High-quality burr grinder with precise adjustment: As discussed in this guide, it’s the backbone of consistent extraction, especially when working with frozen beans.
- Portafilter calibration tool: Ensures my tamp and dose are spot-on, which is vital when mastering frozen bean handling.
- Microfoam-optimized milk frother: To complement the flavor profile of freshly frozen beans, I rely on top-rated milk frothers.
Seize the Moment to Brew Better Coffee
Your journey to superior espresso starts with small, deliberate steps—the right freezing techniques, attentive handling, and calibration can make your beans sing. Don’t hesitate to experiment and tailor these tips to your setup. The future of home brewing is brighter than ever when you embrace these finer points, elevating every shot and savoring every sip.
What’s one adjustment you’re excited to try next in your espresso routine? Share your plans below and keep pushing the boundaries of your brew!