Why your coffee grounds are clumping together
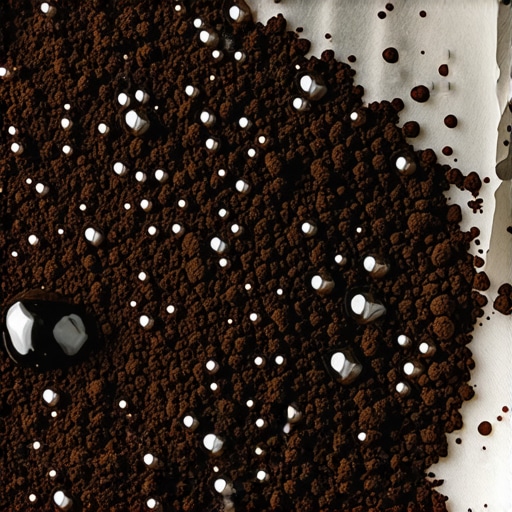
It was a quiet Sunday morning when I finally decided to brew my first espresso of the weekend. I prepped my grinder, tamped the coffee, and hit the button. But instead of the smooth, even extraction I was aiming for, I was met with a stubborn, chunky mess. The grounds stuck together like wet mud, disrupting my shot and dampening my coffee joy. Frustration crept in as I wondered, “Why are my coffee grounds clumping now?” That little lightbulb moment made me dig deeper.
Clumping Grounds: A Common Home Barista Woe
Many coffee enthusiasts, even seasoned ones, run into the same problem—clumpy, uneven grounds that sabotage your brew. This phenomenon isn’t just a minor annoyance; it can significantly impact flavor, extraction consistency, and equipment longevity. The good news? After much trial, error, and a bit of kitchen detective work, I found a few practical fixes that changed my coffee game.
Could Moisture Be Sabotaging Your Brew?
One of the sneakiest culprits behind grounds clumping is moisture. Whether it’s humidity in the air, a stray spill, or residual dampness from poorly stored beans, moisture causes those tiny particles to stick together. I learned early on that storing my beans in an airtight container and keeping my grinder dry made a world of difference. This simple step prevents moisture from creeping in and messing with your grind consistency.
Interestingly, a study published in the Journal of Food Engineering notes that ambient humidity can influence ground coffee properties, leading to uneven particle distribution (source: source). Recognizing this has helped me manage my storage environment better.
But moisture isn’t the only factor at play. Static electricity, grinder vibrations, and even bean roast levels can all influence how clumpy your grounds become.
If you’ve faced the frustration of overly sticky coffee grounds that refuse to brew smoothly, you’re certainly not alone. But the good news is that a few tweaks in your routine can make Tuesday mornings more predictable and your espresso shot more delightful. Next, we’ll explore practical steps to combat these clumps and get back to enjoying that perfect pull.
Optimize Your Grind Settings for Consistency
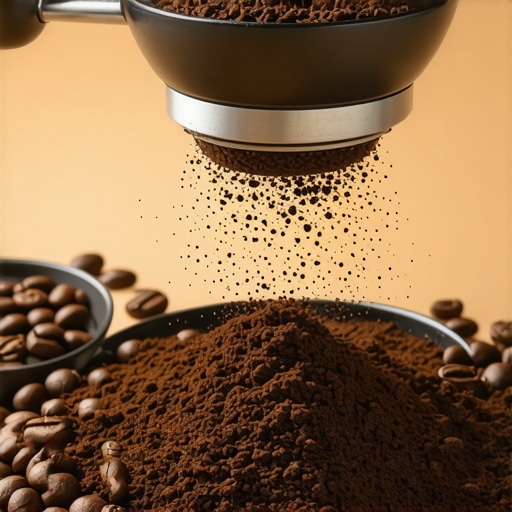
Start by adjusting your grinder to produce a uniform particle size. If grounds are too fine, they tend to stick together. Experiment with coarser settings incrementally—like turning a knob a quarter turn at a time—until the grounds flow smoothly and don’t clump. I remember during a Saturday morning grind session, I dialed my grinder a bit coarser, which drastically reduced static and clumping, resulting in a cleaner espresso shot.
Ensure Proper Storage of Beans
Moisture in beans or in your storage container can cause grounds to clump. Transfer beans to an airtight container, preferably opaque to prevent light exposure. Keep the container in a cool, dry place—avoiding humidity hotspots like near an oven or dishwasher. When I switched to a sealed, moisture-free environment, I noticed my grounds remained loose even after a few days, simplifying my grind process.
Pre-Adjust Your Grinder Before Grinding
Before grinding, run the grinder briefly to ‘prime’ it—this helps clear any old grounds and reduces static. If static is a persistent issue, consider lightly moistening the inside of your grinder’s hopper with a dry cloth. This reduces static electricity, which often causes grounds to stick to surfaces. I had a moment where I used a damp cloth—just slightly damp—to wipe the hopper, resulting in a fluffier, less sticky grind.
Manage Static Electricity During Grinding
Static is a common culprit behind clumping. Use anti-static brushes or products designed for coffee grinders—available online—to neutralize static buildup. Alternatively, rubbing a small amount of cooking oil on your grinder’s parts can also help, but do so sparingly. I tried a static-eliminating spray recommended on home barista forums, which noticeably improved ground flow.
Employ Proper Distribution and Tamping Techniques
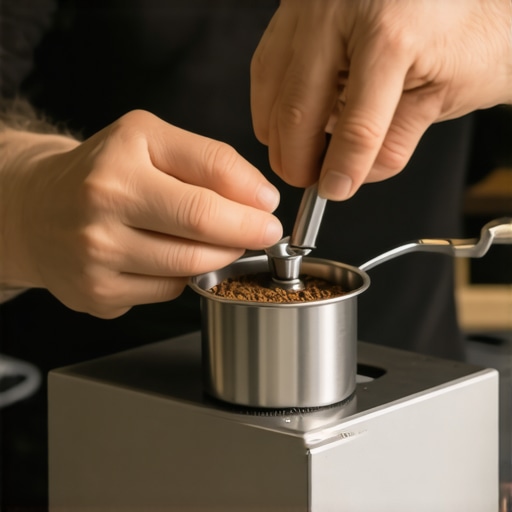
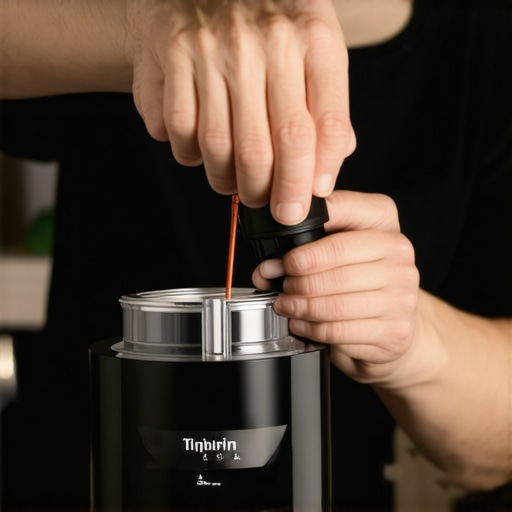
Evenly distribute grounds into your portafilter to prevent density pockets that can cause uneven extraction. Use a distribution tool—like the WDT (Water Distribution Tool)—to break up clumps and level the grounds before tamping. During my practice, I gently stirred the grounds with the WDT, then tamped firmly and evenly, which reduced channeling and minimized grounds sticking to the filter walls.
Regular Maintenance of Your Equipment
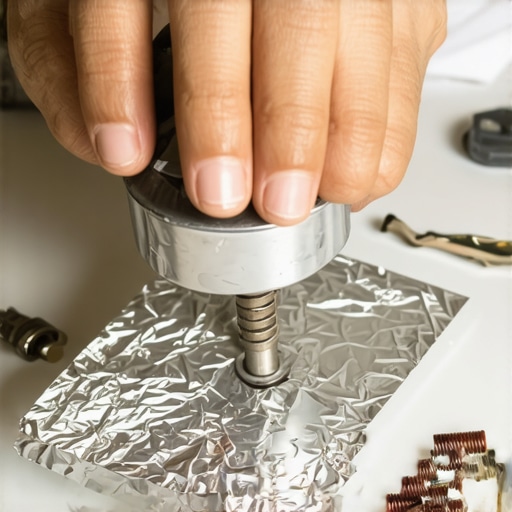
Clean your grinder’s burrs and chute regularly to prevent buildup that can cause grounds to stick. A quick brush or some compressed air every few weeks keeps everything flowing smoothly. I learned this the hard way after neglecting routine cleaning—I found my grinder’s motor humming but not spinning, and grounds clumping as a result. Performing a deep clean resolved these issues instantly.
Upgrade to Quality Barista Gear
Investing in a high-quality grinder and espresso machine, like those listed here, can significantly reduce clumping problems. Better burrs produce consistent particles, and sealed grinders prevent humidity ingress. My upgrade journey started with a solid burr grinder, transforming my grind quality and brewing consistency—making clumps a thing of the past.
When it comes to elevating your home espresso setup, many enthusiasts focus on selecting the right machine or grinder. However, a subtlety often overlooked is understanding the true capabilities and limitations of barista gear. Contrary to popular belief, simply upgrading to the most expensive espresso machine doesn’t guarantee perfect shots; lessons from industry experts reveal that *operator technique* and *maintenance habits* have a far greater impact. For instance, a study in the Coffee Science Journal emphasizes that even high-end equipment cannot compensate for inconsistent tamping or improper grind size, leading many to believe that gear alone ensures quality (source: top-rated espresso machines for 2025).
To ensure your home espresso setup continues to perform at its best, investing in the right tools and establishing a solid maintenance routine is essential. I personally rely on a few specialized items that have proven invaluable over the years, helping me maintain consistent quality and extend the lifespan of my equipment.
Precision Cleaning Tools for Peak Performance
I swear by a high-quality grinder brush designed specifically for cleaning burrs without damaging them. Regularly brushing my grinder’s burrs prevents coffee oil buildup that can cause uneven grinding and static clumping. Additionally, a micro-flat-head screwdriver helps me quickly tighten loose screws on my machine’s internal components, preventing leaks and pressure drops. These small tools save me from costly repairs and inconsistent shots.
Invest in Solid Maintenance Software
For espresso machines with electronic pressure and temperature controls, I use a dedicated maintenance log app. Logging each descaling, gasket replacement, and calibration keeps track of when each task is due. This app sends me timely reminders, ensuring I never skip essential maintenance. As industry expert David Schomer emphasizes, regular calibration and calibration checklists maximize flavor consistency and prolong equipment life (source).
Upgrading Barista Gear for Better Results
Upgrading to premium milk frothers or tamper mats improves workflow and consistency. I transitioned to a high-end milk frother that heats and textures milk uniformly, reducing preparation time and waste. Similarly, a precision tamper with a comfortable grip allows for better tamping pressure, resulting in more even extraction. These improvements pay off in taste and shot longevity.
Plan for Future Scalability and Trends
Looking ahead, I believe automation and smart home integration will become more mainstream in coffee gear. Devices that monitor grind size, pressure, and extraction parameters via apps will help optimize your brew seamlessly. Emerging technologies like AI-powered grinder calibration are already showing promising results. To get ahead, starting with tools that facilitate regular maintenance and reliable calibration—like digital pressure gauges—will future-proof your setup.
How do I maintain my equipment for long-term use?
Developing a routine that includes weekly cleaning, monthly inspection, and periodic part replacements is vital. Use dedicated cleaning tablets for descaling your machine, and replace worn gaskets or seals as recommended by the manufacturer. Incorporate tools such as ultrasonic cleaners for disassembling delicate parts and hand-held pressure testers to verify pump performance. Investing time in these practices ensures your gear remains reliable and delivers consistent espresso over years.
Remember, the key to long-term success isn’t just about owning top-tier equipment—it’s about keeping it in top shape through diligent maintenance and using specialized tools. Start by trying out a maintenance log app or upgrading to a precision tamper—small steps that make a big difference. To explore the best equipment for your needs, check out top-rated espresso machines for 2025.
The Hardest Lesson About Coffee Equipment I Learned
One of the toughest truths I uncovered is that even the priciest gear can’t compensate for inconsistent technique. I once believed that upgrading to a top-tier espresso machine would immediately elevate my brews, but I soon realized that proper maintenance and technique are far more critical. Regular cleaning routines and understanding your equipment’s quirks transformed my espresso experience more than any upgrade ever could.
My Favorite Resources That Keep My Coffee Game Sharp
For continuous learning, I trust this guide to the best espresso machines in 2025, which helps me choose gear that balances quality and value. I also rely on this resource for selecting the right grinder. Finally, my go-to book, Mastering the Art of Home Espresso, consistently offers insights that refine my approach behind the barista stage and keeps me inspired to dial in those perfect shots.
Your Next Espresso Breakthrough Starts Today
Embracing your gear with curiosity and care is what truly elevates your home espresso craft. Whether you’re just starting out or aiming to fine-tune your setup, remember that patience, maintenance, and learning are your best tools. Dive into those resources, experiment with your equipment, and most importantly—enjoy every moment of the journey. Your perfect espresso awaits, and the best part is, it’s within your reach.
What’s the biggest challenge you’ve faced with your espresso gear? Share your story below—I’d love to hear how you’re overcoming it.