Why Your Decaf Espresso Always Tastes Like Ash
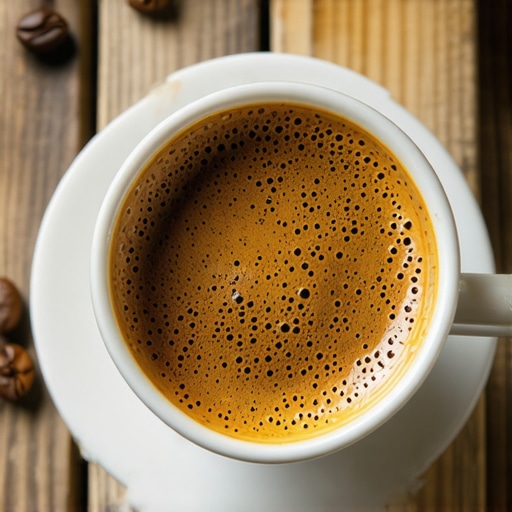
It was a quiet weekend morning when I finally decided to indulge in a decaf espresso, only to be met with that familiar bitter aftertaste — like I just drank a smoky campfire. I remember thinking, “Why am I doing this to myself? I love espresso, but decaf always seems to sabotage my mornings.” That lightbulb moment made me realize I wasn’t alone. Many home baristas struggle with decaf shots tasting off, and I was determined to figure out why.
Deciphering the Ashy Taste in Your Decaf Espresso
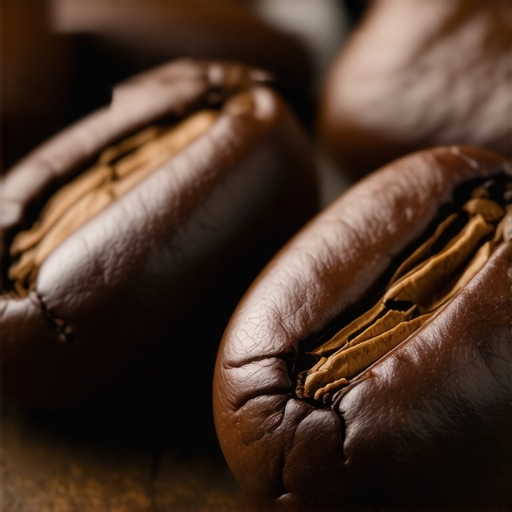
First off, let me assure you: you’re not imagining things. That unpleasant, burnt flavor isn’t just in your head. It often stems from a combination of factors—most notably, the roasting process and how the beans are handled before brewing. Decaf beans are typically roasted darker to compensate for their lower caffeine content, which can lead to overdevelopment and a smoky profile if not done carefully. Additionally, improper storage or stale beans can exacerbate these issues.
A common mistake I made early on was using beans that sat in my cupboard for months, exposing them to moisture and air, which dulls the flavor and brings out unwanted burnt notes. An article from [CoffeeGeek](https://espressotechguide.com/why-your-espresso-puck-is-stuck-to-the-group-head) emphasizes that fresh, properly stored beans are crucial for a balanced shot—decaf included.
But it’s not just about the beans. Your brewing parameters play a vital role too. Over-extraction, which happens when water is in contact with coffee grounds for too long or at too high a temperature, can turn a delicious shot into a bitter, ashy nightmare. I learned that adjusting my grind size, shot timing, and temperature could make all the difference in reducing that burnt flavor.
Now, I want to make sure you’re not convinced that all hope is lost. Many home espresso fans assume that decaf just can’t taste good, but that couldn’t be further from the truth. With a few tweaks, your decaf can rival your favorite caffeinated shot. So, are you ready to keep track of your beans, tweak your grind, and finally enjoy a decaf espresso that actually tastes good? Let’s dive into the practical steps that can turn your mornings around.
Have you faced this problem with your decaf espresso? If so, you’re in the right place to fix it once and for all. Stay tuned—next, we’ll explore the key adjustments to eliminate that burnt taste for good.
Optimize Your Bean Storage and Grinding Techniques
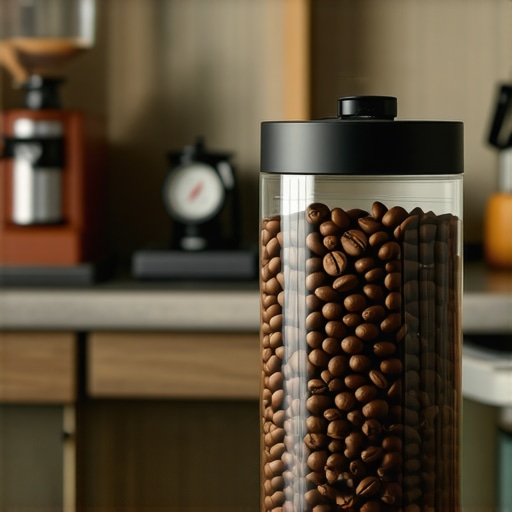
Start by ensuring beans are fresh and properly stored in an airtight container away from moisture. I recall a time when I accidentally kept beans in a humid kitchen cabinet for months; the resulting shot was overwhelmingly bitter. To prevent this, freeze small portions of your coffee beans, and only grind what you need. Using a high-quality burr grinder, like those recommended in this guide, ensures consistent grind size, which is crucial for avoiding over-extraction and burnt notes.
Dial in Your Grind and Extraction Time
Adjust your grind to a slightly coarser setting if your shots are tasting burnt. Remember, a fine grind increases extraction, raising the risk of bitterness. I once reduced my grind size by a tiny fraction after noticing my shots tasted dry and burnt; the change made a noticeable difference. Use a timer to keep shot length around 25-30 seconds — too long and you risk over-extracting compounds that turn bitter. This article offers detailed tips on balancing shot time for better flavor.
Control Brew Temperature and Pressure
Decaf beans often require slightly lower brewing temperatures to prevent over-roasting flavors from dominating. Most espresso machines allow temperature adjustments; drop it by a few degrees if you notice burnt undertones. Also, ensure your machine’s pressure is set correctly, usually around 9 bars. I once discovered that my machine’s pressure regulator was slightly off, causing uneven extraction. Regularly check your pressure using your machine’s gauge or this method.
Clean and Maintain Your Equipment Rigorously
Residual oils and old coffee residues can impart burnt flavors. Clean your portafilter and basket thoroughly after each session. For the machine, run a cleaning cycle or backflush with a cleaning solution designed for espresso machines. I remember a morning when I skipped this step, and my shots developed a charred taste. Regular cleaning ensures no buildup affects your brew quality and keeps flavors pure.
Adjust Your Brewing Sequence and Technique
Experiment by pouring water onto the coffee bed before extraction — a pre-infusion step that helps with even extraction. Additionally, tamp evenly and with appropriate pressure; too much force can cause channeling and uneven extraction, leading to burnt flavors. I once struggled with tamping, but a simple mirror trick revealed my uneven tamping, guiding me to consistent, better shots.
Many enthusiasts believe that acquiring the most expensive espresso machine or fancy barista gear guarantees perfect results, but the truth is more nuanced. A frequent misconception is that higher-end equipment automatically produces better coffee, yet even budget-friendly machines can deliver excellent espresso when properly dialed in. According to experts at this guide, mastering technique and understanding your gear’s limitations often outweigh brand prestige.
Another false belief involves coffee grinders. Many assume that ceramic burrs are always superior to steel ones. While ceramic burrs are less prone to static and heat buildup, research suggests that steel burrs, especially high-quality ones, can produce more consistent grounds and better flavor clarity, especially when properly maintained.
Let’s talk about milk frothers. There’s a popular myth that all milk frothers are created equal. In reality, not all frothers can produce the velvety microfoam essential for latte art. Investing in a quality frother and understanding its temperature controls can dramatically improve your milk texture.
Now, a common trap many home baristas stumble into is believing that expensive accessories or additional gadgets will compensate for inconsistent brewing techniques. For example, buying an overly complex tamper or specialty tamping station won’t fix issues caused by uneven distribution or poor tamping pressure. Consistent, hands-on practice paired with proper technique is key.
For advanced users seeking to elevate their craft, understanding the subtle nuances like burr alignment or grind freshness can make a real difference. Have you ever fallen into this trap? Let me know in the comments.
A hidden nuance often overlooked is the importance of equipment calibration and maintenance. For instance, your espresso machine’s pressure and temperature settings need regular adjustment to match your specific beans and brewing style. Neglecting this can lead to inconsistent pulls and off-flavors. Studies from this resource detail calibration techniques essential for high-level home espresso brewing.
Finally, keep in mind that understanding your gear’s behavior—such as how grind size affects flow rate or how tamping pressure influences puck density—can be the difference between mediocre and exceptional espresso. Take the time to learn these nuances; they often matter more than the brand or the latest gadget.
Embark on your espresso journey with a critical eye, questioning assumptions and honing your skills. Would love to hear your experiences or misconceptions you’ve encountered—share in the comments!Maintaining your home espresso setup requires not just quality equipment but also a disciplined approach to upkeep and the right tools to ensure longevity. Personally, I rely on a few specialized tools that have transformed my routine, helping me keep my gear in top shape and my shots consistently excellent. One fundamental piece I swear by is a precision burr alignment tool, which I use quarterly to ensure my grinder’s burrs stay perfectly synchronized, as misalignment can cause uneven grounds and bitter flavors. For my espresso machine, I invest in a digital pressure and temperature calibration kit. Regular calibration prevents subtle shifts over time that can throw off shot quality, especially as machine components drift with usage. In addition, I use a high-quality cleaning tablet specifically designed for espresso group heads, which I run weekly to prevent buildup and residue, preserving the clarity of flavors and preventing channeling. When it comes to long-term results, consistency in cleaning and calibration matters more than upgrading to a more expensive machine. As noted in [this article](https://espressotechguide.com/how-to-calibrate-your-grinder-for-the-perfect-coarse-setting), small calibration tweaks can tackle flavor inconsistencies that even top-tier gear can produce if neglected. Looking ahead, I believe smart, integrated maintenance systems will become more commonplace, allowing machines to self-diagnose issues like scale buildup or component wear, reducing downtime and preserving extraction quality. But for now, developing a regular maintenance routine complemented by targeted tools is your best bet.
How do I maintain my equipment over time? Scheduling quarterly calibration and weekly cleaning sessions—using the right tools—ensures that your home espresso setup remains reliable and consistent. For example, a calibrator can help detect pressure drops early, avoiding costly repairs. Don’t overlook the importance of proper storage; even a high-quality grinder or machine benefits from being kept in a dry, temperature-controlled environment. A simple, effective trick is to use silica gel packs in your storage containers to absorb moisture, which I have found prevents corrosion and stale flavors. As equipment ages, parts may need replacing—be proactive about ordering genuine gaskets or seals from reputable suppliers like this contact page. Ensuring these components are fresh will keep everything running smoothly.
Investing in tools designed for maintenance might seem additional cost upfront, but it pays dividends through sustained performance and flavor clarity. Remember, your gear is only as good as its condition. So, take the time to measure, clean, and calibrate; it’s the secret to long-term espresso satisfaction.
Lessons That Never Made It into the Manuals
One of the most profound realizations I had was that even seasoned baristas often overlook the subtle art of decaf brewing. I used to believe that decaf was inherently inferior, but discovering the nuanced differences in roasting and handling taught me otherwise.
A key lesson was understanding that decaf beans are more sensitive to storage conditions; a small lapse in airtight sealing could trigger those dreaded burnt flavors. Real-world experience showed me that maintaining optimal freshness is paramount—nothing beats freshly stored beans in a cool, dark place.
Another insight emerged from tweaking my extraction parameters. I found that reducing the brew temperature slightly and adjusting my grind size made a significant difference, transforming bitter, ashy shots into smooth, flavorful ones. It was a reminder that meticulous calibration, not just gear quality, is crucial for decaf success.
Over time, I’ve come to appreciate that equipment maintenance impacts flavor as much as technique. Regularly cleaning my grinder and machine prevented the accumulation of residues that could contribute to burnt notes. These practices, often overlooked, have elevated my decaf espresso to rival caffeinated counterparts.
Ultimately, embracing patience and continual learning changed my perspective. Decaf espresso isn’t a compromise—it’s an invitation to deepen your craft and discover hidden complexities beneath the surface. With this mindset, every shot becomes a small victory on the path to mastery.
My Trusted Arsenal for Espresso Excellence
If you’re serious about perfecting your home espresso, certain tools and resources can make all the difference. I rely on a high-precision burr grinder, like those recommended in this guide, to ensure consistent grounds—crucial for decaf, where every nuance matters.
Calibrating your espresso machine is easier with a digital pressure and temperature monitor. Regular adjustments, based on insights from this resource, prevent subtle shifts from derailing your brew quality. Investing in clean, genuine parts like gaskets and seals from trusted suppliers is equally important to maintain optimal operation.
For learning and inspiration, this comprehensive guide helped me build a solid foundation of techniques, from tamping uniformity to shot timing. Combining these elements creates a reliable routine that consistently rewards patience and attention to detail.
Step into Your Barista Shoes and Transform Your Mornings
Decaf espresso isn’t just about avoiding caffeine—it’s a platform for honing your skills and elevating your daily routine. I encourage you to experiment with your setup, stay curious about the intricate dance of parameters, and enjoy the process of discovery. Each tweak brings you closer to that flawless shot you’ve always wanted.
Are you ready to take your home espresso game to the next level? Share your biggest challenges or breakthroughs below—I’d love to hear about your journey and help troubleshoot any hurdles you’re facing. Remember, the perfect decaf shot is within your reach, and every step you take gets you closer to that goal.