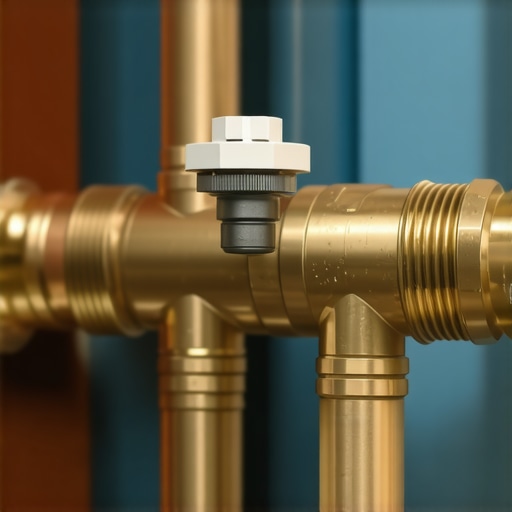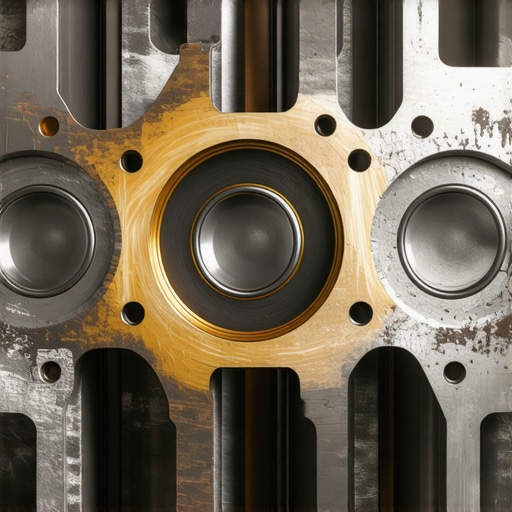
Why Your Group Head Gasket is Hardening and How to Pull it Out
Imagine this: you’ve just finished pulling a perfect shot of espresso, and suddenly, your machine starts acting up. The pressure seems off, and you’ve noticed some stubborn leaks around the group head. Frustrating, right? I remember the first time I faced this headache—it felt like my trusty machine was betraying me, and I had no idea where to start.
One common culprit behind these issues is the hardening of the group head gasket. Over time, gaskets can become stiff and brittle, leading to leaks and improper sealing. This might seem like a minor maintenance task, but neglecting it can turn your daily espresso routine into a frustrating ordeal. The good news is, with a little guidance, you can replace or pull out a hardened gasket without calling in a technician.
In this post, I’ll walk you through the essentials of understanding why your gasket hardens, how to identify it, and the step-by-step process to remove it safely. Whether you’re a home barista or just someone who loves a good cup, mastering this skill can save you money and keep your coffee experience top-notch.
Before diving into the how-to, I want to share a mistake I made early on. I assumed I could clean my gasket with harsh chemicals and hope for the best. Wrong move! That only accelerated deterioration. It’s crucial to handle gasket replacement with care and to understand the materials involved. For more tips on maintaining your machine’s health, check out our guide on [mastering the art of home espresso](https://espressotechguide.com/mastering-the-art-of-home-espresso-tips-for-beginners).
**Why does your group head gasket matter so much?** Well, a compromised gasket can lead to inconsistent pressure, water leaks, and ultimately, poorer espresso quality. According to industry experts, gasket failure is among the top complaints from espresso machine owners. Recognizing the signs early and knowing how to update the gasket can prolong your machine’s life and ensure every shot hits the mark.
Now, let’s get into how you can identify if your gasket needs a pull-out or replacement, and what steps to take to do it properly. Remember, a little patience goes a long way. Ready to make your machine work like new? Let’s go!
Prepare Your Workspace and Tools
Start by turning off your espresso machine and unplugging it. Clear a clean, well-lit surface with a soft cloth or towel. Gather essential tools: a screwdriver (usually Phillips or flathead), a rubber spatula or plastic scraper, and a replacement gasket compatible with your machine model. Remember, applying the right tools prevents damage and ensures safety.
Disassemble the Group Head
Remove the portafilter and any accessories attached to the group head. Use the screwdriver to unscrew the screws holding the top or side panels, depending on your machine’s design. Carefully lift or slide off panels to expose the gasket area. Be gentle; components are delicate, and force can cause cracks or misalignments.
Locating the Gasket
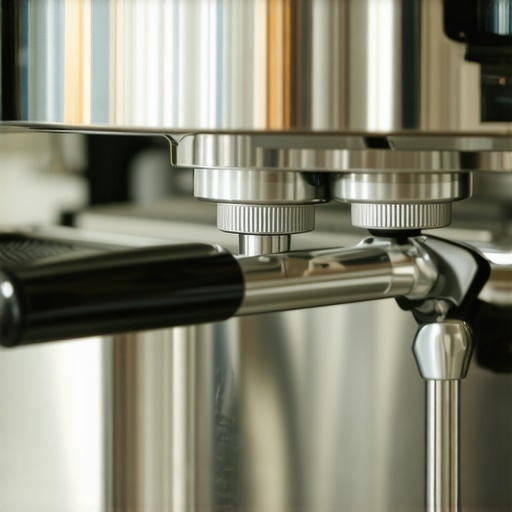
The gasket sits tightly around the metal ring of the group head. It’s often concealed beneath a small metal or rubber cover—remove this if present. Once exposed, assess the gasket’s condition: Hardened, cracked, or brittle material indicates it’s time for replacement. A micro-story: I once found my gasket so stiff it shattered when I attempted to remove it—being prepared with the right tools saved the day.
Remove the Old Hardened Gasket
Use a plastic scraper or rubber spatula to carefully pry and lift the gasket from its seat. Avoid metal tools—they can scratch or deform the metal ring. If the gasket resists, apply a few drops of hot water or a mild lubricant around the edges to soften it. Work slowly and evenly around the circumference to keep the seat intact. When I did this for my machine, patience prevented damaging the gasket groove.
Handling Difficulties
If remnants of the old gasket remain, gently scrape them away. For stubborn residues, soaking the area in warm water for 10-15 minutes can loosen debris. Avoid using harsh chemicals; they can harm the metal and compromise sealing. Clean the surface with a soft cloth to ensure a smooth, residue-free seat for the new gasket.
Install the New Gasket
Before placing the new gasket, verify its size and type match the original. Lightly oil the gasket or the gasket seat with a food-safe lubricant if recommended—this eases installation and creates a good seal. Align the gasket evenly around the ring and press it into place using your fingers or a soft tool. Make sure it sits flush without any wrinkles or gaps.
Reassemble the Components
Replace the panels and tighten screws uniformly to avoid misalignment. Reattach any accessories, and double-check that all parts are secure. I recommend following the reverse order of disassembly, keeping track of small screws or parts to prevent issues later. Proper reassembly is vital; a loose screw can cause leaks or mechanical failure.
Test Your Work
Plug in your machine, run a water flush without coffee to verify the gasket’s seal, and observe for leaks. If water drips or sprays, turn off the machine and recheck the gasket positioning and tightness. Small leaks after initial testing can be normal—re-tighten components carefully, and retest until secure.
Many home baristas believe that simply owning a high-end espresso machine guarantees perfect shots, but in my experience, there’s much more brewing beneath the surface. One prevalent myth is that grinding date freshness is crucial, yet, according to a study by the Specialty Coffee Association, grind size consistency plays a more vital role in shot quality than bean freshness alone. This misconception can lead enthusiasts to overlook proper grinder calibration, which has a significant impact on flavor extraction. Additionally, a common trap is assuming that more pressure always results in better extraction; however, many top-tier machines quote optimal pressure ranges, and exceeding these can cause over-extraction and bitterness. Advanced users should consider the subtle interplay of variables like tamping technique, dose amount, and brew temperature—factors that experts pay close attention to here for detailed calibration tips. When it comes to milk frothing, many novice baristas think that increasing steam pressure produces creamier microfoam, but this can actually lead to large bubbles and uneven texture. Instead, mastering steam wand positioning and milk temperature is more effective, as explained in our milk frothing guide. One advanced question I often encounter is how subtle changes in brew temperature affect extraction nuances. A slight increase or decrease—just a few degrees—can significantly shift flavor balance, emphasizing or muting certain notes. According to coffee science research, maintaining a stable extraction temperature ensures consistent flavor profiles across shots. Remember, perfecting home espresso isn’t just about gear; it’s about understanding and manipulating these nuanced factors. Curious if you’re falling for some of these myths? Have you ever fallen into this trap? Let me know in the comments!Ensuring your espresso setup remains in top shape requires the right tools and maintenance routine. I personally swear by a high-quality burr grinder calibration kit, which enables me to fine-tune my grinder for consistent extraction, avoiding those uneven shots that frustrate even seasoned baristas. Regular calibration using a grain size gauge helps maintain optimal grind consistency over time, extending the life of your grinder and improving flavor.
Beyond calibration, investing in a set of precision screwdrivers allows me to perform routine internal checks and gasket replacements without risking damage to delicate components. For cleaning stubborn buildup inside the group head and steam wand, I use a dedicated bristle brush set designed for espresso machines. These tools make maintenance quicker and safer, reducing downtime.
In the long run, keeping a detailed maintenance log—either digitally or on paper—helps track parts that may need replacing, like water filters or gaskets before they fail unexpectedly. This proactive approach minimizes surprises and guarantees your machine performs reliably, shot after shot.
Looking ahead, the future of home brewing points toward smart, IoT-connected espresso machines that can self-diagnose issues and suggest maintenance steps. Companies are already experimenting with sensors that monitor pressure and temperature, alerting you when calibration drifts or components need attention. Embracing these innovations will make maintenance even more straightforward.
**How do I maintain my espresso tools and machine over time?** Developing a scheduled cleaning and calibration routine is key. For instance, I recommend pairing monthly descaling with quarterly gasket checks. Also, using high-quality water filters (like those proven to reduce mineral buildup) protects your machine from scale, which is a common cause of performance issues. Regularly replacing or cleaning your grinder burrs with proven methods can prevent flavor contamination and clogging.
To keep your setup operating smoothly, try implementing a quick weekly routine: run a cleaning cycle, re-calibrate your grinder, and inspect seals and gaskets for wear. This habit preserves your gear’s performance and saves you money on repairs.
Want to boost your barista game? Start by investing in a dedicated cleaning brush designed for portafilters and group heads. This small upgrade can make a big difference in cleanliness and consistency. Try this tip today, and see how it enhances your espresso quality—your taste buds will thank you!
The Toughest Lessons in My Home Espresso Adventure
One thing I learned early is that even small components like gaskets hold the key to perfect espresso pulling. I once ignored signs of gasket wear, only to find my machine leaking during my weekend ritual—an embarrassing and sticky situation. That experience taught me the importance of inspecting and replacing gaskets before they become a problem.
My biggest breakthrough was realizing that patience and gentle handling during gasket removal prevent costly damages. Using warm water to soften hardened gaskets, rather than brute force or harsh chemicals, keeps the metal seat intact and saves you money on repairs. This discovery transformed the way I maintain my machine and deepen my appreciation for the subtle craftsmanship involved.
Finally, I understood that investing in quality replacement gaskets and proper tools makes a world of difference. A well-fitted gasket not only ensures a tight seal but also preserves the flavor and aroma of every cup. This lesson pushed me to build a routine that checks gasket health, saving me from emergency repairs and elevating my espresso game.