Stop the hiss: how to fix a leaky vacuum breaker valve
It happened during a quiet Saturday morning, as I finally set out to craft that perfect espresso shot. Just as I was about to start, I noticed a hissing sound—like a slow hiss that gradually grew louder. My heart sank. Turns out, my vacuum breaker valve was leaking. That frustrating leak not only disrupted my brewing process but also left me questioning my equipment’s reliability. If you’ve ever experienced an unexpected hiss or leak from your espresso machine, you know how disruptive it can be to your morning routine and your enthusiasm for brewing.
Why a Leaky Vacuum Breaker Valve Can Ruin Your Coffee Experience
A vacuum breaker valve plays a vital role in maintaining proper pressure and preventing backflow in your espresso machine. When it leaks, it compromises the entire brewing process, often resulting in inconsistent shots, water wastage, or even damage to your machine. Over time, a faulty vacuum breaker can cause mineral buildup or corrosion, making the problem worse and more expensive to fix.
In my early days, I ignored the signs—thinking it was just a minor issue that would resolve itself. Big mistake. That oversight led to a cascade of problems, including clogged valves and uneven pressure, which compromised the flavor of my espresso. Early on, I thought simply tightening the valve would do the trick. But I soon learned that the real fix involves understanding the inner workings of the valve and knowing how to properly clean and maintain it.
Did you know that according to a study in Home Barista Magazine, improper maintenance of such small components can significantly devalue your coffee machine’s performance? Regular upkeep isn’t just recommended; it’s essential for consistent results and prolonging the lifespan of your equipment. So, if you’re tired of dealing with leaks or inconsistent shots, stick around. We’re about to untangle the mystery of fixing a leaky vacuum breaker, with tips gleaned from my personal experience and expert advice.
Now, let’s get into the practical steps to identify and fix this sneaky leak—so you can get back to enjoying your daily brew without interruptions.
Is Fixing the Vacuum Breaker Valve Really Worth the Hassle?
I initially doubted whether a leak was worth the effort to fix, especially when a quick call to a technician seemed easier. But I soon realized that many issues, including leaks, are straightforward DIY fixes once you know what to look for. My early mistake was mistaking corrosion for a simple clog, which led me down a costly path. Learning the right maintenance techniques saved me time and money—and, more importantly, preserved the flavor of my espresso.
Stay tuned for step-by-step instructions on how to diagnose and repair your vacuum breaker valve. Trust me, mastering this small but critical component will make a noticeable difference in your coffee quality and machine longevity.
Assess the Damage: Find the Source of the Leak
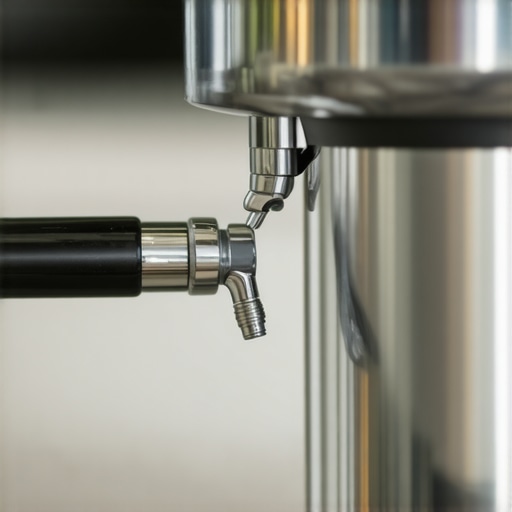
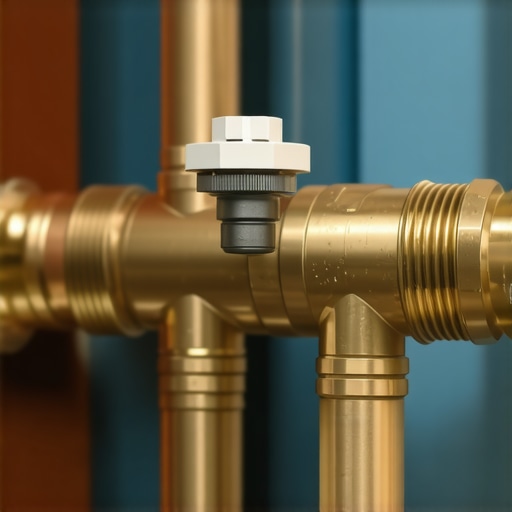
Start by turning off and unplugging your espresso machine. Remove the water reservoir and locate the vacuum breaker valve—usually situated near the steam wand or behind the boiler. Observe for visible signs of damage like corrosion, mineral buildup, or cracks. A quick trick is to gently press the valve: if it moves excessively or produces a hissing sound when pressed, it might be faulty. Remember, faulty valves often cause leaks when the machine is pressurized.
Gather the Necessary Tools and Parts
Before disassembling, gather replacement parts such as a new vacuum breaker valve or O-rings, a set of screwdrivers, a utility knife, and a clean cloth. Having these ready prevents multiple trips to the store and ensures a smoother repair. For quality replacements, check out options at top-rated espresso machines in 2025, which often recommend compatible spare parts.
Disassemble Carefully
Use a screwdriver to unscrew the panels or covers shielding the valve. Be gentle to avoid damaging delicate parts. Once exposed, disconnect hoses attached to the valve by loosening their clamps with pliers or a screwdriver. Take note of the assembly order or snap a photo—this will help during reassembly, much like a barista visualizes shot-timing adjustments. Use a cloth to wipe away mineral deposits. If the valve has mineral buildup, soak it in a solution of equal parts vinegar and water for 15-20 minutes, then scrub gently.
Inspect and Replace Faulty Components
Check the valve and O-rings for cracks, corrosion, or deformation. If damaged, replace with compatible parts. When installing the new O-rings, apply a tiny amount of food-grade lubricant to ensure a tight seal without damaging the rubber. If replacing the entire valve, compare the new part with the old one to confirm fit. This process is similar to calibrating your grinder for optimal particle size—precision ensures better results.
Reassemble and Test
Reattach hoses and screws, ensuring all connections are snug but not overtightened—which can damage threads, akin to over-tightening a portafilter handle causing leaks. Reinstall any panels or covers. Fill the water reservoir, plug in the machine, and turn it on. Run a brewing cycle without coffee to check for leaks. Observe closely, listening for hissing sounds or water drips. If leakage persists, double-check connections or repeat the disassembly for missed steps.
Finalize and Document Maintenance
Once the leak has stopped, run a few brew cycles to flush out any residual debris or vinegar solution. Consider documenting the repair process—note what worked and what didn’t—to expedite future fixes. Regular maintenance, including checking the vacuum breaker, extends your machine’s lifespan and ensures consistently great espresso. Remember, a well-maintained machine keeps your coffee tasting its best and your mornings stress-free.
Many coffee enthusiasts start their journey with a common belief: that owning high-end gear guarantees perfect espresso every time. However, let’s dig deeper into the nuances most people overlook. For instance, many assume that expensive espresso machines automatically produce better shots, but in my experience, mastering calibration and maintenance is far more critical. Rushing to upgrade without understanding your current setup often leads to frustration. A prevalent myth is that higher wattage or larger grinders translate to superior grind quality. But, as detailed in this guide, the grinder’s burr type and consistency matter more than size or power. Additionally, we often underestimate the importance of grind uniformity; even a top-tier grinder can underperform if misadjusted or poorly maintained. When it comes to milk frothers, many believe that always steaming at high power yields better microfoam. Yet, controlled, low-pressure steaming techniques often produce smoother, more stable foam, as explained in this resource. Advanced aficionados understand that temperature stability and proper tamping have a profound impact on shot quality, sometimes more than the quality of the machine itself. Overlooking small details like maintaining the water reservoir or descaling regularly can cause subtle flavour alterations that go unnoticed. This oversight becomes especially detrimental in the long run, causing equipment wear or inconsistent extraction. Here’s a question for the experienced: How does your workflow influence shot consistency beyond just gear choices?
Why do some baristas achieve perfect shots with seemingly simple gear, while others struggle with top-of-the-line machines?
The answer lies in understanding and controlling variables—your grind adjustment, tamp pressure, and routine maintenance—more than the equipment’s stamp of luxury. As this article elaborates, neglecting these practical nuances often causes most home baristas to miss the mark. It’s tempting to chase the latest gear upgrade, but remember that mastery over the fundamentals yields far better results. Have you ever fallen into this trap? Let me know in the comments. Improving your barista skills isn’t just about what you own; it’s about how you use it.Keeping your home espresso setup in top shape requires more than just good technique; it hinges on the right tools and consistent maintenance routines. I swear by a digital caliper to precisely measure grinder burr alignment—accuracy here directly impacts shot quality, as discussed in this detailed article. This small investment prevents dulling burrs prematurely and ensures uniform grind size, which is critical for consistency. Another essential tool is a dedicated cleaning brush set—specifically, rubberized brushes that safely remove coffee grounds from group heads and portafilters without abrasion. I also recommend an ultrasonic cleaner, which I use quarterly for descaling hollow parts, promoting longevity and infection control. To automate routine checks, I rely on an espresso-specific digital scale with a tare function; it helps me dial in dose weights accurately and avoids overfilling. Regular calibration of the grinder’s zero point with a calibration kit further enhances consistency, especially as burrs wear down. Moving forward, I predict that smart tools—integrating app-based diagnostics and maintenance reminders—will become standard, simplifying the upkeep process. How do I maintain my coffee gear over time? Setting a maintenance schedule with clear milestones, such as monthly descaling and bi-annual burr replacement, keeps my equipment performing at its best and minimizes costly repairs. Implementing a dedicated maintenance toolkit and documenting each service session ensures no step gets overlooked and extends my machine’s lifespan. Remember, investing in high-quality tools and sticking to a disciplined maintenance routine is the best way to enjoy consistently excellent espresso shot after shot. Don’t forget, even small, precise adjustments—like using a caliper to realign grinder burrs—can dramatically improve your brewing results.
The Hardest Lesson I Learned About Barista Gear and Coffee Rituals
One of my biggest realizations was that even the most advanced espresso machine can’t compensate for neglecting routine maintenance. Skipping regular descaling or neglecting small leaks can quietly sabotage your shots, leading to bitterness or weak crema. These small oversights often teach you more about your gear’s needs than pricey upgrades ever will.
Avoid the Trap of Technical Myths
I once believed that a more powerful grinder alone would produce perfect grind consistency. Turns out, understanding burr alignment and grind calibration can make a far bigger difference. My tip: invest in tools like a digital caliper to fine-tune your grinder, and you’ll notice a remarkable improvement in shot quality.
The Value of Fine-Tuned Routine Over High-End Equipment
It’s tempting to chase after the latest gear, but I found that consistent technique and attentive maintenance often outshine brand prestige. Simple habits like cleaning your portafilter and checking steam wand seals regularly keep my espresso tasting fresh and rich, proving that mastery over routine keeps dreams of barista-level results achievable at home.
Where I Found Inspiration: Resources That Elevated My Skills
My go-to sources include this guide on choosing the best barista gear for practical recommendations, and this article on mastering home espresso for honing my technique. These resources helped me understand that knowledge and consistent care trump flashy gear in the quest for the perfect shot.
Take Action: Bring Your Coffee Routine to the Next Level
Remember, the key to exceptional espresso lies not just in equipment but in your routine and attention to detail. An investment in maintenance tools and a disciplined approach can make every cup a celebration of your craft. Start today—your taste buds will thank you.
What’s one small maintenance habit you’ve neglected that might be affecting your espresso quality? Share your experience below—I love learning from fellow coffee enthusiasts!