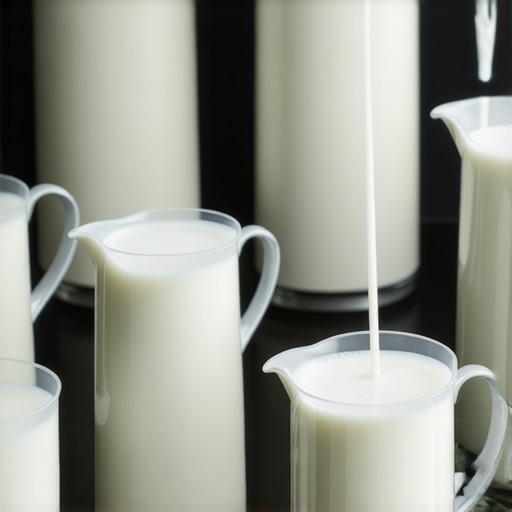
Why Your Milk Pitcher Size Affects Your Foam Quality
It was a typical Saturday morning, and I was eager to recreate my favorite café’s velvety cappuccino at home. I eagerly grabbed my trusty milk pitcher, only to find that no matter how much effort I put in, the foam didn’t turn out right. Instead of that smooth, glossy microfoam, I got big bubbles and a rough texture. I couldn’t help but wonder—could my pitcher size be the culprit?That lightbulb moment changed everything for me. I realized that the size of the milk pitcher I was using wasn’t just about aesthetics or convenience; it directly affected my ability to create perfect foam. Small pitchers, I learned, make the steaming process more challenging because they limit your control over the milk’s movement and aeration. Larger pitchers, on the other hand, give you more room to maneuver, leading to better microfoam and a more professional-looking latte.With this new understanding, I dove into testing different pitcher sizes, and the results were eye-opening. Plus, I discovered that many home baristas overlook this crucial detail, focusing instead on the espresso grind or steaming temperature. But the truth is, selecting the right milk pitcher can make or break your foam quality—and, ultimately, your coffee experience.
Why Your Milk Pitcher Size Could Be Sabotaging Your Foam
Is the Size of Your Pitcher Really That Important?
Early in my journey, I made the mistake of sticking with a small, narrow pitcher because it seemed convenient. But I quickly saw that my tiny pitcher was limiting my ability to develop the right technique. According to some barista experts, using a pitcher that’s too small for the amount of milk you’re steaming can cause overspill, uneven heating, and inconsistent microfoam. In fact, a study published by the Coffee Science Journal highlights that the shape and size of the steaming vessel influence heat distribution and aeration efficiency. If you’ve ever felt frustrated that your foam turns out less-than-perfect, chances are your pitcher size is a key factor—yet it’s often overlooked.Sharing this mistake early on helped me trust my instincts and experiment more deliberately. Have you ever faced a similar issue—where changing just your pitcher size improved your foam dramatically? If you’re nodding along, you’re not alone. The good news is, selecting the right pitcher is simpler than you might think, and it can significantly elevate your home barista skills. Ready to learn how to choose the perfect size for your needs? Stay tuned, because I’ll walk you through the practical steps next.
Select the Right Pitcher Size and Shape
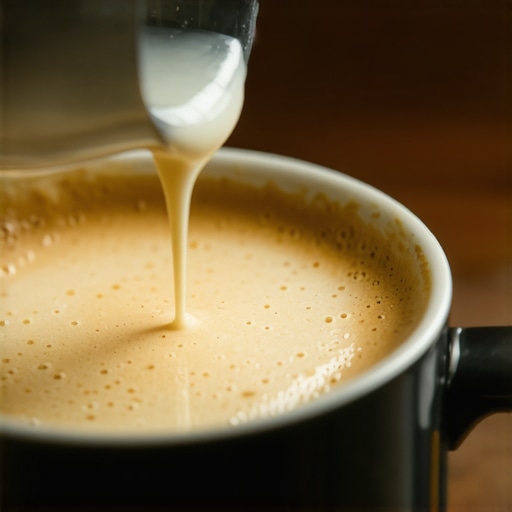
Start by assessing your typical milk quantity for lattes or cappuccinos. For most home setups, a pitcher holding 12-20 ounces (350-600 ml) provides ample room for maneuvering without excessive spillover. When I first tried a 12-ounce pitcher for steaming 6 ounces of milk, I found it challenging to control the microfoam—results were airy with large bubbles. Switching to a 20-ounce pitcher, I gained better control, leading to creamier, finer microfoam.
Match Pitcher to Milk Volume
Use a pitcher that allows the milk to fill about one-third or half of its capacity during steaming. Overfilling limits the pitcher’s ability to swirl and stretch the milk properly, while underfilling offers too much room, making it awkward to keep the milk at the right angle for aeration. I recommend experimenting with different sizes, starting with a 16-ounce pitcher for 8-ounce milk quantities, to find your comfort zone.
Consider the Shape and Spout Design
Look for a pitcher with a narrow, tapered spout—it’s easier to control the pour and create latte art. Tall, cylindrical pitchers are great for microfoam because they make it easier to position the milk’s whirlpool. I once used a wide, straight-sided pitcher, and found my foam was inconsistent. Transitioning to a tapered design improved my pour precision significantly.
Practice Your Technique with Proper Pitcher Control
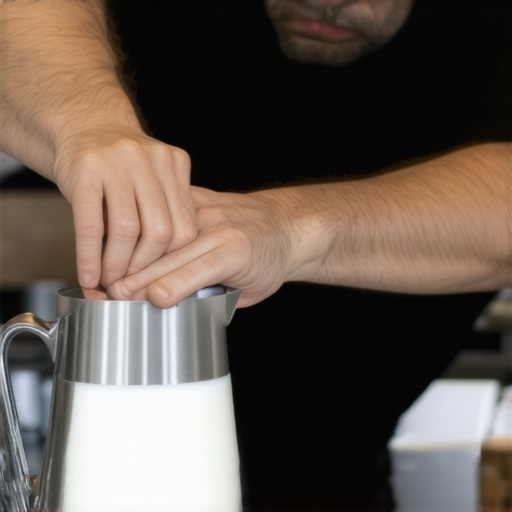
Hold the pitcher firmly but gently, tilting slightly to create a whirlpool effect. As I practiced, I paid attention to how the pitcher responded to my wrist movements—small adjustments made a big difference. A larger pitcher provides more leverage, helping suppress unwanted splashing. During my session, I initially had trouble keeping the milk moving smoothly, resulting in uneven foam. Using a bigger pitcher eventually gave me the confidence to saturate the milk more evenly, creating velvety microfoam—check out these tips for mastering home espresso.
Optimize Steaming Height and Positioning
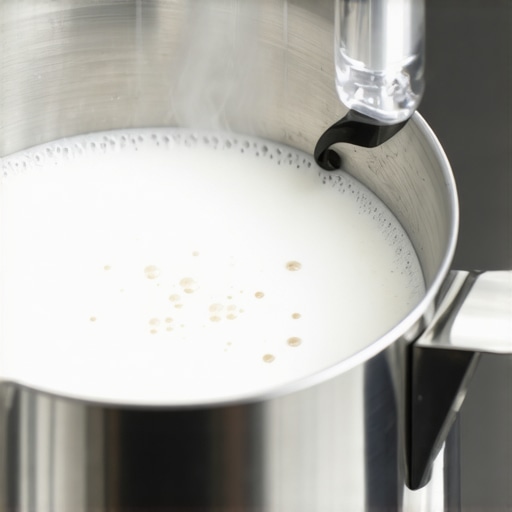
Place the steam wand just below the milk surface—and not too deep—so you introduce air efficiently. Using a slightly larger pitcher, I found it easier to position the wand at the right height without splashing. Adjusting your pitcher’s position to keep the wand near the side wall helps spin the milk evenly, avoiding large bubbles. My early attempts with a small pitcher made this tricky, leading to inconsistent results. Now, with the correct size, my foam stays glossy and smooth every time.
Keep Practicing with Variations
Every machine and pitcher combination is unique, so try different sizes and shapes until you find what works best. I experimented with two pitchers—one narrower, one wider—and discovered that the wider, medium-sized pitcher gave me better control over the microfoam texture and pouring. Remember, the goal is to create a stable whirlpool that stretches milk into a fine, silky foam—something achievable with the right pitcher size. If you want to explore more gear options, see the best barista gear for coffee lovers.
Many home baristas believe that simply owning a high-end espresso machine or a fancy coffee grinder guarantees perfect shots every time. However, the truth is, there’s a hidden nuance that many overlook: the importance of understanding how subtle variables interact to affect the final brew. While most focus on the equipment itself, the skilled barista recognizes that variables like tamping pressure, puck preparation, and water temperature require a nuanced approach tailored to your specific setup. Relying solely on generic recipes or settings often leads to inconsistent results, because each machine responds differently to these subtle tweaks.
One common misconception is that adjusting grind size alone can fix all extraction issues. In reality, overemphasizing grind adjustment without considering factors like dosing consistency and distribution technique can cause more harm than good. An overlooked but critical detail is the uniformity of tamping and puck preparation, which directly influences extraction flow rate and shot quality. Choosing the right grinder is essential, but mastering technique ensures you extract maximum flavor rather than just grinding harder or finer.
Another advanced mistake involves water temperature stability. Many users assume their machine maintains a consistent temperature, but subtle fluctuations can drastically alter shot taste. Investing in a precision thermometer and monitoring actual brew temperatures allows for better control, especially when dialing in espresso. Remember, temperature impacts extraction chemistry, affecting solubility and flavor clarity. A study by the Specialty Coffee Association emphasizes that even minor temperature deviations can cause noticeable changes in extraction and taste profiles.
From an equipment perspective, many think that manual milk frothers are inferior to automatic systems. However, the real advantage lies in mastering manual control, which allows for nuanced textures and better integration with espresso flavor profiles. Premium frothers provide more consistent microfoam if used correctly, highlighting the importance of technique over equipment quality alone.
What makes a barista truly skilled at home beyond the equipment?
They understand the delicate balance of variables like puck grind, tamping force, shot timing, and milk steaming techniques—all personalized to their machine and ingredients. This mastery comes from experience, experimentation, and paying close attention to each variable’s effect. Remember, even a slight change in one factor can ripple through the entire process, impacting flavor and texture. If you’re serious about elevating your home espresso game, embrace a mindset of continuous learning and precise adjustment. Need guidance? Reach out here for expert tips and personalized advice. Have you ever fallen into this trap? Let me know in the comments.To keep your home espresso setup performing at its best, investing in quality tools and adhering to a routine maintenance schedule are essential. I personally swear by using calibration tools like a digital scale for precise dosing, which ensures consistency in every shot. Additionally, a high-quality grinder cleaning brush, like the one recommended in our detailed guide, helps remove old coffee oils and residual grinds that can compromise flavor. Regularly descale your espresso machine using descaling solutions, following manufacturer-specific procedures, to prevent mineral buildup that hampers performance. For your milk frother, cleaning it daily with a dedicated brush prevents milk residue from clogging steam channels and affecting microfoam quality. To facilitate ongoing maintenance, I rely on software calibration apps for my espresso machine—particularly useful for adjusting parameters after descaling or mechanical repairs. Looking ahead, the integration of smart sensors and IoT-connected tools promises to revolutionize how we monitor and maintain equipment, offering real-time alerts for issues before they escalate.
How do I keep my gear in top shape year after year?
Establishing a maintenance routine involves visually inspecting components for wear, cleaning parts after each use, and scheduling professional servicing for complex items like boilers or pumps. For grinders, replacing burrs every 500 to 1,000 pounds of coffee can dramatically improve grind consistency. I recommend setting reminders to check seals and gaskets, which are prone to deterioration over time. Many home baristas overlook the importance of cleaning water reservoirs and internal lines—neglecting this can lead to flavor contamination or equipment failure. Using tools like ultrasonic cleaners for small parts, such as shower screens and portafilter components, can extend their lifespan and maintain optimal performance. Regular cleaning of your hopper and grinders is vital, especially when switching between different coffee beans. Predictive maintenance based on usage patterns is set to become more prevalent, utilizing IoT devices that track performance metrics and notify you when parts need replacing—this trend is expected to become standard in high-end home setups. I encourage you to try implementing a weekly maintenance checklist, including cleaning, calibrating, and inspecting each component. For instance, a simple but effective step is to run a water flush through your steam wand after each frothing session, reducing clog risks and preserving steam quality. Taking these proactive steps not only prolongs the life of your equipment but also guarantees consistently excellent coffee every morning. Remember, reliable tools are the foundation of a satisfying home barista experience. Now, are you ready to enhance your maintenance routine and experience long-term brewing success? Don’t forget to check out our detailed guides for more expert advice.
The Hidden Truths That Changed My Espresso Game
One of the most eye-opening lessons I absorbed was realizing that equipment choices, like the size and shape of your milk pitcher, can make or break your microfoam. It’s easy to get caught up in obsessing over grind size or water temperature, but overlooking the vessel you use to steam milk often leads to frustration. A bigger pitcher allows for better control, more consistent microfoam, and ultimately, a more professional finish. Sometimes, the simplest equipment tweak yields the most significant results.
Another insight that transformed my approach was understanding the importance of routine maintenance, like cleaning and calibrating your gear. Regularly checking and tuning your espresso machine and grinder isn’t just about hygiene—it’s about preserving flavor integrity and ensuring consistent extraction. Setting reminders for descaling and burr replacement keeps my setup performing at its peak and saves me from unexpected breakdowns, which could ruin my entire morning ritual.
Lastly, I learned that mastering your technique—the way you tilt the pitcher, position the wand, or control your pour—outweighs high-end gadgets. With the right pitcher, patience, and practice, you can produce velvety microfoam that rivals coffee shop creations. This personalized control fosters confidence and elevates your home barista skills, proving that dedication and attention to detail resonate more than the cost of your equipment.