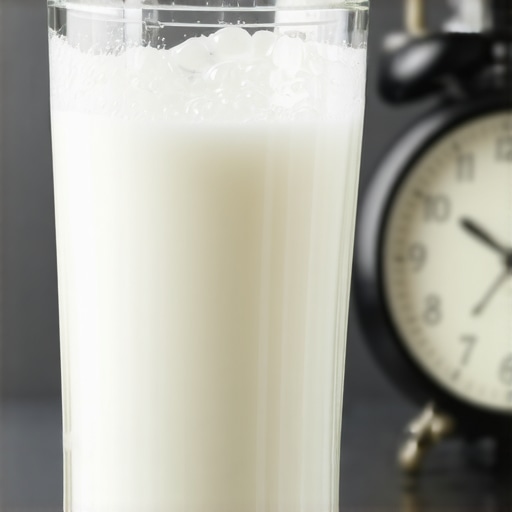
Why Your Milk Won’t Foam After Being Left Out Too Long
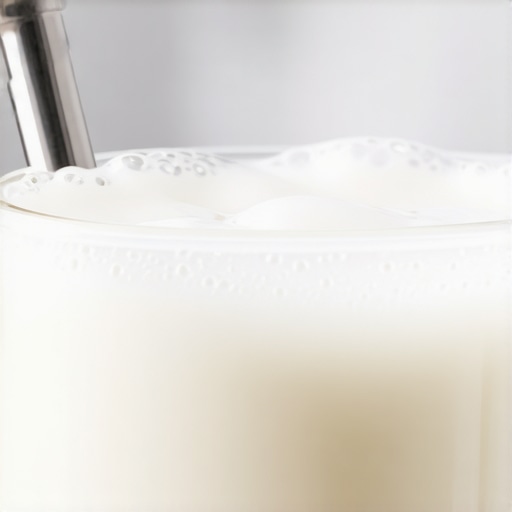
Have you ever prepared a beautiful cappuccino only to find that the milk refuses to foam, despite your best efforts? I remember the first time it happened to me. I was eager to impress my friends with a homemade latte, steamed the milk perfectly, and then, when I tried to create that silky microfoam for latte art, it just wouldn’t cooperate. Frustrating, right? The sudden loss of that velvety texture can feel like a personal failure, but let me tell you something—it’s all about the science behind the milk’s natural properties.
The Hidden Chemistry of Milk and Foam Formation
One thing I learned early on in my journey as a home barista is that the key to great milk foam lies in freshness and temperature. When milk sits out too long, especially at room temperature, its proteins and fats undergo changes that compromise its ability to foam. Specifically, bacteria start breaking down the milk, producing lactic acid that shifts the pH and alters the proteins responsible for forming foam. This process isn’t just a minor detail—it’s the reason why your milk might seem more sludgy than frothy after sitting out for a while.
Skeptical About the Impact of Time? Here’s Why It Matters
Many folks assume that as long as the milk looks okay, it’s fine to use. I used to think the same until I faced a batch that refused to foam despite being refrigerated. Turns out, even a few hours at room temperature can cause enough bacterial activity to hinder frothing. According to research in dairy science, bacteria can double in number every 20 minutes at room temperature, profoundly impacting milk’s properties. This realization prompted me to always check milk freshness before steaming, and it instantly improved my results.
So, if you’ve been struggling to get that perfect foam, your milk’s age and storage conditions might be the culprits. The good news? There are simple steps to prevent this issue, which we’ll explore in the next sections. But first, tell me—have you ever faced this foam-failing dilemma, despite following all the right techniques? Let’s dig deeper into why this happens and how to fix it once and for all.
Stay tuned, because understanding the science behind milk and foam will elevate your coffee game and save you from future disappointments. Want some expert tips? Check out our comprehensive home espresso guide to improve your brewing skills.
Start with Fresh, Cold Milk
Always choose fresh, cold milk straight from the fridge. Freshness makes a significant difference in foam quality. During a memorable weekend, I intentionally used milk that had sat out for an hour, resulting in a thin, bubbly foam. After that mishap, I made a rule to always check the use-by date and ensure the milk is cold before steaming. Fresh milk contains more intact proteins that are essential for stable microfoam.
Preheat Your Equipment
Preheat your steaming pitcher and milk frother to prevent temperature shock. I place my pitcher under hot running water for a few seconds, then dry it thoroughly. This step helps control the milk’s temperature and promotes even heating during steaming, which contributes to a silky foam. In a busy morning, skipping this step led to uneven microfoam with larger bubbles—an avoidable mistake that I now always fix.
Use the Correct Technique for Heating
Position the Wand Properly
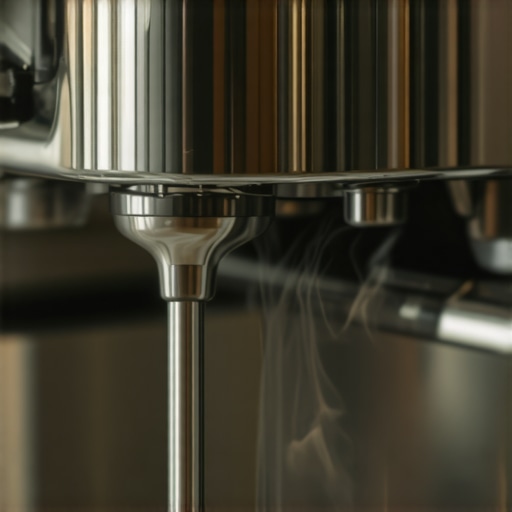
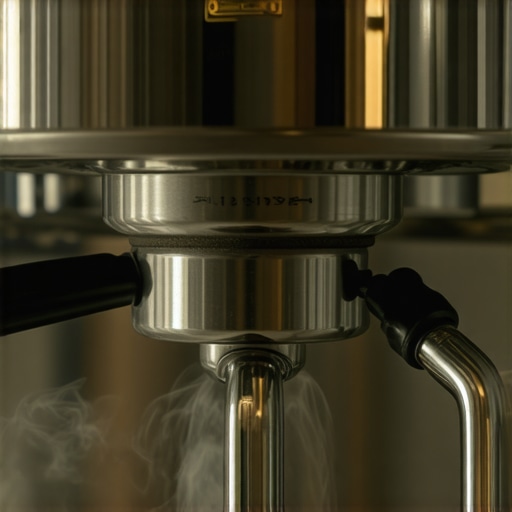
Submerge the steam wand just below the milk surface, creating a vortex. Imagine stirring a pot to mix ingredients evenly—this helps incorporate air uniformly. When I first started, I tended to immerse the wand too deep, resulting in overly hot milk with large bubbles. Once I learned to position the wand correctly—just below the surface—I achieved smoother, more consistent microfoam.
Manage Air Intake Carefully
Start by turning on the steam and introduce a small amount of air by keeping the tip close to the surface. Listen for a gentle hissing sound; too loud, and you’re pulling in too much air. During my practice, I initially pulled air too aggressively, producing large bubbles. Adjusting the wand distance and pressure allowed me to integrate tiny air bubbles, creating that signature microfoam texture.
Control Milk Temperature During Steaming
Monitor the temperature closely—ideally between 140°F and 150°F (60°C – 65°C). I use a digital milk thermometer to avoid overheating, which can destroy the proteins needed for foam stability. Once, I ignored the thermometer and overheated the milk to 170°F, resulting in a scorched taste and a ruined foam. Using a thermometer helps keep the process precise and repeatable, leading to consistent results.
Polish the Foam for Perfect Signature
After heating, tap the pitcher gently on the counter to settle larger bubbles, then swirl it to incorporate the microbubbles into a velvety texture. I remember in my initial attempts, I skipped this step, and the foam remained uneven with a rough surface. Now, I always tap and swirl to achieve a glossy, smooth microfoam perfect for latte art.
Practice and Adjust Your Technique
Like any skill, getting perfect microfoam takes repeated practice. Record your steam times, milk type, and temperatures to identify what works best. When I adjusted my steam time from 20 to 30 seconds, the foam improved remarkably. Tweak your method according to your equipment, milk, and environment to develop a personalized routine that consistently produces silky microfoam.
Incorporate these steps consistently, and you’ll see your milk frothing improve dramatically, making every cup a professional-quality experience. Remember, each component—from milk freshness to technique—plays a vital role in microfoam mastery. For additional tips on maintaining your gear, explore our guide to barista gear.
When it comes to home espresso setups, many coffee enthusiasts fall prey to misconceptions that hinder their progress. One prevalent myth is that upgrading to the latest espresso machine automatically guarantees perfect shots. In reality, even high-end machines require skilled operation and proper maintenance; otherwise, they can underperform. Rushing to replace your grinder with the most expensive model without understanding the importance of burr geometry or grind consistency often results in wasted investment. Proper selection, like considering the material and size of burrs, significantly impacts flavor extraction, as outlined in expert studies on grinder efficiency. Understanding these nuances helps avoid costly mistakes and elevates your brewing.
Another common trap involves milk frothing equipment. Many believe that an advanced milk frother’s price correlates directly with foam quality. In truth, technique and milk quality are far more critical factors. Overlooking the importance of clean, well-maintained steam wands can lead to poor microfoam, despite using premium gear. Regularly inspecting and cleaning your milk frother prevents issues like clogged nozzles and inconsistent frothing performance.
For those venturing into home espresso, choosing an entry-level machine might seem attractive, but many underestimate how crucial proper calibration is. Even the best machine can produce bland or bitter shots if not correctly dialed in. Learning to optimize parameters like pressure and temperature is essential, which is often overlooked by beginners eager to press buttons. Advanced users know that a simple step like adjusting the pre-infusion time or pressure profiling can dramatically improve flavor complexity—so don’t dismiss small tweaks. Check out our comprehensive guide to master these subtleties.
Many assume that inexpensive barista gear can replace quality craftsmanship. This isn’t true. Cheap tampers, knockboxes, or portafilters may save money initially but often compromise consistency and durability. Investing in well-made, ergonomic tools enhances your control and comfort, leading to better shots over time. Remember, your equipment’s quality influences your technique just as much as your skills.
What most home baristas overlook is the significance of regular cleaning and calibration. For instance, failing to clean grinder burrs causes uneven grind size, resulting in uneven extraction and off-flavors. Similarly, neglecting to calibrate your espresso machine after routine maintenance can lead to inconsistent pressure and temperature fluctuations. These small but vital steps are frequently underestimated, yet they form the foundation of excellent coffee.
Advancing your understanding of these nuances—beyond common beliefs—can transform your home coffee experience. Embrace precision, maintenance, and informed gear choices. Curious about detailed maintenance routines? Visit our About Us page for expert insights. Have you ever fallen into this trap? Let me know in the comments, and share your lessons learned to help fellow enthusiasts avoid these pitfalls.
Maintaining your barista equipment isn’t just about routine cleaning; it involves using targeted tools and methods that ensure longevity and optimal performance. Over the years, I’ve discovered certain products and techniques that make upkeep more effective and less cumbersome. Investing in the right tools can drastically reduce downtime and improve your brewing consistency, whether you’re operating a home setup or managing a small cafe.
Specialized Cleaning Devices for Your Grinder and Machine
One of my favorite tools is a burr cleaning brick—a dense cleaning block designed specifically to remove coffee oils and residual grounds from grinder burrs without requiring disassembly. I use the burr cleaning brick weekly, as it keeps my grind consistency sharp and prevents clogging. For espresso machines, a group head cleaning brush with stiff synthetic bristles helps reach the narrow shower screens and shower screens better than regular brushes, ensuring even water flow and extraction.
Precision Calibration Tools for Consistency
Calibration is critical to brewing excellence. I rely on a digital pressure gauge to monitor extraction pressure accurately. By using a gauge like the pressure measurement tool, I can fine-tune my machine’s pump pressure—an essential step for perfect shots. Additionally, a burr alignment tool helps me regularly check and adjust burr positioning to maintain grind quality—crucial as burrs wear over time.
Smart Storage and Preservation Aids
Storing beans properly prolongs freshness and flavor. I personally use an airtight container with a valve—like those recommended in our bean storage guide. For grinding efficiency, a brush attachment for my grinder assists in removing leftover grounds from hard-to-reach areas, preventing cross-contamination and stale flavors.
Protective Maintenance Products for Longevity
To prevent scale build-up and corrosion, I use a descaling solution regularly—about every 3-6 months, depending on water hardness. For parts like silicone seals and gaskets, applying a specialized lubricant like food-grade silicone spray keeps components supple and water-tight, reducing leaks and sensor failures.
Future Trends in Equipment Maintenance
As smart technology advances, I predict that upcoming equipment will incorporate self-diagnosing features. Imagine machines that alert you via a mobile app when a component needs replacement or cleaning—saving time and preventing breakdowns. Until then, supplement your routine with these proven tools for peace of mind and consistency.
How do I keep my gear performing over time?
Consistent maintenance hinges on regular inspections and using the right tools. Incorporate the burr cleaning brick and calibration gauges into your routine, and you’ll notice a marked improvement in stability. Remember, even small investments in preventive tools pay off by extending the life of your gear and ensuring your coffee remains top-tier. If you’re ready to upgrade your maintenance arsenal, explore our recommendations for barista gear. Try using a burr alignment tool this month to see immediate results—your taste buds will thank you!
Lessons I Wish I Didn’t Take Long to Learn About Coffee Mastery
- Trust your senses more than the clock; timing your shots precisely changed my espresso game forever.
- Freshness isn’t just a buzzword—using beans within a month of roasting makes all the difference in flavor and crema quality.
- Mastering steam wand positioning isn’t just technique—it’s the secret to microfoam that pours like silk, inspiring confidence in every cup.
- Keep your grinder burrs aligned; subtle misalignments secretly sabotage your shot clarity and clean taste.
My Trusted Arsenal for Better Coffee Experiences
- Digital pressure gauge: Monitoring pressure precisely prevents under or over-extraction, ensuring consistent shots—trust me, it’s a game-changer. Check out this guide for calibration tips.
- Burr cleaning brick: Regular cleaning keeps my grinder performing at its best, avoiding uneven grounds. I rely on this simple tool to save time and maintain flavor integrity.
- Precision thermometers: Precise temperature control during steaming produces microfoam that elevates every latte. I recommend this reliable thermometer.
- Proper storage containers: Fresh beans retain aroma and flavor longer. Use airtight containers with valves—massive difference in every sip.
Your Coffee Journey Starts Today
`} Embracing the less obvious, behind-the-scenes habits and tools can elevate your home barista skills beyond ordinary. Remember, every small tweak and dedicated practice builds towards coffee mastery. So, why wait? Dive into those upgrades, refine your techniques, and turn your kitchen into a café. What’s one step you’re excited to try first in your coffee routine? Share your plans below—let’s inspire each other to brew better every day.