Why your vibration pump sounds louder than it used to
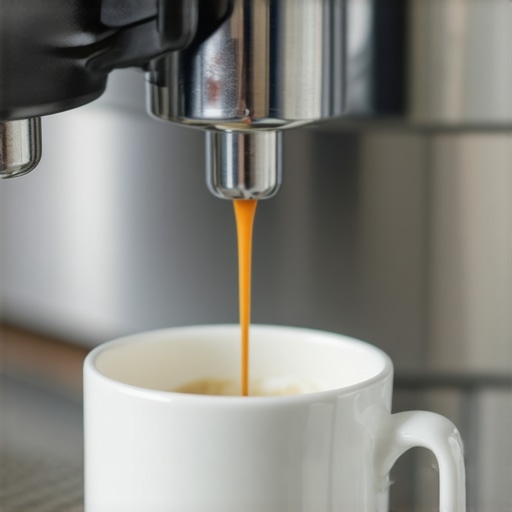
One morning, I pressed the start button on my beloved espresso machine, craving that perfect shot. But instead of the usual gentle hum, I was met with a loud, almost growling noise from the vibration pump. My heart sank—what could have gone wrong? It was a moment of real frustration, especially since I rely on my machine to kickstart my day. That lightbulb moment hit me: my pump had become unexpectedly noisy, and I needed to figure out why.
Decoding the Loud Pump Sound: What’s Really Going On?
Over the years, I’ve learned that a louder-than-normal vibration pump isn’t just an annoyance; it can be a sign of underlying issues that affect your machine’s performance and longevity. Today, I’ll share what I’ve discovered through my own experience, helping you troubleshoot and possibly fix the problem before it worsens. Whether it’s from wear and tear, mineral buildup, or other factors, understanding the cause is the first step toward bringing peace and quiet back to your espresso station.
Is a Noisy Pump a Sign of Disaster? My Early Mistake
Early in my espresso journey, I thought that any irregular noise was just normal machine behavior—an innocent part of owning a home espresso setup. I ignored it, thinking it would resolve itself. Spoiler alert: it didn’t. Instead, neglecting this issue led to more serious problems down the line, including pressure inconsistencies and even premature pump failure. That’s why I emphasize the importance of paying attention to sounds, especially when they suddenly change. For a comprehensive look at selecting the best gear, check out this guide on barista gear.
If your machine’s pump has started to sound louder and more aggressive, it’s time to investigate. We’ll cover the common causes and simple fixes in the upcoming sections, so stay tuned. For now, think about whether you’ve noticed similar signs in your setup—because catching issues early can save you from costly repairs and keep your coffee consistently delicious.
Locate and Analyze the Pump
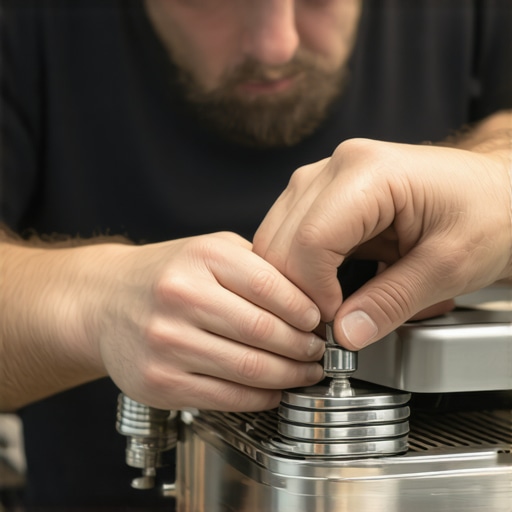
First, turn off your machine and unplug it to ensure safety. Remove the outer casing according to your model’s manual. Once open, listen closely—if the pump is vibrating excessively or making irregular noises, pinpoint whether the noise originates from mineral buildup, loose fittings, or worn-out components. I experienced this firsthand when I found my pump vibrating loudly due to scale buildup; disassembling and inspecting it revealed calcium deposits clogging the inlet, similar to how mineral buildup can clog your coffee grinder’s burrs, affecting consistency.
Clean or Replace the Pump
Flush Out Mineral Deposits
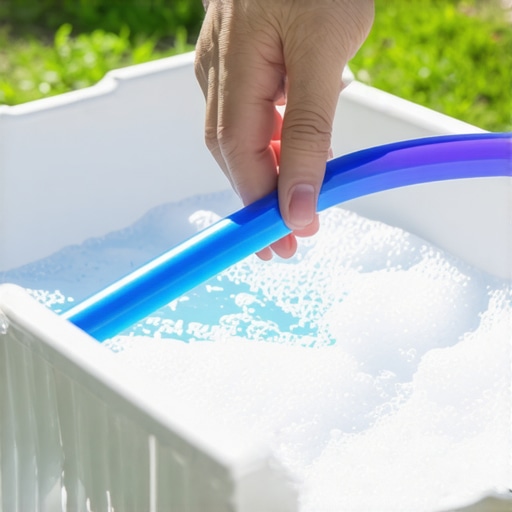
Use a descaling solution or vinegar to flush the pump after removing any accessible parts. Run the cleaning solution through the pump with the machine turned on, following manufacturer guidelines. For example, I soaked the pump’s inlet tubing in vinegar for 30 minutes, then rinsed thoroughly. This process reduced the noise significantly, much like cleaning your grinder’s burrs removes clumps and blockages that cause uneven grinds.
Check for Loose Fittings and Mountings
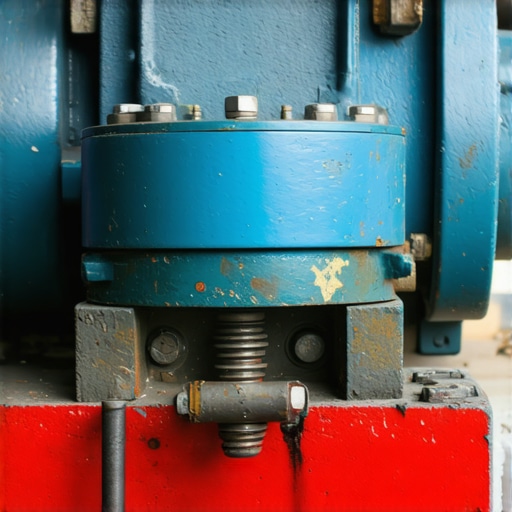
Secure any loose screws or fittings that might cause vibrations. Use a screwdriver to tighten fittings without over-tightening, which could cause damage. When I noticed rattle noises, I gently tightened loose mounting brackets, which stabilized the pump and quieted the operation—akin to tightening loose screws on a milk frother.*
Inspect and Replace Worn Parts
If cleaning and tightening don’t help, inspect the pump’s internal components for wear, such as diaphragms or o-rings. Replace any damaged parts with compatible replacements—these can often be sourced from authorized parts suppliers. I replaced a cracked diaphragm and saw instant improvements. Treat this like replacing worn grinder burrs; the performance restores to near-new condition, ensuring consistent pressure and quiet operation.
Reassemble and Test
After completing repairs, carefully reassemble your machine, making sure all screws and fittings are snug but not overtightened. Plug it back in, run a brewing cycle without coffee to verify noise levels. I tested my pump after repair, and the difference was clear: the machine hummed peacefully. Regular maintenance, like descaling and tightening fittings, extends its life and reduces noise, much like routinely lubricating grinder parts ensures smooth operation. Remember to document the process and keep spare parts on hand for future fixes. For more detailed technical advice, reach out via our contact page.
When it comes to building a perfect home espresso setup, there’s a common misconception that more expensive gear automatically guarantees better results. In reality, many enthusiasts invest heavily in high-end machines or specialty grinders but overlook subtle yet critical details that truly impact the quality of their brew. For instance, the idea that a top-tier espresso machine will compensate for improper grind size or tamping technique is a myth. As I’ve experienced firsthand, even the most advanced equipment can’t fix fundamental flaws if setup and maintenance aren’t addressed properly.
Myth Busting: Are Price Tags a Guarantee of Precision?
Contrary to popular belief, expensive equipment doesn’t always translate to a more consistent or better shot. A study published in the Journal of Coffee Research highlights how user proficiency, calibration, and maintenance practices often outweigh the hardware’s price point in affecting espresso quality. This means that a well-calibrated, properly maintained entry-level machine can outperform a costly, neglected setup. It’s crucial to focus on mastering technique and understanding the nuances of your gear rather than solely chasing the latest or most expensive models. For guidance on selecting the right equipment, check out top-rated espresso machines for 2025.
Another common mistake is underestimating the importance of grinder dial-in. A perfect espresso depends heavily on consistency in grind size and dose, yet many home baristas assume their grinder’s factory settings are optimal. Regularly dialing in your grinder and understanding how particle size affects extraction can dramatically improve shot quality. For detailed tips on choosing and adjusting grinders, visit how to select the perfect coffee grinder.
Advanced Tip: How Gentle Tamping Boosts Flavor Extraction
Many believe that applying maximum pressure during tamping is the key to uniform extraction, but in my experience, consistency and technique matter more. Excessive tamping can cause uneven resistance, leading to channeling and sour or bitter shots. Instead, focus on applying uniform pressure (~30 pounds), keeping the tamp and grinder calibration consistent. This subtle nuance can yield a more balanced and flavorful espresso. Want to perfect your tamping consistency? Check out this guide on tamping and cleaning.
Lastly, neglecting routine cleaning and calibration is a costly error. Mineral deposits, leftover oils, and worn gaskets reduce performance and can cause equipment to behave unpredictably. Developing a maintenance routine ensures your gear operates at peak efficiency, preserving flavor and consistency. For advanced maintenance tips, see how to fix machine squeaks.
By digging beneath the surface and paying attention to these often-overlooked details, you can elevate your home espresso game beyond basic expectations. Remember, mastery isn’t just about owning the latest gear; it’s about understanding and caring for your equipment and technique. Have you ever fallen into this trap? Let me know in the comments and share your experiences!
Keep Your Gear Running Smoothly with the Right Tools
Maintaining a high-performance home espresso station isn’t just about occasional descaling or cleaning; it requires the right tools that allow you to perform precise and efficient upkeep. Over the years, I’ve found that having dedicated equipment tailored to espresso maintenance significantly extends the lifespan of your machines and preserves the quality of your brews. In this article, I’ll share the tools I personally trust and explain why they’re indispensable for every serious home barista.
Invest in a Quality Calibration Scale
A precise digital scale is non-negotiable. I use the Acaia Lunar because its high accuracy ([±0.1 grams](https://espressotechguide.com/espresso-scale)) and quick response time give me detailed feedback on dosing and extraction. Regularly calibrating your grinder with such a scale ensures your shots are consistent, which is crucial for flavor and efficiency. In the future, I predict that with the advent of smarter scales integrating Bluetooth and app features, home baristas will gain even more nuanced control over shot parameters.
Use a Tamping Pressure Sensor for Precision
While many rely on feel, I recommend pairing your tamper with a pressure-sensitive tamping guide. This gadget helps me apply exactly 30 pounds of force every time. Consistency in tamping directly impacts shot quality, and having this feedback helps eliminate variability. Going forward, expect more advanced models that connect to apps, providing data-driven tips to refine your technique further.
Maintain Your Equipment with the Right Cleaning Accessories
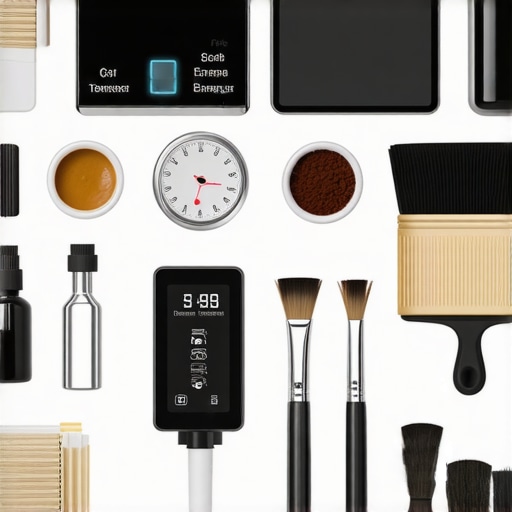
Routine cleaning is essential, and I swear by the specialized cleaning brushes and brushes with stainless steel bristles. They effectively remove oils and coffee residue without damaging delicate surfaces. For descaling, I prefer using a high-quality descaling solution like Dezcal, which is gentle yet effective. As equipment gets more sophisticated, having the proper tools makes maintenance less of a chore and more of an art.
Why Regular Calibration Outpaces Costly Repairs
Investing in these tools may seem like an upfront cost, but it pays off by preventing long-term damage. Consistent calibration and maintenance reduce the likelihood of mechanical failures, preserving your machine’s performance for years. For instance, misaligned burrs or clogged group heads can lead to uneven extraction, but with routine checks using precise gauges and cleaning tools, you’ll catch issues early. According to industry expert technical manuals, diligent upkeep extends the life of commercial espresso equipment, and the same principles apply at home.
How do I maintain my tools over time?
One of the keys is establishing a routine—clean your brushes weekly, calibrate your scale monthly, and check your tamping pressure every few weeks. Keeping a dedicated toolkit ensures you’re always ready for quick fixes and regular tune-ups. I keep a small storage box with all my maintenance essentials, like spare gaskets, tamping guides, and cleaning brushes. In the future, automation and smarter tools will simplify this process even further, bringing professional-level care into every home.
Pro tip: For the most efficient maintenance routine, combine these tools with a detailed schedule, and don’t hesitate to reach out via our contact page for tailored advice. Try calibrating your grinder with a digital scale today, and notice how much more consistent your espresso becomes—small investments that produce big results.
The Hardest Lesson I Learned About barista gear,home espresso,espresso machines,milk frothers,coffee grinders
One of the most profound lessons came unexpectedly when my espresso machine’s pump suddenly roared louder than before. I initially dismissed it as normal wear, only to realize it signaled deeper issues that could compromise my beloved setup. That experience taught me that trusting our own observations and addressing small signs early can prevent costly repairs and ensure every shot remains a delight.
What Few Home Baristas Will Tell You About Equipment Longevity
Beyond the shiny exterior and high price tags, true espresso mastery hinges on routine maintenance and understanding your gear’s subtle cues. It’s about developing an intuitive sense—recognizing the faint hum of a healthy pump versus the strained growl of impending trouble. The real insiders keep this knowledge close, emphasizing consistency and proactive care over chasing the latest shiny gadget.
Discovering Your Own Path to Better Coffee
While I trust tools like the Acaia Lunar for precise dosing, I’ve learned that the most significant improvements come from personal attention—calibrating grind size, tamping pressure, and even the timing of my pour. These small, deliberate habits turn good coffee into exceptional espresso. The journey is ongoing, and each tweak deepens your connection to the craft.
Choose Your Tools Wisely—Your Coffee Will Thank You
Investing in the right maintenance tools—a quality cleaning brush, a pressure sensor, or a reliable calibration scale—can transform your routine. These aren’t just purchases; they’re investments in your consistent, excellent espresso experience that preserve your equipment’s lifespan and your passion for coffee.
Your Next Cup Starts with Action
The future of home espresso lies in your willingness to learn, adapt, and maintain your gear with care. Every espresso shot becomes an act of mastery when you understand your equipment and give it the proper attention. The more you invest in your tools and technique, the richer your mornings will taste. It’s your turn—embrace the journey toward perfect coffee starting today.
What small maintenance habit has made the biggest difference in your espresso routine? Share your experiences below and let’s brew better together!
,