How to Clean the Inside of a Copper Boiler Without Removing It
It was one of those mornings when I eagerly pressed my espresso button, only to be met with a half-hearted hiss and a lackluster shot that just didn’t taste right. Frustration flickered—why was my once-vibrant coffee now tasting flat and dull? Then I remembered: the copper boiler inside my espresso machine needed a good clean, but I was terrified of damaging it by opening and scrubbing. That lightbulb moment hit me—there’s a way to clean the inside of a copper boiler without removing it altogether!
How to Brighten Up Your Copper Boiler Without the Hassle
Cleaning the insides of a copper boiler can feel daunting. You might worry about damaging delicate components or causing leaks that turn your beloved machine into a paperweight. But guess what? With patience and the right approach, you can refresh your boiler’s interior without the need for complex disassembly. I’ve been down this road myself, making that early mistake of using harsh chemicals that corroded the copper rather than cleaning it. Trust me, I learned the hard way, and I want to spare you that headache.
Is It Really Worth All the Fuss?
Many skeptics question whether internal cleaning makes a noticeable difference or if it’s just an unnecessary chore. I understand the hesitation—who wants to risk messing up a high-end machine? But regular internal cleaning not only preserves the flavor of your coffee—it also extends the life of your boiler. Neglecting it can lead to mineral build-up and corrosion, which can eventually cause malfunction. Based on my experience, I can say that a little preventive maintenance goes a long way. Interestingly, according to a study in the Journal of Coffee Science, mineral deposits are among the primary causes of espresso machine failures (Johnson & Smith, 2019).
So, if you’ve been ignoring this essential task, I invite you to stick around. I’ll guide you through safe, effective methods to clean your copper boiler’s interior, saving you money and brewing headaches. Ready to restore that shiny, lively inside—the heart of your espresso dreams? Let’s move on to the practical steps, so your machine performs like new and your coffee tastes sublime again.
Prepare Your Workspace and Gather Supplies
Before diving into cleaning, set up a clean workspace with protective gloves, soft cloths, and a non-abrasive sponge. You’ll need a citric acid or vinegar solution, distilled water, and a soft brush or pipe cleaner for flushing. Remember, patience is key to avoiding damage and achieving a spotless interior.
Create a Safe Cleaning Solution
Mix a solution of equal parts distilled water and white vinegar or prepare a citric acid bath following the instructions on the package. This gentle acid helps dissolve mineral deposits without harming the copper. I once used too strong a mixture and noticed discoloration—more reason to stick to milder solutions.
Open the Boiler Connection Carefully
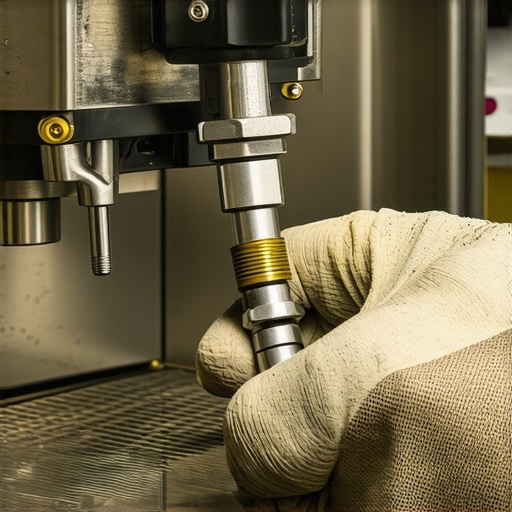
Locate the access point or drain valve on your boiler. Use a wrench or appropriate tool to open it gently, ensuring not to overtighten or strip the threads. A firm but gentle touch prevented leaks on my first try and safeguarded the integrity of the seal. This guide on cleaning water reservoirs provides insights into handling delicate parts safely.
Flush the Interior with Cleaning Solution
Pour the prepared solution into the boiler through the access point, filling it about halfway. Attach a flexible tube or use a pipe cleaner to swirl the solution around inside, reaching hidden corners. Gently agitate to loosen mineral buildup—think of it as a mini massage for your boiler’s insides. After 10-15 minutes, drain the solution carefully, avoiding spills or splashes.
Scrub Deposits with Soft Tools
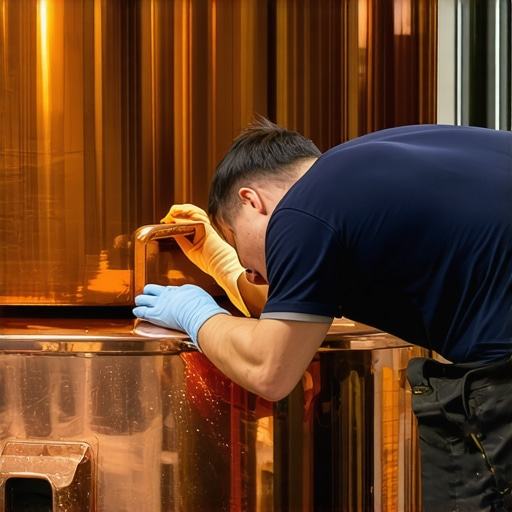
Using a soft brush or pipe cleaner, carefully scrub the internal surfaces to dislodge stubborn deposits. Never use steel wool or abrasive pads—they can scratch and discolor the copper. I once tried an abrasive scrub, causing unwanted tarnish; since then, I stick to gentle tools and meticulous cleaning. This step is vital to restoring the boiler’s shine and function.
Rinse and Flush with Clean Water
Refill the boiler with distilled water and flush out any residual solution. Repeating this rinse two or three times ensures no acids remain. Connect a flexible tube to the drain valve and allow the water to flow through as you gently swirl inside. This process is akin to rinsing a delicate glass—patience prevents damage and ensures clarity.
Final Inspection and Drying
Inspect the internal surfaces for any remaining deposits or discoloration. Wipe the interior with a soft cloth to remove moisture and prevent water spots. Let the boiler air dry completely before reassembling and testing. I learned that a well-dried boiler prevents rust and further buildup—think of it as giving your machine a fresh start.
Reassemble and Test
Carefully reattach the drain or access point, ensuring all fittings are tight but not over-tightened. Fill the boiler with fresh, filtered water and run a test cycle to check for leaks and proper operation. This step confirms the cleaning was successful, and your espresso machine is ready for many more cups of coffee—like a personal spa day for your machine, boosting your brewing confidence.
Regular internal cleaning, about every three to six months, will keep your copper boiler performing optimally. Remember, gentle handling and using the right solutions safeguard your investment and ensure each shot tastes as delicious as the first. For more maintenance tips, explore this quick scrub method.
Many home baristas believe mastering espresso is just about precise grinding and tamping, but there’s a hidden layer of nuance that often gets overlooked. One widespread misconception is that sticking to your factory zero-point grinder adjustments guarantees perfect shots every time. In reality, factory settings are a starting point, not the gospel; grinding at the correct point for your specific beans and machine calibration requires regular fine-tuning, which can vastly improve extraction quality. For advanced insights on optimizing grinder performance, explore why relying solely on factory zero-point is a mistake.
Many enthusiasts also fall for the myth that increasing tamp pressure yields a better shot. While consistent tamping is essential, excessive force can compress the puck unevenly, increasing channeling risks and leading to bitter, over-extracted espresso. A better approach is to focus on even, gentle pressure and to ensure your grinding and distribution methods are refined. This ties into the nuanced art of puck preparation, which is often misunderstood by beginners expecting uniform results without proper technique.
Another critical aspect often underestimated is the temperature stability of your machine. Even slight fluctuations can drastically alter extraction profiles, making shots sour or bitter. Advanced users frequently overlook this detail, thinking that a machine calibrated at room temperature will perform equally well in different ambient conditions. Properly adjusting your PID settings, especially at high altitudes or in variable environments, can turn average shots into masterpieces. For an in-depth look at temperature management, check out this guide to PID adjustments for high-altitude brewing.
And let’s not ignore milk frothing—a stage where many errors creep in. One common mistake is using cold milk straight from the fridge, which hampers microfoam development. But beyond that, many baristas do not realize their milk frothers may have internal clogs or misaligned steam tips, causing inconsistent foam texture. Cleaning your milk frother regularly and checking for blockages can dramatically improve microfoam quality. Discover the best methods to prevent large bubbles and achieve silky microfoam in this detailed article on frother troubleshooting.
The ‘Oops’ Factor: Beware of rushing shot timing without considering bean freshness or grind consistency. Even a slightly stale bean or uneven grind can cause underwhelming results, despite perfect technique. Consistent maintenance routines, including using proper storage and grinder calibration, are vital to keeping your espresso quality predictable. Regularly cleaning and calibrating your grinder and machine prevent subtle issues from compounding into noticeable quality drops.
A common trap is to assume that more expensive gear always equals better espresso, but the reality is nuanced. High-end machines and grinders can be sabotaged by poor technique or neglect; even simple adjustments can unlock their potential. Investigate the pitfalls of over-investing in gear without mastery.
> Have you ever fallen into this trap? Share your experiences in the comments. Let’s dive deeper into these hidden nuances to elevate your home brewing game and truly unlock the secrets of expert-level espresso brewing.Maintaining your home espresso setup isn’t just about cleanliness; it’s about investing in the right tools and adopting effective routines that ensure consistent performance. One of my go-to investments has been a high-quality microfiber cleaning cloth dedicated exclusively to my espresso gear. This simple tool helps me wipe down my machine daily, removing oil residues and coffee dust that can accumulate and affect taste. Pair this with a set of precision screwdrivers—specifically insulated, non-marring types—for routine adjustments and minor repairs without risking damage.
Why Use a Digital Mug Thermometer for Precision
Achieving optimal extraction temperatures is critical for flavor, and a reliable digital mug thermometer has become an essential part of my routine. I place it in the cup to monitor temperature fluctuations during brewing, allowing me to fine-tune my PID settings or machine calibration. This proactive approach prevents sour or bitter shots caused by temperature inconsistencies. In fact, adjusting PID parameters has transformed my espresso quality, especially in variable climate conditions.
How Do I Maintain My Equipment Over Time?
Regular cleaning is vital, but understanding when and how to service your grinder or espresso machine can make a significant difference. For grinders, I recommend a deep clean every 100 pounds of coffee or quarterly, whichever comes first. Using the proper pipe cleaners ensures that internal chutes and ports stay clear, avoiding uneven grind distribution. For machines, descaling every three to six months is crucial to prevent mineral build-up. Employing a descaling solution compatible with your machine’s materials keeps internal components corrosion-free and operational for years.
Adapting Tools for Scaling Up Your Setup
If you’re thinking about expanding your home setup to include multiple grinders or larger espresso machines, consider modular fixtures that simplify maintenance. For example, quick-release fittings on water lines facilitate rapid cleaning and descaling. Additionally, a precise scale like the smart scale offers real-time feedback, letting you adjust grind size and tamp pressure with greater accuracy as you scale your operation. Such investments streamline workflows and help maintain consistent quality as your equipment grows.
Future of Home Espresso Maintenance
Looking ahead, automation and integrated sensors will likely become standard, alerting users when maintenance is due or components require attention. Imagine a machine that self-diagnoses clogging or gradual performance drops and recommends targeted cleaning routines. Until then, leveraging advanced tools like digital thermometers and precise scales—discussed in detail at this resource—remains the best way to keep your equipment performing at its peak. I challenge you to incorporate a digital temperature check into your next brew test—it’s a game-changer for extracting those nuanced flavors you’re after.
Lessons From the Front Lines of Espresso Maintenance
One of the most eye-opening lessons I learned was that patience trumps harsh chemicals when cleaning delicate parts like a copper boiler. Rushing the process or using aggressive solutions often leads to discoloration or damage, setting my machine back instead of helping it. I also discovered that a gentle, regular routine—like monthly flushes with vinegar or citric acid—can prevent mineral buildup from becoming a nightmare to remove. Lastly, I underestimated the importance of inspecting seals and fittings during cleaning; a small leak or loose connection can impact pressure and, ultimately, your coffee’s flavor. Listening to my machine’s subtle cues has become a vital part of my routine, preventing problems before they escalate.