How to Freeze Coffee Beans Without Adding Moisture to the Bag
I remember the moment clearly. I had just ground a perfect shot of espresso, the rich aroma filling my kitchen, when disaster struck—the bag of coffee beans sat unattended on the counter, and a sudden gust of wind knocked it over. As I rushed to save what I thought was a freshly roasted treasure, I noticed the beans had absorbed moisture from the air, leaving me with a soggy mess I had to toss out. That frustrating experience was a wake-up call about the importance of proper storage, especially when freezing coffee beans in a way that preserves their freshness without inviting moisture damage.
Why Proper Freezing Matters for Coffee Enthusiasts
Freezing coffee beans is an age-old practice for extending their shelf life, especially if you’re a serious connoisseur or a busy home barista stocking up on premium beans. But here’s the catch: improper freezing techniques can do more harm than good. Moisture, the nemesis of fresh coffee, can seep into bags and clouds of condensation can form when you take the beans out, ruining their flavor and risking mold. Yet, many of us make the simple mistake of tossing beans into a freezer without considering these pitfalls, leading to stale, flavorless brews even after hours of brewing time.
Rest assured, I’ve been there. My early attempts involved tossing beans into zip-lock bags way too early, only to find a layer of frost and a loss of that distinctive aroma. It was then I realized that the key isn’t just freezing—it’s doing so correctly, avoiding moisture ingress at every step. In this post, I’ll walk you through proven methods, including my personal tips, to freeze your coffee beans without the dreaded moisture problem.
Does Freezing Coffee Really Improve Freshness?
One common concern is whether freezing coffee actually preserves its quality or just stalls spoilage. According to research from the Specialty Coffee Association, proper freezing can maintain flavor integrity if done correctly, but mishandling will accelerate staling. Early on, I made the mistake of freezing beans in a plastic container without air-tight sealing, exposing them to humidity and temperature fluctuations. This oversight led to flavor degradation, contradicting my goal of preservation. I’ve since learned that airtight, moisture-proof packaging combined with strategic freezing is essential. If you’re curious about optimizations for your grinder or brewing process, you might find this article helpful: The real reason your grinder stalls on light roasts.
Prepare Your Coffee Beans for Freezing
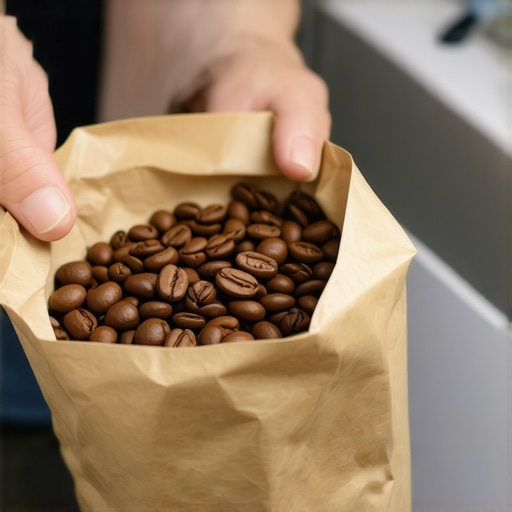
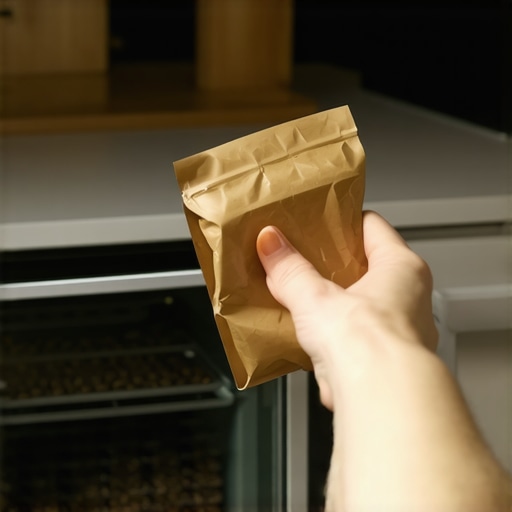
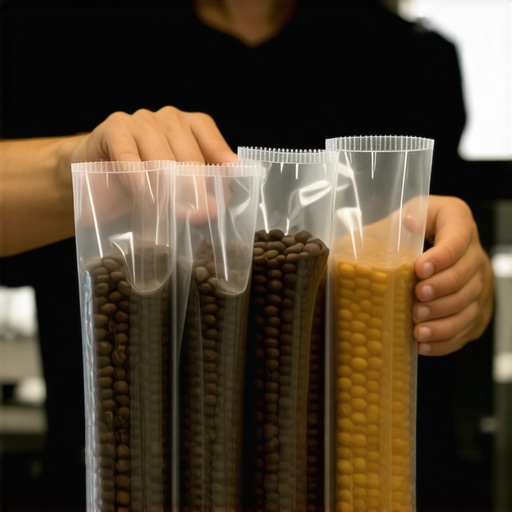
Start by dividing your beans into small, airtight portions using vacuum-sealed bags or moisture-proof containers. I recall when I first segmented a week’s supply into individual bags; it made thawing and grinding more efficient and reduced exposure to air and moisture. Avoid using standard zip-lock bags in the freezer, as they’re prone to condensation which ruins flavor.
Use the Right Packaging Techniques
Before sealing, press out as much air as possible to prevent freezer burn—think of it like squeezing the last drop of toothpaste. For added safety, wrap beans in aluminum foil or use Mylar bags with desiccant packets to absorb residual humidity. I once double-wrapped my beans after reading about moisture ingress, and it significantly preserved their freshness compared to single-layer packaging.
Properly Freezing the Beans
Place your pre-portioned coffee into the coldest section of the freezer, ideally at 0°F (-18°C), avoiding the door where temperature fluctuates. I learned this the hard way when I left beans in the freezer door during a warm spell, which caused condensation and sogginess. Keep the beans away from strong-smelling foods, as beans can absorb odors, compromising flavor.
Timing and Thawing
Do not freeze and refreeze your beans multiple times; plan your usage accordingly. When you’re ready to use a portion, transfer it directly to your grinder without thawing at room temperature—this prevents moisture from condensing on the beans’ surface. If you’ve experienced the frustration of a clogged grinder, check out this guide on why your grinder stalls with light roasts.
Maintaining Freshness Post-Freezing
Once thawed, keep your beans in an airtight container and avoid exposing them to air and humidity—think of it like sealing a delicate flower. Use your beans within a week for optimal flavor. Remember, consistently improper storage can lead to off-flavors, even after freezing, so meticulous packaging is key.
 Many home baristas and even seasoned pros tend to accept common wisdom at face value when it comes to espresso machines, grinders, and related gear. However, beneath the surface lies a web of nuances that can dramatically affect shot quality and machine longevity. For instance, a frequent myth is that higher wattage or more expensive equipment automatically equals better results. In reality, understanding each component’s specific role is key; excessive power can lead to overheating or inconsistent pressure, especially if your grinder or brew temperature isn’t properly calibrated. I’ve seen amateurs dismiss the importance of a well-maintained group gasket, only to encounter persistent leaks and uneven shots—issues often mistaken for user error rather than equipment neglect. Take the steam wand—many assume a simple cleaning suffices. But, if the internal seals are worn or the connection is loose, you risk pressure loss and spattering that ruins milk texture. A quick inspection periodically can preempt costly repairs. Advanced users should ask: “What subtle signs indicate my grinder’s burrs are uneven, affecting extraction consistency?” Experts suggest that uneven burrs can cause channeling and over-extraction, leading to bitter flavors, even if your grind size appears correct. Regularly checking for grind inconsistency can elevate your espresso game. Additionally, many overlook the impact of actual water quality on equipment longevity and shot clarity. A recent study highlighted that minerals in tap water accelerate scale buildup, reducing boiler efficiency and flavor purity. Using a dedicated water filtration system tailored for espresso machines extends lifespan and maintains consistent pressure. Beyond technical factors, mastering the art of pre-infusion—delayed application of full pressure—can improve extraction, especially with light roasts. While many think pre-infusion is optional, it can drastically reduce sourness and enhance flavor complexity if executed precisely. To avoid potential pitfalls, familiarize yourself with troubleshooting guides like fixing a leaky steam connection or adjusting grinder settings that won’t budge, as detailed in guides here: [how to fix a leaky steam wand connection](https://espressotechguide.com/how-to-fix-a-leaky-steam-wand-connection-without-a-plumber) or [how to fix a grinder adjustment ring that won’t budge](https://espressotechguide.com/how-to-fix-a-grinder-adjustment-ring-that-wont-budge). Remember, paying attention to these subtle signs and nuanced practices transforms an average espresso into a professional-quality shot. Have you ever fallen into this trap? Let me know in the comments.
Maintaining your espresso setup is critical to achieving barista-quality results at home. Using the right tools, staying proactive with maintenance, and knowing how to troubleshoot common issues can extend the lifespan of your equipment and ensure consistently excellent shots. One of my favorite investments has been a high-quality tickle-free tamping mat—it keeps your workstation organized and prevents damage to sensitive surfaces. Regularly inspecting seals and gaskets, such as the group gasket replacement, helps avoid leaks that can deteriorate performance over time. For grinders, a precision calibration tool allows me to fine-tune burr alignment, preventing uneven particles that cause channeling. An often-overlooked aspect is descaling; I recommend a natural descaling solution like citric acid, which I’ve used successfully without harsh chemicals, to prevent mineral buildup that hampers boiler efficiency. When it comes to long-term results, investing in a reliable water filtration system not only improves shot clarity but also preserves your machine’s internal components.
How do I maintain my espresso equipment over time?
Consistent cleaning after each session—using brushes for portafilters and steam wands—keeps things running smoothly. Scheduling quarterly maintenance, such as checking water lines and replacing worn parts, can prevent expensive repairs down the line. As technology advances, expect smart diagnostics and app-controlled cleaning routines to become standard, making maintenance even easier. Until then, manual checks are your best bet. For instance, ensuring your grinder’s adjustment ring isn’t stuck, as described here, can save you from inconsistent grinds. Try incorporating a weekly deep clean with a vinegar and water cycle to remove stubborn residues—improving extraction quality and taste. For expert insights, I recommend reading about the importance of burr alignment; proper calibration has a profound impact, and tools like this guide provide a step-by-step process. Regularly verifying your water quality with test strips can also prevent scale buildup and extend the lifespan of internal parts. Lastly, don’t forget about the small but vital accessories—such as replacing worn o-rings—to keep your gear performing reliably. Whether you’re a weekend hobbyist or a budding home barista, embracing these maintenance practices ensures your investment delivers top-tier espresso for years to come. A simple yet effective tip is to perform the 10-second purge before each shot, which removes residual water and prevents sour tastes—try it today and taste the difference!
From my early days fumbling with stubborn grinder adjustment rings to troubleshooting inconsistent shot extraction, the path to espresso mastery has been filled with lessons that no manual can fully teach. The most profound insight I’ve gained is that a passion for aligning equipment, understanding moisture’s subtle influence on beans, and appreciating the nuanced dance of temperature and pressure elevates a good cup to an art form. These lightbulb moments come not just from reading or watching tutorials but through hands-on experience and patience. Embracing the imperfect steps, such as learning when to replace a worn gasket or how to clear a clogged steam wand, builds confidence and craftsmanship that can’t be bought. Remember, every challenge faced and solved adds a layer of expertise, bringing you closer to that perfect espresso shot.
Secrets Only the Roots of Barista Wisdom Reveal
- Over-pressurizing your tamp: I once thought more pressure always meant better extraction. Turns out, gentle but firm tamping creates more balanced pours. This lesson was a game-changer and taught me to trust my equipment and technique over assumptions.
- The myth of higher wattage: I believed a more powerful machine would automatically improve results, but I learned that consistent temperature control and proper maintenance are far more impactful. Upgrading your machine without understanding its limits can sometimes do more harm than good.
- Neglecting water quality: A simple water test revealed mineral buildup was undermining my machine’s efficiency. Switching to a filtered water system extended my equipment’s lifespan and significantly improved shot clarity—an upgrade that pays for itself over time.
- Ignoring grinder burr health: Uneven burrs caused channelling, leading to bitter, over-extracted shots. Regular calibration and replacing burrs at the right time made all the difference, reinforcing that equipment upkeep is essential for quality.
Tools and Resources That Changed My Perspective
- Precision grinder adjustment tools—a small investment that saved hours of frustration and improved consistency with every grind.
- Accurate dosing scales—they’ve become the backbone of my reproducible espresso shots, elevating my routine from guesswork to precision.
- Natural descaling solutions—a simple, chemical-free way to keep my machine running smoothly and tasting fresh, proving that care for equipment translates directly into flavor.
- Bean freshness tips—learning how to revive slightly stale beans has allowed me to extend their life and enjoy richer coffees without waste or compromise.
Fuel Your Passion and Take Action Today
Remember, mastery in home espresso is a continuous journey of learning, experimenting, and refining. Every tweak, every maintenance task, and every new technique you adopt brings you closer to barista-quality results. The world of coffee is vast and full of delightful surprises—dive in with curiosity and confidence. Don’t wait for perfect conditions or the latest gadget; start applying what you’ve learned today, and watch your skills soar. Your perfect shot is out there—it’s just waiting for your next step.
What’s the one challenge in your espresso routine that you’re ready to conquer? Share your story below—I’d love to hear about your journey and help you troubleshoot or elevate your setup!