The Static Fix for Grinders That Doesn’t Involve Spraying Water
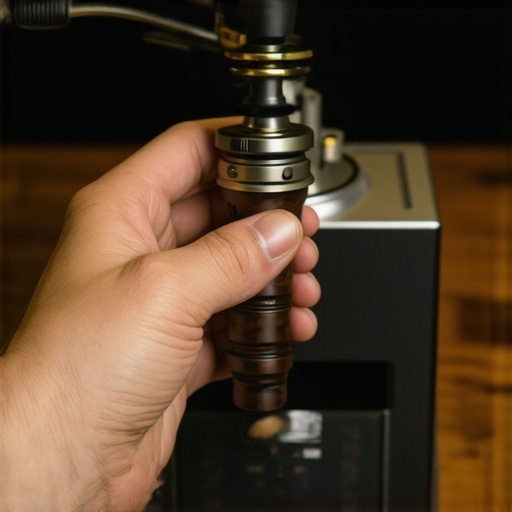
I remember the moment vividly. I was mid-brew, the aroma of freshly ground coffee filling my kitchen when suddenly, a little spark from my grinder made me jump back—like static electricity had jumped from a balloon to my sweater. That pesky static cling made a mess every time I pulled out the portafilter, and I knew I wasn’t alone. Many home baristas and espresso enthusiasts face this silent saboteur that ruins the joy of brewing.
Why Static Electricity Is Your Unseen Enemy in Coffee Making
Static buildup in coffee grinders isn’t just a minor annoyance; it can actually affect your brewing process and mess up your clean workspace. When coffee grounds cling to the grinder walls or scatter around your station, it’s a sign that static is at play—making your routine more frustrating and less efficient. Honestly, I used to think it was a sign I wasn’t cleaning enough, but after some trial and error, I discovered it’s more about subtle physics at work.
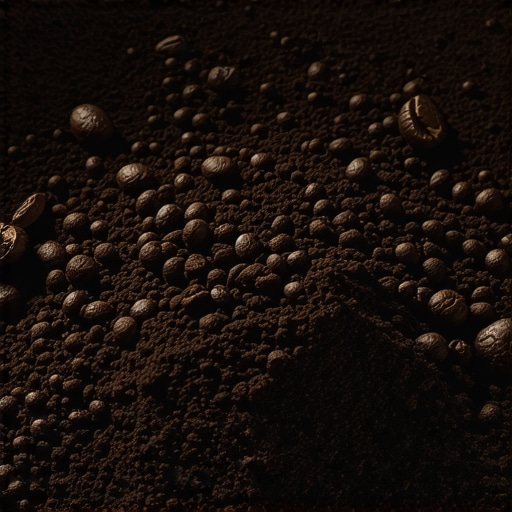
So, why does static happen? Well, dry coffee grounds have an electrical charge that causes them to repel each other, especially in low humidity environments. The friction generated during grinding increases this static force, making grounds jump and cling, much like how clothes stick together in a dryer. According to a study published in Food Chemistry, static charge can increase in dry conditions, reducing grind consistency and complicating tamping or dosing.
I’ve made the mistake early on of trying to tackle this issue with water sprays—trust me, that’s a quick way to turn your beautiful grinder into a rust-hazard. That’s when I realized I needed a solution that was simple, effective, and that didn’t involve spraying my gear with water or risking damage. And here’s the good news: there are practical ways to fix static cling, without turning your workspace into a moisture zone.
Are you tired of coffee grounds going everywhere, or frustrated with that static shock every time you load your portafilter? If so, keep reading. I’ll share the method I personally tested—one that transformed my workflow and kept my station cleaner and calmer. Plus, I’ll guide you through some common pitfalls to avoid, so you get it right the first time.
Is it really worth all this fuss? The static fix that actually works
Early in my barista journey, I thought a quick wipe of the grinder bin was enough. That was a mistake rooted in assumptions—like thinking static was just a minor inconvenience. Over time, I learned that a small tweak in the environment and a simple accessory can make all the difference. If you’ve experienced similar frustrations, I promise you, with the right approach, static can be tamed—making your grinding process more predictable and enjoyable.
So, next, I’ll walk you through a straightforward fix—something I’ve perfected—that prevents static cling without risking damage to your equipment or introducing moisture where it doesn’t belong. Ready to take control of your coffee station and say goodbye to ground clutter once and for all? Let’s dive into the tangible, no-nonsense solutions that really work.
Implement Anti-Static Techniques Directly at Your Grinder
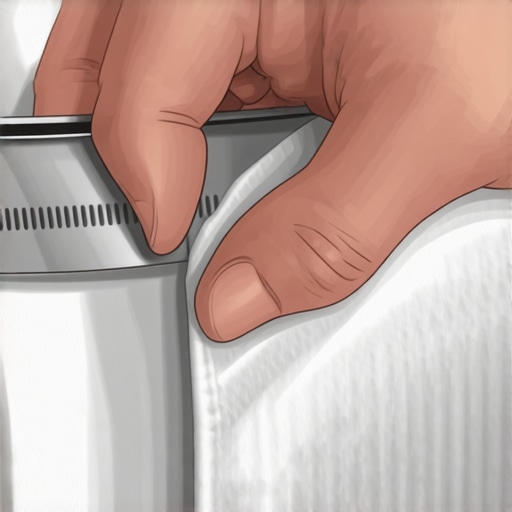
Start by grounding yourself to dissipate static buildup; touch a metal object before handling your grinder. Next, turn off the grinder and wipe down the chute and burrs with a slightly dampened cloth—avoid spraying water directly onto the machine. When cleaning, focus on the areas where grounds stick, especially the chute and hopper. Applying a small amount of conductive spray designed for electronic components can also help neutralize static charges; ensure it’s designed for kitchen appliances.
Adjust Your Grinding Environment for Static Control
Humidity plays a crucial role in static manifestation. Use a humidifier in your coffee space to maintain around 50% humidity—this significantly reduces static cling, much like how moisture in the air prevents clothes from clinging together. If adding humidity isn’t feasible, consider placing a moisture-absorbing silica packet near your grinder to stabilize air moisture levels. Keep the workspace free of dry, dusty air, which exacerbates static buildup.
Modify Your Accessories and Workflow to Minimize Static Effects
Replace plastic parts with metal or anti-static versions where possible. For example, swap out plastic hopper tanks with metal or anti-static materials. When loading coffee beans or grounds, do so gently to prevent creating static charge through friction. During grinding, hold the portafilter or dosing cup close to the chute to minimize stray grounds being blown around by static discharge, similar to how a static charge can make a balloon stick to your hair.
Use Proven Solutions for Long-Term Static Prevention
Applying an anti-static spray specifically formulated for kitchen appliances can provide a lasting effect; just be sure to choose one safe for food contact surfaces. Regularly clean and inspect your grinder’s interior—residue buildup can attract static. Consider installing a grounded metal strip or plate around your grinder to help neutralize static charges dynamically, acting as a drain for excess electricity. If static persists, check your home’s electrical grounding system; poor grounding can lead to static issues, akin to static shocks you get from improperly grounded electronics.
Apply Practical Testing and Adjustments
After making adjustments, test the static reduction by grinding a small batch and observing ground behavior. If grounds still cling, consider re-evaluating humidity or static spray application. A helpful tip is to grind a batch into a slightly damp cloth or paper towel—if grounds settle and don’t cling, static is likely under control. By systematically implementing these measures—combining environmental adjustments, material modifications, and preventative maintenance—you can significantly diminish static cling. Remember, consistency is key; routine cleaning and monitoring will sustain a static-free workspace, enhancing both cleanliness and extraction precision.
For more insights into maintaining your gear, check out how to fix a wobbly tamper or explore best drip tray storage to keep your station tidy. Incorporating these strategies will ensure your grinding process is efficient, clean, and static-free.Many coffee enthusiasts assume that investing in high-end equipment automatically guarantees perfect espresso, but there’s more beneath the surface that often goes unnoticed. For instance, a common misconception is that all burr grinders produce identical flavor clarity; however, the choice between ceramic and steel burrs significantly impacts taste nuance and consistency. While many believe that heavier espresso machines are always better, in reality, correct calibration and maintenance matter just as much as raw power. An overlooked detail is how pre-infusion settings can dramatically influence shot extraction, especially with high-precision baskets, influencing flavor complexity—something only seasoned baristas fine-tune over time. Do not fall into the trap of neglecting the impact of basket design; the wrong basket can sabotage even the best grinder settings. |Another advanced mistake is misunderstanding the importance of proper tamping pressure. Applying inconsistent force can lead to channeling, which ruins extraction and masks flavor intricacies. To truly optimize, consider checking your tamping technique regularly or using a level tamping system—small adjustments here yield big taste improvements. Moreover, many home baristas overlook how the environment affects stability. Maintaining a consistent temperature and humidity level not only prolongs equipment lifespan but also preserves coffee freshness and grind consistency—vital for nuanced flavor. In fact, some professionals advise storing beans in freezer techniques that prevent staling without moisture contamination. While it’s tempting to assume that bigger grinders mean better performance, size isn’t everything; selecting equipment aligned with your workflow ensures better results and fewer headaches. Careful attention to details like portafilter fit and grinder calibration can prevent common frustrations, such as uneven extraction or espresso spitting.
How can advanced adjustments in workflow influence overall brew quality?
For experienced enthusiasts, tweaking grind size, tamping pressure, and water temperature together creates a symbiotic effect—leading to richer, more complex shots. For example, dialing in temperature precisely is crucial for highlighting nuanced flavors, especially when using high-quality, lightly roasted beans. A study in Food Chemistry emphasizes that subtle changes in extraction parameters can reveal hidden flavor layers. Keep in mind that routine calibration may seem tedious but pays off by unlocking your gear’s full potential, turning mundane shots into sensory explorations. Beware of the trap of relying solely on presets or automatic programs—manual control often yields the most expressive results, provided you understand each variable’s nuance. If you’re eager to refine your setup, consider consulting guides on calibrating your pressure and volume settings for optimum consistency. Remember, mastering these advanced techniques transforms your experience from routine to art, elevating your daily coffee ritual into a true craft. Have you ever fallen into this trap? Let me know in the comments.
Keeping Your Coffee Gear in Top Shape
Investing in quality coffee equipment is only part of the equation; regular maintenance ensures longevity and peak performance. One device I swear by is the proper storage of coffee beans. Freezing beans correctly prevents staling and preserves freshness, which directly impacts your espresso’s flavor clarity. Personally, I like to use an airtight, vacuum-sealed bag, removing excess air before freezing, to avoid moisture contact that can degrade beans over time.
For grinding precision, I rely on high-quality burrs. When choosing between ceramic and steel, I opt for steel because of its durability, especially when grinding darker roasts. According to a study in Food Chemistry, steel burrs tend to produce more consistent particle sizes over prolonged use, which benefits shot consistency. Ensuring your burrs are in excellent condition is vital. Regularly inspecting and replacing dull burrs can prevent bitter or uneven shots, saving costs in the long run.
Long-term, I recommend investing in a calibration scale specifically designed for espresso dosing. This small device plays a big role in maintaining dose accuracy over months, keeping your espresso shots consistently balanced. Also, in a hobbyist or professional setting, toggling your machine’s PID settings as per your altitude and bean roast profile can improve temperature stability. This is crucial because, as noted in a guideline on calibration, precise temperature control unlocks flavor nuances especially in lighter roasts.
How do I maintain my espresso machine over time?
Regular descaling is essential to prevent mineral buildup that can clog tiny orifices, like the gicleur or group head components. For routine cleaning, I use a descaling solution recommended by the manufacturer, followed by a thorough rinse cycle. The descaling process should be performed every 2-3 months, depending on water hardness. Additionally, inspecting and replacing worn seals and gaskets, such as the group gasket, prevents leaks and maintains pressure consistency.
When preserving your equipment long-term, consider upgrading components like the tamper or basket to more precise, professionally calibrated versions. For example, a level tamper system reduces uneven tamping, thus enhancing extraction quality. Don’t forget, environmental factors like humidity affect maintenance. Using a dedicated drip tray and keeping the space dry minimizes scale buildup and bacterial growth, securing your workspace’s hygiene and equipment performance.
Looking ahead, trends point toward smarter, IoT-connected barista gear that can self-diagnose and suggest maintenance schedules. Implementing advanced monitoring tools like calibration scales and precision baskets can elevate your home setup to professional standards. Start by checking your tension calibration on your grinder, or deep-cleaning the group head with a quick flush method to prevent flavor degradation. These small, consistent actions make a big difference, and I challenge you to try a detailed cleaning process today and note the improvement in shot consistency.
Lessons Only The Bold Could Discover
- One of the toughest lessons I learned was that static issues aren’t just about cleaning—they’re deeply tied to environmental factors like humidity. Ignoring this can make static cling a constant headache, no matter how many anti-static sprays I tried.
- Converting to metal components on my grinder and accessories drastically reduced static, but the real breakthrough was understanding that grounding myself and the machine provided a surprisingly effective solution. It’s a simple step often overlooked yet so impactful.
- Trying to fix static with moisture or sprays without understanding the physics behind it only led to more messes and frustration. Patience and a systematic approach taught me that static can be managed naturally with the right environment and materials.
- Sometimes, I found that even small tweaks like placing silica packets or adjusting humidity levels created the calm I needed in my espresso routine. These subtle changes proved that mastering static is about control, not just quick fixes.
- The most valuable insight came from realizing that routine maintenance, environmental awareness, and component upgrades together create a fortress against static issues, elevating my entire brewing experience beyond simple troubleshooting.
Tools That Transformed My Coffee Space
- Proper bean storage techniques have helped me preserve freshness and minimize static-inducing dust, a small investment with big flavor payoffs.
- The choice of burr material impacts not just grind consistency but also static behavior—steel burrs have become my trusted choice after extensive testing.
- My go-to calibration scale helps me maintain precise dosing, which indirectly reduces static by ensuring consistent grind and dose every time.
- Installing a grounded metal grounding strip around my grinder setup was a game-changer—transferring static charges safely and keeping grounds where they belong.
Your Next Coffee Victory Awaits
Embracing these lessons and tools has transformed my approach to static in coffee making, but the journey is ongoing. Remember, the key is proactive care and environment control—your espresso routine depends on it. I encourage you to experiment with grounding techniques, monitor humidity levels, and regularly inspect your gear for optimal static control. The more you invest in understanding your environment and equipment, the more consistent and enjoyable your espresso will become.
What’s the biggest static challenge you’ve faced in your coffee setup? Share your experience below—I’d love to hear your story and help you troubleshoot further.