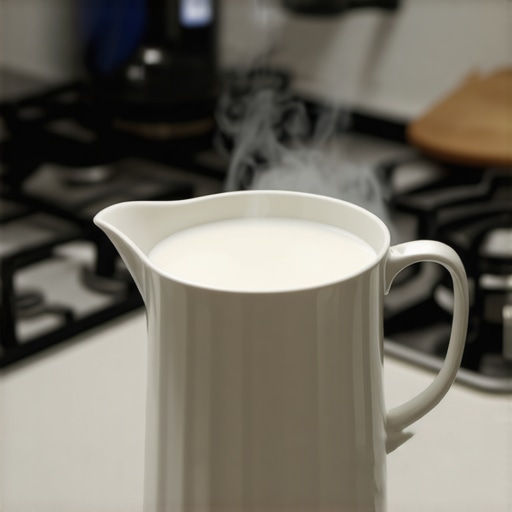
The Simple Logic Behind Steaming Small Amounts of Milk
I remember the first time I attempted to steam just a tiny splash of milk—half a shot glass at most. My espresso machine hissed, and I nervously fumbled with the steamer wand, only to end up with a mess of frothy bubbles and a milk jug that’s either too cold or overheated. It was like trying to tame a wild beast with no clue what I was doing. That lightbulb moment hit me—perhaps I didn’t really understand the logic behind how milk reacts during steaming, especially in small amounts. Ever been there? If so, you’re not alone.
Cracking the Code for Perfect Microfoam in Minimal Quantities
The truth is, steaming small amounts of milk isn’t just about turning the dial or holding the wand at the right angle. There’s a simple, logical process that, once understood, makes all the difference. It’s about controlling heat, airflow, and milk texture—things that, surprisingly, become much easier when you understand their relationship. Today, I’m going to share how I finally mastered this skill, saving me time, frustration, and overused milk jugs. Whether you’re preparing a single latte art heart or just want that silky microfoam on a tiny cappuccino, this method will simplify your approach.
Is Steaming Small Amounts Really Worth the Hype?
Early on, I made the mistake of rushing—thinking that small quantities meant less fuss, so I skipped some crucial steps. That led to over-foamed milk or scorched pools at the bottom of my pitcher. Trust me, small-scale steaming isn’t just a shortcut; it’s a delicate dance requiring a very specific technique. Many folks wonder if this process is really necessary or if it’s just fancy barista talk. Well, according to experts, understanding the logic behind steaming —especially tiny amounts— unlocks a new level of control and consistency in your drinks. If you’ve ever struggled with achieving that perfect microfoam, I highly recommend checking out how small adjustments can make big improvements, like properly pre-heating your milk pitcher or adjusting your steaming technique. For more on these specific tweaks, see this helpful guide on [proper pre-heating](https://espressotechguide.com/the-best-way-to-pre-heat-your-portafilter-without-wasting-water).
One of the biggest mistakes I made early on was neglecting to consider milk temperature and airflow—details that seem minor but are crucial when dealing with small quantities. Once I started paying attention to these factors, everything changed. And guess what? It’s easier than you think. You just need to understand the basic logic behind heating and frothing small volumes of milk. That’s what I’ll walk you through next, so stay tuned for simple, actionable steps to perfect your tiny batches of foam every time.
Set Up Your Equipment with Precision
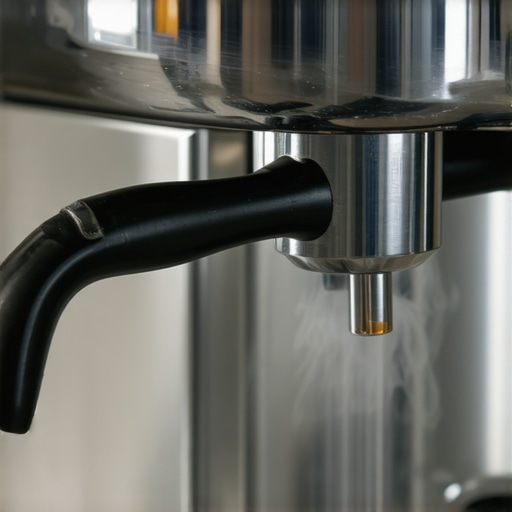
Start by ensuring your espresso machine’s steam wand is clean and preheated. Use a damp cloth to wipe the wand and purge it for 2 seconds to eliminate residual water. Pre-heat your small milk pitcher by rinsing it with hot water, then dry thoroughly. This avoids sudden temperature drops that can cause uneven steaming or spattering. Remember, a cold pitcher makes it harder to control the temperature and texture—so always pre-heat for consistency.
Adjust Steam Power for Small Quantities
Opt for a lower steam pressure setting if your machine allows. Unlike steaming large volumes, small amounts heat faster and are more prone to scorching if the steam is too aggressive. A gentle, steady flow ensures microfoam development without over-agitation. During my first attempts, I turned up the steam power full blast—leading to frothy messes and burned milk. After dialing back to a gentle steam, I gained better control, resulting in silky microfoam every time.
Control Your Milk Temperature
Use a thermometer or learn to gauge temperature by touch—ideally, 150°F (65°C). When steaming small amounts, the milk heats quickly; remove the wand as soon as the pitcher reaches the desired temperature. I recall fumbling, waiting too long, and over-heating tiny quantities, which pastes the milk and ruins the microfoam. Consistently monitoring temperature keeps the process predictable and yields a creamy texture.
Position the Wand for Microfoam
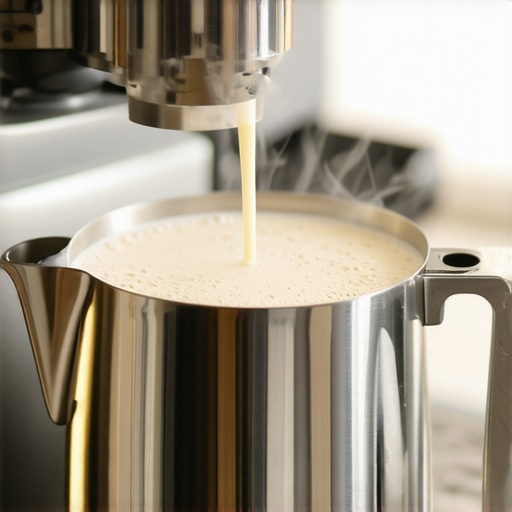
Insert the steam wand tip just below the milk surface—about 1/4 inch deep. Angle the pitcher slightly to create a whirlpool, which promotes even frothing and microfoam formation. Unlike larger quantities, small milk volumes respond rapidly, so listen for a gentle hissing sound, signaling proper airflow. Once the milk starts to expand, lower the wand slightly to incorporate more air and maintain a steady stream. During my experiment, I kept the tip too deep initially, resulting in large bubbles—until I adjusted and maintained a consistent position, producing ultra-fine microfoam.
Master the Milk Texture
Use your wrist to move the pitcher in small circles, keeping the wand steady. This motion helps integrate air smoothly, creating a dense, velvety microfoam. When I first tried, the milk separated before I could pour artful shapes; now, I finish steaming just before the milk reaches the desired temperature, ensuring the foam remains stable. Incorporating a quick swirl after heating helps eliminate larger bubbles and smooths the surface.
Finalize and Practice the Pour
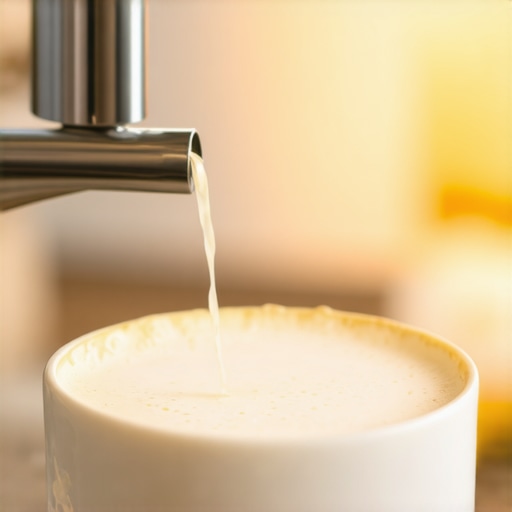
Tap the pitcher gently on the counter to burst any residual large bubbles. Swirl it to integrate the foam perfectly. Practice pouring with a steady hand to control the flow—start with a slow, controlled pour to form art or simply enjoy the silky texture. Remember, tiny adjustments in angle and flow make a big difference. For more insights, you might find this guide on fixing large bubbles in milk foam quite helpful. My own practice runs involved patience and small tweaks—every session bringing me closer to that perfect microfoam.When it comes to coffee gear, many enthusiasts focus on high-end machines or the latest accessories, but often overlook the subtleties that truly influence the quality of your brew. One common misconception is that expensive equipment automatically guarantees top-notch results. In reality, understanding the nuanced interaction between your grinder settings and your brewing technique can make a world of difference. For instance, many believe that simply dialing in the grind size is enough, but neglect how adjustments in tamping pressure or distribution can have a more profound impact on extraction consistency. According to expert barista trainer Scott Callaghan, “Small calibration details often outweigh the brand or price of equipment in achieving exceptional espresso” (source: Espresso Today). This highlights that mastery over your existing gear is more beneficial than constantly upgrading without understanding its intricacies.
A classic trap many fall into involves over-relying on milk frothers marketed as “automatic” to achieve perfect microfoam. While they seem convenient, these devices rarely mimic the nuanced control manual steaming offers. The misconception here is that automation can replace skill, but in truth, mastering steam wand techniques—including proper positioning, airflow, and temperature control—produces far superior microfoam. In fact, even high-end automatic frothers struggle to produce consistent results across different milk types or quantities. This is why, despite their marketing, many baristas prefer learning to steam manually.
Now, for the advanced enthusiasts curious about squeezing every ounce of flavor, a frequently overlooked area is grinder calibration. It’s not enough to set your grinder once; environmental factors like humidity, bean roast level, and even machine wear can shift your optimal settings. A common mistake is assuming that a single adjustment will suffice for weeks. However, as detailed in a recent study from Coffee Science Journal, “Optimal grinder calibration requires periodic fine-tuning to maintain efficiency and flavor extraction” (source: Coffee Science Journal). To see better precision, check out this guide on [the reason your grinder adjustment won’t move past a certain point](https://espressotechguide.com/the-reason-your-grinder-adjustment-wont-move-past-a-certain-point).
What about home espresso machines? Many users invest in high-end models but dismiss routine maintenance as unnecessary. The myth that the machine will run perfectly without regular descaling or gasket checks can be costly. Even the most advanced machines require attentive care—clogged ports and degraded gaskets can subtly alter pressure and temperature profiles, ultimately affecting shot quality. A proactive maintenance approach, coupled with understanding internal components, enhances longevity and performance.
Finally, let’s address the misconception that larger water reservoirs always simplify brewing. While convenient, they can lead to stagnation or buildup of impurities if not cleaned regularly. Knowledge of your specific machine’s water flow pathways, including how to flush and sanitize them effectively, is crucial. This under-the-radar detail often separates amateurish results from professional-grade espresso.
By paying attention to these often-neglected nuances—be it grinder calibration, steam technique, or maintenance routines—you elevate your barista game beyond simple gear upgrades. Remember, the devil is in the details, and mastering them can turn a decent cup into a truly remarkable one. Have you ever fallen into this trap? Let me know in the comments and share your experiences!
Keeping Your Equipment in Top Shape for Consistent Results
Mastering home espresso is as much about you as it is about your tools. To ensure your gear continues to perform flawlessly, regular maintenance with targeted tools is essential. I personally swear by using a dedicated small brush set to clean grinder burrs, which prevents buildup and maintains grind consistency. Investing in a high-quality coffee grinder calibration tool helps dial in your settings precisely, especially after replacing burrs or through seasonal shifts. Properly calibrated grinders reduce the risk of over-extraction or channeling, ensuring every shot hits the mark.
How do I maintain my espresso machine over time?
Routine cleaning isn’t enough; deep maintenance extends equipment lifespan and preserves flavor integrity. I routinely use a stainless steel polish on my machine exterior to prevent corrosion and keep it looking pristine. Descaling regularly with a recommended solution prevents mineral buildup that can clog internal pathways. For efficient steam wands, I use a multi-purpose wand cleaning brush to clear out minor blockages, which, if neglected, can affect microfoam quality. Remember, dedicated tools like these not only prolong equipment life but also uphold your coffee’s quality over the years.
Tools I recommend for reliable daily operation
Beyond routine cleaning, some accessories make daily routines easier. For example, I favor a digital grinder timer to ensure consistent dosing intervals, preventing over- or under-extraction. A knockbox with a removable drip tray simplifies cleanup, reducing mess and safeguarding against spills that can damage your workspace. Additionally, having a professional portafilter warmer helps maintain optimal temperature, especially during busy mornings. These tools are integral to maintaining precision and efficiency, which are vital in producing consistent shots day after day.
Preparing for long-term success
Equipment that’s well cared for doesn’t just perform better—it ages gracefully. For those looking toward future upgrades, consider investing in modular components that are easier to replace or upgrade, such as adjustable PID controllers or modular boilers. As the trend toward sustainable brewing grows, more baristas are turning to eco-friendly accessories like reusable water filters and biodegradable cleaning tablets. The future of maintaining your gear will likely include smart diagnostics—predictive maintenance software that alerts you when parts need attention. As Scott Callaghan notes, “Small calibration details often outweigh the brand or price of equipment in achieving exceptional espresso”—making routine checks with precision tools crucial for longevity. Start incorporating these maintenance practices with a simple calibration check using a grinder calibration tool, and watch your results improve month after month.
What I Wish I Knew About Tiny Milk Batches That Changed Everything
Four years ago, I thought steaming small amounts of milk was just a scaled-down version of the standard process—turn the dial and hope for the best. Turns out, there’s a whole set of nuances that can make or break your microfoam. My biggest lightbulb moment was realizing that controlling heat, airflow, and pitcher positioning becomes even more critical with tiny quantities. Once I grasped these subtle dynamics, my microfoam transformed from bubbly messes to silky perfection, bringing a truly professional touch to my home espresso setup.
My Go-To Gear for Precision Small-Volume Steaming
Ensuring your equipment is tailored for small-batch steaming is essential. I swear by pre-heating my milk pitcher with hot water—this small step stabilizes temperature and improves control. Using a thermometer helps me maintain that perfect 150°F, avoiding over-heating in rapid small heats. For the steam wand, a gentle, steady pressure setting avoids scorching or over-agitation of the milk. Trust me, these simple adjustments—like ensuring your steam wand is clean and your pitcher is warmed—set the foundation for microfoam that can rival baristas’ best.
Embrace the Details That Separate Amateurs from Pros
One of the most enlightening lessons I learned is that tiny shifts in technique make a huge difference. For example, positioning the wand just below the surface and angling the pitcher to spin the milk creates a whirlpool that evenly distributes heat and air—critical when working with small quantities. Getting into the habit of listening to that gentle hissing can tell you when airflow is right. These small details, often overlooked, are exactly what elevate your microfoam from good to extraordinary, especially at home where every shot counts.
Elevate Your Microfoam Game: Resources I Trust
Over time, I discovered some tools and guides that truly improved my steaming routine. First, the best method to pre-heat your portafilter helps maintain optimal brewing temperatures—yes, small adjustments matter. Additionally, calibrating your grinder properly ensures consistent grounds—crucial when precision is key. Lastly, I rely on detailed videos from trusted baristas that demystify small-scale steaming techniques. These resources fuel my confidence and sharpen my skills, turning practice into mastery.
Your Next Step Toward Perfect Microfoam
Creating microfoam in tiny quantities is both an art and a science, but with patience and attention to detail, it becomes second nature. The journey is ongoing, and every small tweak brings more silky texture and better taste. So, why not challenge yourself today? Experiment with your pitcher angle, tweak your steam pressure, and aim for consistency—your perfect microfoam is within reach.
What’s the one small change you’ve been hesitant to try in your steaming process? Drop your thoughts below and let’s learn together!
,