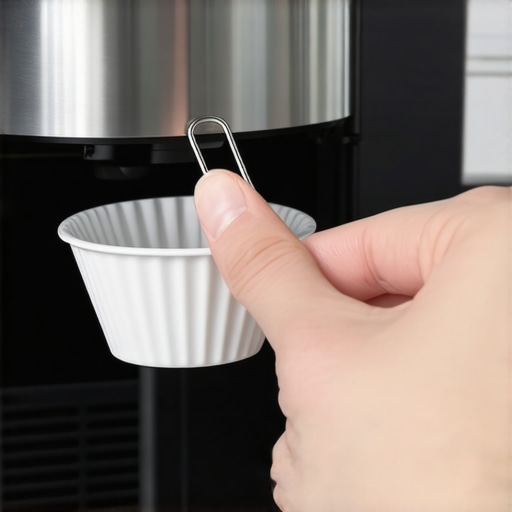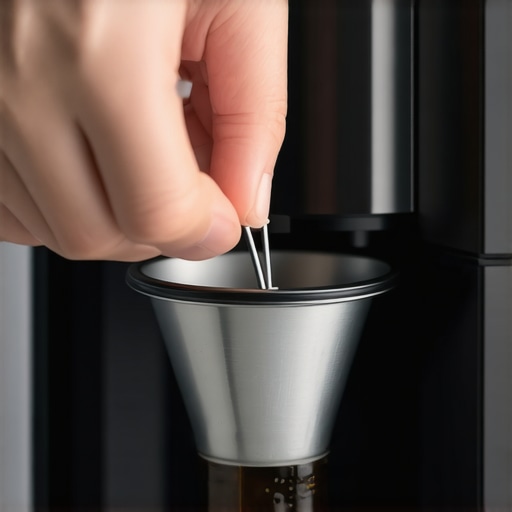
The Dental Pick Trick for Removing Baked-On Milk Crust
Ever had that sinking feeling when you open up your espresso machine’s steam wand or milk frother, only to find a stubborn crust of baked-on milk caked onto the tip? It’s like that moment of realization: you’re not just dealing with a messy wand, but also risking flavor contamination and even equipment damage. I remember the first time I encountered this problem—my beautiful machine, now a battleground of dried milk and mineral deposits, left me feeling defeated and questioning my cleaning routine. That lightbulb moment led me to a game-changing discovery that’s so simple yet incredibly effective.
Mastering the Trick to Keep Your Milk Frothing Utensils Spotless
Today, I want to share a straightforward method I stumbled upon that transformed my maintenance routine, saving me time and headaches. No more scraping and scratching, and no more messy, crusty wands. Instead, a quick, gentle process keeps everything pristine and functional. Whether you’re a home barista or own a bustling cafe, this trick can be your secret weapon against baked-on milk crusts, ensuring your equipment stays in perfect shape and your drinks taste just as fresh as when you first brewed them.
Is Your Cleaning Routine Actually Doing Enough?
Honestly, I used to think that regular wiping and occasional soaking would do the trick. But early on, I made the mistake of overlooking the importance of preventative measures. That oversight resulted in weeks of stubborn buildup, making me realize that a more thoughtful approach was necessary. Trust me, the tiniest lapse in cleaning can lead to the crusty nightmare I faced, which can be surprisingly tricky to remove without damaging delicate parts. For more insights into effective cleaning, check out this detailed guide.
Now, let’s dive into how you can keep your milk-foaming tools effortlessly clean—and avoid the frustration of baked-on crusts that seem impossible to remove. Ready to learn my favorite tip? Let’s go!
Apply a Regular Soaking Routine
Start by immediately rinsing your steam wand or frothing tip after each use, then submerge the tip in warm, slightly soapy water for at least five minutes. This preemptive step softens residual milk, preventing crust formation. I recall a time when I neglected this step and ended up scrubbing stubborn crusts that took ten minutes to remove. Now, I always dip it in warm water right after steaming, saving me time and effort daily.
Use a Cleaning Brush with the Right Size
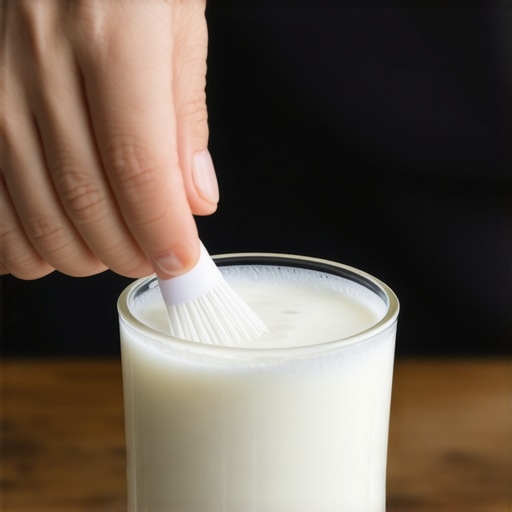
Choose a small, flexible brush designed specifically for steam tips or wands. Insert it carefully into the tip’s opening, scraping away any dried milk or mineral deposits. Think of it like using a tiny toothbrush for delicate jewelry cleaning; precision prevents damage. I once tried a larger brush, which scratched my wand; switching to a thin, soft-bristled brush made a noticeable difference.
Implement a Weekly Deep Clean
Once a week, prepare a descaling or milk deposit removal solution using a mixture of equal parts water and white vinegar or commercial milk system cleaner. Fill a small container with the solution and soak the tip, ensuring it covers all relevant parts. Swish it around gently, then rinse thoroughly with clean water. During my first deep clean, I noticed a dramatic reduction in crusts and a more even froth. For tips on using the safest cleaners, see this cleaning guide.
Prevent Buildup with a Teflon Tape Wrap
For persistent crusting issues, wrap a small piece of Teflon tape around the base of your steam tip. This creates a barrier that minimizes milk and mineral accumulation. I added Teflon tape after struggling with crusts every few weeks, and now maintenance is a breeze. Just ensure the tape isn’t interfering with steam flow or cleaning procedures.
Maintain Proper Steaming Technique
Use the correct pressure and temperature settings when steaming milk. Over-pressurized or excessively hot milk can increase crust formation. Aiming for consistent, moderate steam pressure reduces splashing and splattering, which in turn minimizes deposits. I found that fine-tuning my steam wand’s pressure with adjustments on my machine helped keep the tip cleaner longer. To optimize your settings, check this flow control method.
Schedule Routine Inspections and Replacements
Regularly inspect your steam wand or frothing tip for signs of wear or excessive buildup. Replace worn or damaged parts immediately to prevent leaks and crust formation. I make a habit of checking my tips monthly, which has extended their lifespan and maintained optimal milk frothing quality. Replacing gaskets or tips as needed is a simple maintenance step that pays off in the long run.
 When it comes to home espresso equipment, there’s a surprisingly widespread misconception that more expensive gear automatically yields better results. While high-end machines and tools do have their advantages, many enthusiasts overlook critical nuances, such as the importance of proper maintenance and understanding specific technicalities, which often overshadow mere price tags. For instance, many believe that matching grinder burrs perfectly ensures optimal extraction, but neglecting to calibrate the grinder correctly can still result in uneven grinds and channeling issues—see how improper calibration affects grind consistency here.
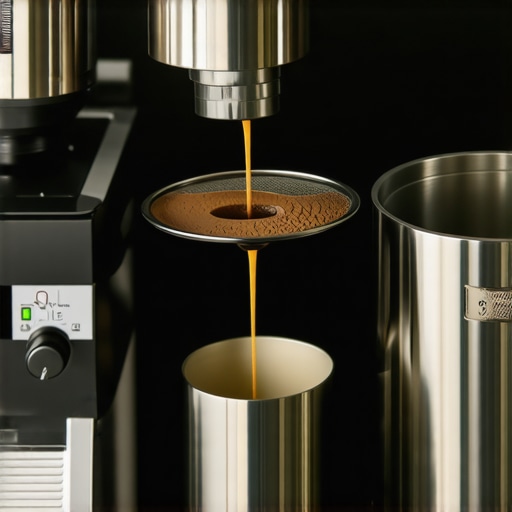
One common myth is the idea that manual lever machines are more cumbersome than their automation suggests. In reality, they provide an incredible level of control once mastered, especially if you fine-tune flow rate and pressure, as discussed in this guide. Many baristas also underestimate the significance of cleaning frequency; even the fanciest machine will underperform if hygiene isn’t prioritized. Regularly cleaning parts like the coffee baskets and group heads prevents oily buildup and scale formation, which can subtly alter flavor profiles over time. Interestingly, some overlook that the choice of tamping force and distribution technique impacts extraction more than they realize. Proper tamping isn’t just about pressure—consider even distribution and the diameter of your tamper for consistent puck density; read more about this here.
Advanced enthusiasts might wonder: How does water quality influence everything? It’s often mistaken that softening water is enough, but without considering mineral content and pH levels, scale buildup or under-extraction may persist. A recent study shows that water with balanced mineral content contributes to better extraction and equipment longevity, making it worth investing in proper filtration this detailed analysis.
Remember, mastering these hidden nuances can be the difference between a good shot and a great one. Are you falling prey to any popular misconceptions? Let me know in the comments, and share your experiences with fine-tuning your setup.
Prioritizing Proper Equipment Care
Investing in quality tools is the first step toward ensuring your espresso setup remains in top shape over years of use. I personally rely on a precision grinder adjustment ring for easy calibration, which helps maintain consistent grind size and extraction. Regularly checking and adjusting your grinder prevents uneven particles that can compromise flavor and lead to clogs or motor strain.
Implementing a Routine Maintenance Schedule
Establishing a set routine is key. I suggest performing a deep cleaning of your brew group and brewing components weekly, using products like carbon cleaners or descaling solutions. This reduces scale buildup, which can diminish pressure consistency and cause mechanical issues. Additionally, replacing worn gaskets and seals periodically, based on your usage, avoids leaks and loss of pressure essential for perfect espresso shots. For detailed guidance, consider reading this resource.
Using the Right Tools for Long-Term Maintenance
Having specialized tools like a group head flush kit ensures quick, consistent cleaning, reducing downtime. I also insist on a high-quality magnetic grinder chute cleaner to prevent coffee grounds buildup, which can affect grind consistency and machine performance. These tools complement your routine, turning maintenance from tedious chore to an effortless part of your routine.
Sleek Workflow, Better Results
Employing efficient tools, like digital scales with auto-calibration features, guarantees precise dosing every time, leading to more consistent shots. Furthermore, regular inspection of electrical components, including capacitors and wiring, helps catch potential failures early. According to expert analysis, such preventative checks can be crucial; see here for a comprehensive approach.
Future of Maintenance and Tools
Looking ahead, I predict a rise in smart, connected maintenance devices that alert you to wear and tear before issues occur. Technologies like IoT-enabled sensors could provide real-time insights into pressure, temperature, or even grinder performance. Embracing these innovations can save time and extend the lifespan of your valuable gear.
How do I maintain my espresso setup over time?
Adopting a disciplined cleaning routine, investing in specialized maintenance tools, and staying informed about emerging tech are all crucial. Make sure to incorporate aggressive yet safe cleaning practices periodically—like a quick deep clean using recommended descaling or oil-removing agents—to prevent stubborn buildup. As a tip, try the dedicated group head flush technique I discussed here to keep your machine running silky smooth. Regular monitoring of parts, including gaskets and electrical components, ensures early detection of potential failures. For instance, a recent technical review highlights the importance of checking air pockets in pumps, which can cause pressure inconsistencies. Embrace these strategies, and you’ll keep your gear performing perfectly for years to come.
Lessons From My Coffee Cave: Top Secrets I Stumbled Upon
- One of the hardest lessons I learned was how tiny, overlooked details—like a minute adjustment to my grinder or a simple wipe—can dramatically affect shot quality and machine longevity. Realizing that consistent, preventative maintenance beats reactive cleaning every time has been a game-changer.
- I used to believe that expensive gear automatically meant hassle-free performance. Turns out, regular, mindful care—even on the most high-end machines—is what keeps them running smoothly. Emphasizing routine inspections and gentle cleaning has helped me avoid costly repairs and flavor inconsistencies.
- Embracing patience over speed has transformed my approach. Waiting those extra few minutes for a deep clean or proper descaling results in better-tasting espresso and extends the life of my equipment. It’s a lesson in quality over haste that every home barista should adopt.
- Another unexpected insight was how water quality subtly influences every shot. Investing in a good filtration system and understanding mineral content has dramatically improved my espresso flavor and reduced scale buildup—definitely worth the effort.
- Finally, I discovered that innovative tools and small tweaks—like using a Teflon tape barrier or a simple distribution technique—can prevent major headaches. It’s about smart, targeted improvements rather than overcomplicating maintenance routines.
Tools and Resources That Elevated My Coffee Craft
- My go-to calibration tool: The precision grinder adjustment ring has made maintaining consistent grind sizes effortless. It’s reliable and has saved me from frequent recalibrations.
- Deep-cleaning secrets: The recommended descaling solutions and cleaning brushes from trusted brands have protected my investment and kept flavor profiles pure.
- Educational content: The comprehensive guides on proper cleaning techniques and flow control have given me confidence and a deeper understanding of my equipment.
- Maintenance innovations: The tiny, smart tools like magnetic grinder chute cleaners and group head flush kits have simplified my routine, turning tedious tasks into quick, satisfying steps.
Your Turn to Brew Confidently and Care for Your Gear
Mastering these subtle yet powerful maintenance habits will elevate your home espresso experience. With patience, the right tools, and a curious mind, you’ll unlock consistently great shots and prolong the life of your beloved equipment. Remember, every espresso journey is a personal adventure—what small tweak made the biggest difference for you? Share below and keep the coffee passion alive!