How to Clear a Stuck Solenoid Valve Without Opening the Case
Ever reached for your espresso machine only to find that your coffee isn’t flowing as it should? I remember the moment vividly—my machine was sputtering, and I felt that rush of frustration, realizing I might have to open it up just to fix a tiny stuck valve. Luckily, after some trial and error—and a fair share of nerve—I discovered methods to clear a stuck solenoid valve without dismantling my machine. Today, I want to share this handy knowledge so you won’t be left staring at a stubborn valve without options.
Why You Should Care About Clearing a Stuck Solenoid Valve
If your espresso machine is acting up—becoming noisy, slow, or failing to dispense water properly—the culprit might be a stuck solenoid valve. These tiny but crucial components control water flow and can jam over time due to mineral deposits, debris, or corrosion. The common misconception is that you need to open up the machine and replace or manually dislodge the valve. But that approach risks damaging your equipment or voiding warranties. I firmly believe that with some simple techniques, you can often clear these issues swiftly and safely, saving you money and downtime.
Is Spraying Solvent or Using Force Actually Worth It?
Early in my learning curve, I used excessive force or poured aggressive solvents into the valves—mistakes I now regret. Not only did this risk damaging delicate seals, but it also often made the problem worse. The key is understanding the nature of the blockage and using targeted, gentle methods to loosen it. For example, employing specific cleaning techniques for solenoid valves can dissolve mineral scale or dislodge debris effectively, without the risks associated with force. Curious about what not to do? Avoid the mistake I made early on, which you can read about here.
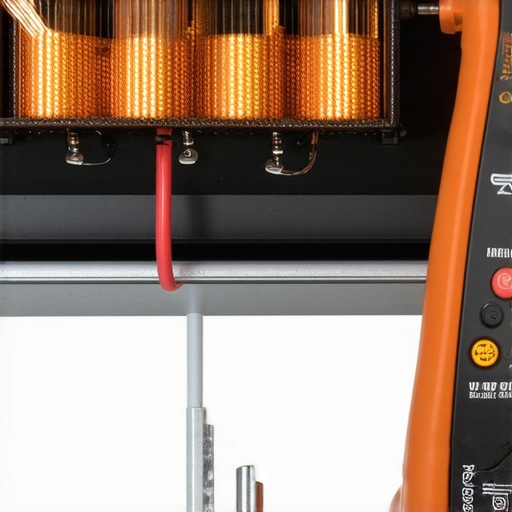
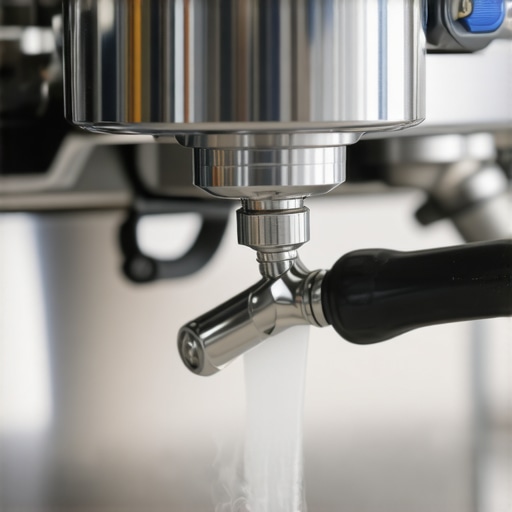
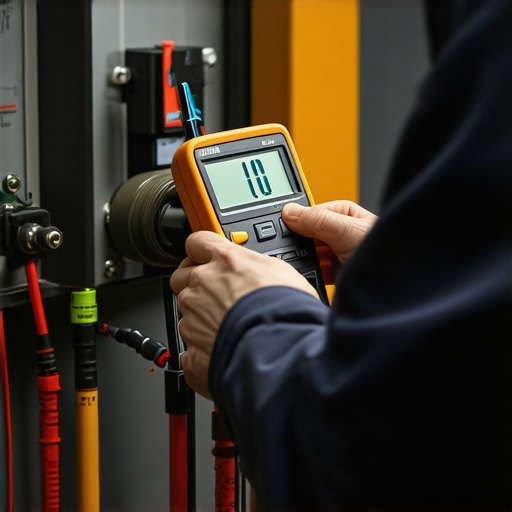
First, turn off your machine and unplug it for safety. Locate the water intake line where it connects to the solenoid valve—think of it as the highway controlling water flow. Disconnect the water line carefully, using a small towel to catch any residual water. Use a syringe or a squeeze bottle filled with warm distilled vinegar or descaling solution to flush water backward through the valve, aiming to dissolve mineral buildup. This process resembles cleaning paint out of a clogged spray gun. I tried this last week when my espresso machine refused to dispense water—after flushing, it flowed smoothly again. For stubborn mineral deposits, consider using a descaling product designed for coffee equipment, which you can find online or at your local supplier. If mineral buildup isn’t the issue, tiny metal debris or a stuck metallic component might be causing the jam. Take a small, strong magnet—like a neodymium magnet—and gently probe near the solenoid coil area. Think of it as using a magnet to fish out a rogue paperclip in your coffee grounds. Be cautious to avoid damaging the coil or wiring. After applying the magnet, gently wiggle or tap the solenoid assembly with a non-metallic tool, like a wooden dowel, to loosen any lodged particles. This method is akin to tapping a stuck faucet handle to free it without force. I once fixed a stubborn solenoid by this technique, saving myself from a costly repair. Next, harness compressed air—think of it as giving a gentle puff of breath to unclog a blocked straw. Using a bicycle pump or a canned compressed air, carefully blow air backward through the water inlet or outlet port. This can push out small debris or mineral deposits causing the blockage. Ensure you do this with the machine unplugged, and wear safety glasses. Imagine it like clearing a blocked straw by blowing air into one end; the debris gets pushed out the other end effortlessly. I recommend doing this step slowly and observing whether water starts flowing freely afterward. If your machine has a pressure gauge, watch for a rise indicating free water flow, which confirms success. If physical cleaning and air pressure don’t do the trick, the problem might be electrical—specifically, the solenoid coil itself. Use your multimeter to test the coil’s resistance, which should be within the manufacturer’s specifications. Think of it like checking the wiring in your home; a broken wire or faulty coil will prevent the valve from opening. If you find the coil is dead or malfunctioning, replacing it may be the only fix. For guidance on this, you can review this article on identifying solenoid issues in espresso machines. Once you’ve cleared the stuck solenoid, establish a routine to prevent recurrence. Regular descaling, using filtered water, and periodically flushing the water lines can keep mineral deposits at bay. Think of it as giving your espresso machine a health check-up, much like scheduling regular dental cleanings to avoid plaque buildup. You might also want to consider installing a water softener if you have hard water, preventing calcium and magnesium deposits from forming, much like you do when maintaining your coffee grinder’s burrs. Many coffee enthusiasts dive into the world of home espresso with high hopes, but there’s a lot of misinformation that can lead to frustration or subpar results. Let’s dig deeper into some common misconceptions and hidden nuances that even experienced hobbyists sometimes overlook, to help you elevate your brewing game. It’s tempting to think that a larger grinder with more bells and whistles automatically produces better espresso, but in reality, grind quality and consistency matter far more than size. Many believe that buying an industrial-grade grinder guarantees perfect shots, but if the grinder isn’t properly calibrated or maintained, you’ll encounter uneven extraction and bitter or sour flavors. Remember, precision and regular cleaning are keys; for tips on that, check out this guide. Cost doesn’t always correlate directly with quality, especially if you’re not aware of the machine’s nuances. A high-end espresso machine with the latest features can produce superb shots, but only if your technique and maintenance are sound. Many owners overlook simple yet crucial details like proper temperature settings or regular descaling, which significantly impact flavor. For example, scale buildup can make your machine’s boiler less efficient, leading to inconsistent temperatures, as explained here. A modest machine, properly maintained, can outperform a pricey one that’s neglected. You’ve probably heard that tamping firmly is essential, but applying too much force can be a hidden trap. Excessive tamping pressure can compact the coffee too densely, causing water to bypass the puck or create channeling, resulting in uneven extraction. A common mistake is over-tamping to compensate for grind inconsistencies—this often worsens the problem. Instead, aim for even, moderate pressure and focus on distributing grounds evenly, which makes the Many believe that an expensive milk frother guarantees perfect microfoam, but the secret lies in technique rather than gadget quality. Handheld frothers or small automatic devices can produce fluffy foam if used correctly, but some enthusiasts waste money on fancy equipment without mastering steaming fundamentals. Overfrothed milk, large bubbles, or uneven temperature are common pitfalls caused by improper steam wand positioning or insufficient milk temperature control. Want to get professional-looking microfoam? Learn the subtleties in this detailed guide. Many think that a high-quality home machine automatically transforms their daily brew, but in fact, user experience and proper maintenance are equally crucial. Cheaper models can struggle with temperature stability or pressure consistency, making it seem like the machine is the problem when, in reality, it’s often user-influenced. Regularly cleaning your equipment, adjusting grind size, and understanding your machine’s limits make a big difference. For instance, scale buildup can develop quickly if you use hard water, which leads to inconsistent performance—a problem discussed thoroughly here. In the end, mastering the nuances of barista gear—potentially assuming that more expensive or larger equipment equals better results—is a trap many fall into. The real secret lies in understanding your equipment’s intricacies and maintaining it diligently. Don’t get caught up in the hype; instead, focus on technique, regular maintenance, and continuous learning. Have you ever fallen into this trap? Let me know in the comments, and share your experiences or questions! As a dedicated home barista, I know how frustrating it can be when your espresso machine starts to underperform. The key to reliable brewing and consistent flavor lies in using the right tools and adopting proper maintenance routines. Today, I want to share the specific equipment I swear by and explain how it helps me keep my setup in top shape. First, I rely heavily on a dental pick for cleaning steam wand tip holes. Regularly clearing these tiny nozzles prevents milk leaks and ensures a smooth frothing experience. I use it weekly to remove milk crusts without scratching the surface, which is a common issue when using abrasive tools. For thorough group head cleaning, I turn to a dedicated brush kit—it makes the process quick and effective, preventing buildup that can cause channeling or uneven extraction. One of the most overlooked aspects of long-term machine health is water quality. I recommend investing in a digital water tester to regularly monitor hardness levels. Hard water leads to limescale buildup, which can damage your boiler and reduce efficiency. Using a water softener, especially if you have hard tap water, dramatically extends your machine’s lifespan. For insights into how hardness affects your boiler, check out this post. Manual or lever machines benefit immensely from a good flow control device. I use the flow restrictor to fine-tune extraction pressure, which results in more consistent shots and less wear on internal seals. It’s a small adjustment that pays off over time, especially when paired with a high-quality drip tray maintenance routine. Beyond tools, establishing a regular cleaning schedule and using high-quality descaling products prevent scale buildup. I also always ensure my machine is powered directly from a dedicated outlet—it helps maintain stable voltage and prevents electrical issues that can cause malfunctioning valves or pumps. Looking ahead, innovations like IoT-enabled coffee machines may give us even better ways to monitor and maintain our gear remotely, saving time and extending equipment lifespan. For now, integrating these tools and habits will maximize your investment and keep your espresso brewing day after day. How do I maintain my espresso setup over time? By combining routine cleaning with specific tools like flow restrictors and water testers—these ensure I catch problems early and keep everything running smoothly. Try incorporating a dental pick into your weekly cleaning routine—I promise it makes a noticeable difference in maintaining your steam wand’s performance. Over the years, I discovered that patience and simple tricks often beat complex repairs. Once, I spent hours trying to dismantle my machine to fix a stuck valve, only to find that a gentle flush or a magnet was all it took. Now, I want to share some hard-earned insights to help you avoid unnecessary disassembly and keep your espresso setup running smoothly. From personal experience, I’ve learned that a methodical approach—combined with the right tools—can save you both time and frustration. Initially, I believed that using force or harsh chemicals was the way to go. However, I realized that mineral deposits and debris often respond better to patience and precision. For example, a simple flushing with vinegar or descaling solutions can dissolve stubborn scale without risking damage, like I did when my espresso machine refused to dispense water. If you want to see the step-by-step process, check out this guide on cleaning steam tip holes. This approach saved me a costly repair and kept my machine in top shape. One lightbulb moment came when I realized tiny metal fragments or rust could be causing the valve to stick. Gently probing the area with a small, strong magnet (like a neodymium magnet) allowed me to retrieve debris without opening the case. It’s like fishing in a tiny pond, but with powerful tools. Be cautious, of course—avoiding damage to the coil and wiring is essential. This trick proved so effective that I now keep a magnet handy for quick fixes, making it easy to troubleshoot issues early. If you’re curious about how to identify faulty solenoid coils, visit this resource on boiler health. Another game-changer was using compressed air to dislodge deposits and debris. Carefully blowing air backward through the inlet or outlet ports of the solenoid can push out stubborn material, much like clearing a clogged straw. I use a canned compressed air can and always wear safety glasses—precision here is key. When I tried this, water started flowing freely again, and I avoided more invasive steps. For detailed safety tips, see this post on spotting scale buildup. It’s a simple trick that can save you a trip to the repair shop. If physical methods fall short, I turn to troubleshooting the electrical side. Using a multimeter, I check the coil’s resistance to confirm whether it’s functioning properly—like testing wiring in your home. If the coil tests bad, replacing it is straightforward, and I trust the guidance in this article on solenoid failure. Keeping an eye on the electrical health of your components can extend their lifespan and prevent emergencies. Once you’ve freed your solenoid, a little routine maintenance goes a long way. Regular descaling, using filtered or softened water, and flushing lines help prevent mineral buildup that causes sticking. Think of it as dental checkups for your machine—a small investment of time that pays off in flavor and reliability. If you’re unsure about water quality’s impact, explore this guide on scale detection. Prevention truly beats repair when it comes to your beloved espresso setup. Here are my top tools that keep my espresso machine in top form: Fixing a stuck solenoid valve without opening your espresso machine is not just possible—it’s empowering. With patience, the right tools, and a bit of knowledge, you can maintain your gear efficiently, saving money and avoiding downtime. Remember, every small fix builds your confidence and brings joy to your daily brewing ritual. Don’t let a stubborn valve hold you back—embrace these techniques and keep your espresso experience rich and worry-free. What’s the trickiest part you’ve faced while maintaining your espresso machine? Let me know below—I’d love to hear your stories and share tips!Apply a Magnet to Extract Small Metal Fragments
Use Air Pressure to Free the Valve
Check the Solenoid Coil for Electrical Issues
Prevent Future Stubbornness with Regular Maintenance
Why Bigger Isn’t Always Better When Choosing Coffee Grinders
Myth: More Expensive Machines Make Better Coffee
Never Underestimate the Power of Tamping Technique
correct tamping technique essential for better shots.How Milk Frothers Often Fool New Baristas
What About Home Espresso Machines: Are They Worth It?
Keeping It Working: Tools and Techniques for Espresso Machine Longevity
My Go-To Cleaning Arsenal
Monitoring Water Quality
Implementing Precise Pressure Control
Simple Tips for Long-Term Stability
Lessons That Changed How I Fix Espresso Machines
How I Learned to Trust Gentle Techniques Over Force
Why a Magnet Became My Secret Weapon for Sticky Valves
Blowing Air to Clear Hidden Blockages
Electrical Checks as the Final Frontier
Routine Care to Prevent Future Sticking Battles
Insider Wisdom from My Espresso Journey
Gather Your Arsenal for Troubleshooting
Your Next Brew Awaits and So Does Confidence