Why your puck is always soggy and the simple basket fix
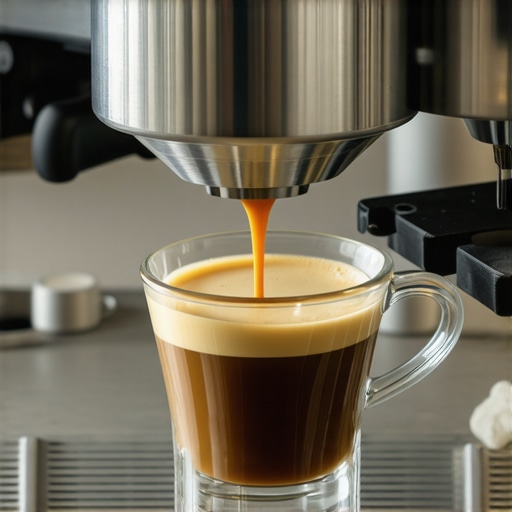
It was a morning just like any other when I hit that familiar snag—my espresso shot looked great from the top, but beneath the surface, my puck was a soggy mess. Despite painstaking tamping and using what I thought was the perfect grind, I couldn’t shake the feeling that my coffee was just not hitting the mark. That realization hit me like a cold splash of water: I was missing a simple trick that could transform my espresso experience.
The Struggle with Soggy Pucks: Why It Matters
If you’ve ever pulled an espresso shot and found your puck wet and sludgy, you know exactly how frustrating it can be. A soggy puck isn’t just a visual disappointment; it can seriously compromise flavor extraction and lead to inconsistent results. Trust me, I spent months troubleshooting everything—adjusting grind size, changing tamp pressure, and even upgrading my grinder—only to realize that the root cause was something surprisingly simple: the basket I was using.
Is Your Basket Causing More Harm Than Good?
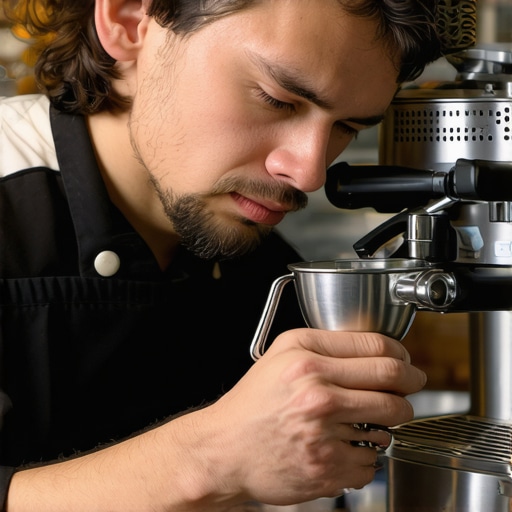
Early in my coffee journey, I made a crucial mistake—ignoring the importance of basket size and design. I assumed all baskets were created equal. Nope. Using the wrong basket can hinder water flow, causing that dreaded soggy puck. It turns out, a simple switch to the right basket size can make an enormous difference. For insights on how basket size impacts extraction, check out this article on why your basket size matters more than the brand.
Did you know that improper basket selection can even lead to channeling, where water finds shortcuts through the coffee, resulting in inconsistent extraction? That’s a problem I encountered early on, and it was a game-changer once I corrected it. Moreover, ensuring that your basket is clean and free of obstructions can prevent blockages that cause uneven flow and sogginess.
By focusing on these often-overlooked factors, I was able to dry out my puck and unlock a richer, more balanced espresso shot. Now, I want to show you exactly how to do the same. But first, have you ever faced this soggy puck issue? Drop a comment below—I’d love to hear your stories and help troubleshoot your specific setup.
Master the Grind Consistency and Distribution
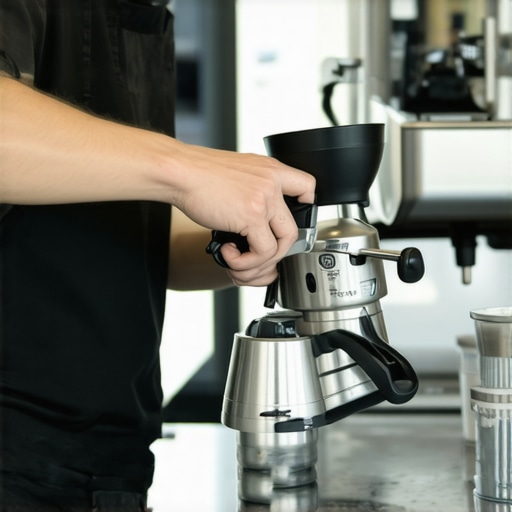
Start with a clean, calibrated grinder set to a consistent grind size; a digital scale with a reset ensures accuracy. Measure your dose precisely with a good scale—aim for 18-20 grams for a standard shot. Use a distribution tool or a simple toothpick to level the coffee grounds evenly in the basket, minimizing channeling and uneven extraction. When I first adopted this approach, my shots became more consistent, and the puck dried properly every time.
Optimize Tamp Pressure for Water Flow
Apply even, firm tamping—typically 30 pounds of pressure—using a calibrated tamper. Avoid over-tamping, which compresses the grounds excessively, or under-tamping, which leaves too much space for water to pass through too quickly. Think of tamping as pressing a sponge: consistent pressure ensures uniform resistance, leading to even water flow through the puck. I replaced my heavy tamper with a lighter, ergonomically shaped one for better control, which improved my puck consistency.
Temperature and Pressure: Fine-Tune Your Machine
Pre-heat Your Equipment
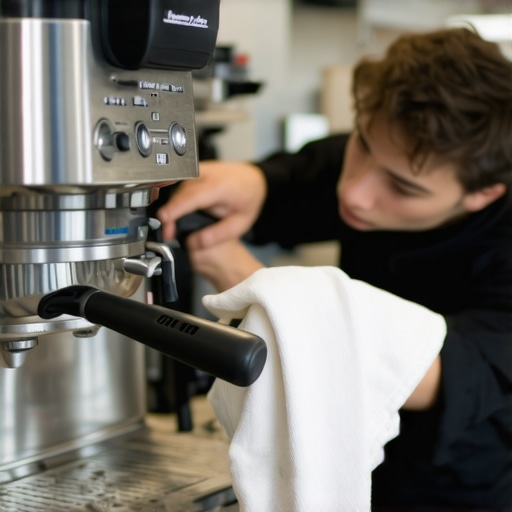
Ensure your {machine} is fully warmed up—at least 15 minutes—before brewing. Use a 30-second flush to clear residual oils, and keep your portafilter warm by pre-heating it with hot water. A warm portafilter helps maintain optimal temperature during extraction, preventing a soggy puck caused by cooling water. I time my pre-heats and flushes meticulously, noticing a significant improvement in puck dryness.
Set Correct Brew Pressure and Timing
Adjust your espresso machine to an optimal brew pressure around 9 bars if possible—many home machines have preset settings. Use a scale with a pressure gauge to verify. Lock in a shot time of 25-30 seconds; over-extraction or under-extraction can lead to a wet, soggy puck. I experimented with shot timing on a stopwatch, which helped me dial in the perfect extraction window, leading to a dry, compact puck every time.
Post-Brew Technique to Keep Puck Dry
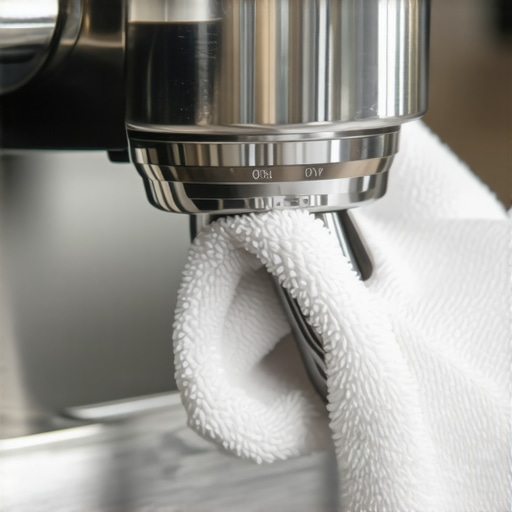
Immediately after brewing, perform a quick flush to clear out residual water and oils in the group head. Also, consider a quick (<5 seconds) backflush with clean water to prevent buildup that causes uneven water flow during future shots. I integrated this routine into my brewing process, and my puck consistently dries out, giving me richer flavors and fewer messes to clean up.
Regular Maintenance and Calibration
Keep your grinder blades sharp, and regularly clean the grinder to prevent static and dust build-up. Calibrate your grinder and machine periodically, especially after burr replacements or adjustments, ensuring consistent dosing and pressure. Check for leaks or pressure drops, fixing issues with seals and connections. My nightly routine now involves a quick calibration, which keeps my espresso shots on point and my puck dry.Many enthusiasts believe mastering home espresso is just about picking the right beans and maintaining a consistent grind, but true expertise demands a deeper understanding. A common myth is that high-end equipment automatically guarantees perfect shots; in reality, nuanced factors like tamp pressure variance and group head maintenance can significantly impact results. Overlooking these details often leads to inconsistent extraction and soggy pucks, despite seemingly ideal settings.
Why Do Seasoned Baristas Focus So Much on Routine Maintenance?
It’s because subtle technical oversights, such as neglecting to scrub steam tip holes or ignoring scale buildup, can alter pressure stability and steam quality. This isn’t just theory—studies reveal that even minor pressure fluctuations influence extraction uniformity, impacting flavor clarity and puck dryness. Regularly calibrating and cleaning your gear ensures optimal performance and elevates your espresso.
A frequent trap is misjudging the significance of basket size and design. Using an improperly sized basket can create channeling and uneven water flow, causing wetter pucks and weaker flavors. Many overlook the importance of basket material—stainless steel vs. chromed brass—each affecting heat retention differently, which in turn impacts extraction consistency. Ensuring your basket is compatible with your machine and properly cleaned is one of those small adjustments that make a big difference.
Advanced enthusiasts also debate about grind impact on puck hydration. It’s a misconception that a finer grind always yields better extraction; over-fine grounds can impede water flow, resulting in over-extraction and sogginess. Conversely, coarser grounds might lead to under-extraction. Fine-tuning the grind based on your machine’s pressure and flow characteristics is crucial. Recent research suggests that matching grind size with pressure profiling yields the cleanest, driest pucks—so don’t just settle for preset grind levels.
For baristas striving for perfection, mastering pressure consistency during extraction is vital. Small fluctuations, often caused by inconstant tamping or inconsistent machine pump behavior, lead to wetter pucks. Recommending a calibrated tamper—like switching to a lighter, ergonomic model—can reduce wrist strain and improve uniform tamping, ultimately drying out your puck. Keep in mind, even the slightest deviation can diminish flavor clarity and produce undesired sogginess.
As you step into advanced territory, consider the role of water quality and temperature stability. Hard water scales up machines and diminishes pressure, while low-temperature inconsistencies can lead to uneven extraction. Regularly inspecting and adjusting your water source, perhaps with a dedicated water filter, prevents these hidden pitfalls. According to coffee industry experts, water quality accounts for up to 80% of espresso flavor and extraction issues.
Have you ever fallen into this trap of overlooking these nuances? Let me know in the comments. Remember, mastery in home espresso doesn’t come from equipment alone, but from a meticulous approach to these subtle yet impactful details.
Keeping It Working: My Trusted Gear and Maintenance Techniques
Achieving barista-quality espresso at home isn’t just about the beans and grind; it requires a reliable toolkit and disciplined routine maintenance. Over the years, I’ve identified specific tools that keep my setup in top shape and help me troubleshoot issues swiftly. Investing in these tools has transformed my brewing experience, reducing wasted beans, inconsistent shots, and gear downtime.
Why I swear by a high-precision espresso scale
Precision starts with measurement. I use a digital espresso scale with a reset feature because my old scale’s sensor would drift, causing inaccuracies during dosing. A reliable scale ensures I dose consistently, leading to reproducible results and dry pucks. Regularly calibrating it prevents errors; I recommend doing this monthly to maintain accuracy.
Maintaining your grinder for consistent flavor and flow
Your grinder is the cornerstone of flavor. I keep mine immaculate using a specialized cleaning brush and periodic hopper cleaning. This prevents static buildup and oily residue that can clog or dull your burrs. Replacing burrs every year, depending on usage, preserves grind consistency and prevents jamming—especially if you’re using oily beans, which can be an enemy to your grinder motor.
Tools for group head and portafilter care
Performance begins with cleanliness. I employ a 30-second flush routine before each shot, ensuring residual oils and water are cleared. For stubborn buildup, I use a simple paper clip technique to clear blockages. Regularly inspecting and replacing seals prevents leaks that can cause soggy pucks and pressure drops, a vital step for long-term reliability.
How do I keep my machine in top shape over time?
Most maintenance tasks are straightforward but require consistency. I allocate 15 minutes weekly to run a quick flush and inspect parts. Monthly, I give my steam wand a thorough cleaning using a specialized cleaning tool. Periodic descaling based on water hardness, tested with a water hardness test kit, prevents mineral buildup, maintaining optimal pressure and temperature for dry pucks.
What trend do you see in equipment maintenance going forward?
As technology advances, I predict more home baristas will adopt smart diagnostics integrated into espresso machines, providing real-time alerts for descaling needs or component wear. Remote calibration tools are also on the horizon, allowing us to fine-tune settings without opening the machine. These innovations will make routine maintenance easier and more precise, further elevating home espresso standards.
Don’t overlook the power of mastering your tools. Try calibrating your scale today or give your grinder a thorough clean—small steps that lead to big improvements in your daily coffee ritual. For deeper insights on grinder health, I recommend checking out this expert guide.
What I Wish Someone Told Me About Perfecting Home Espresso
Early on, I underestimated the devil in the details—things like proper basket selection or tamp pressure. The real breakthroughs came when I embraced patience and meticulousness, realizing that small tweaks—like cleaning my grinder thoroughly or calibrating my scale—had profound effects on puck dryness and flavor clarity. These lessons taught me that mastery isn’t just about fancy gear but understanding and respecting the nuances behind each step.
Over time, I discovered that consistent routine maintenance, such as cleaning group head components with the right tools or monitoring water quality, prevents many common issues, including soggy pucks. Sometimes the tiniest adjustment, like warming my portafilter or fine-tuning my brew pressure, turned the tide from mediocre to barista-level shots. These insights have transformed my approach, motivating me to continuously learn and refine my craft.
My Go-To Resources for Advanced Home Barista Skills
First, I trust this guide on tamper ergonomics—it changed how I apply tamping pressure and prevented fatigue. For calibration techniques, this article on resetting my scale kept my measurements precise. Maintaining my grinder is easier with this cleaning method—a routine that has paid dividends. Lastly, I always review the quick group head flush procedure for optimal machine health. These resources help me troubleshoot and elevate my espresso craftsmanship consistently.
Elevate Your Espresso Ritual Today
Remember, the journey to barista perfection is about appreciating those small, meaningful adjustments. Whether it’s calibrating your grinder, refining your tamping technique, or maintaining your machine, each step is a building block toward a richer, more satisfying espresso experience. Embrace the process, trust the details, and enjoy every shot as a crafted masterpiece in your own home.
What part of your home espresso routine are you eager to improve next? Share your plans below—I’d love to hear how you’re refining your craft!
,