Why your portafilter is leaking from the group head and how to fix the seal
Hey there, fellow coffee enthusiast! I still remember the moment I grilled my first perfect espresso shot, only to be greeted by a little surprise—the drip, drip, drip of water escaping from my portafilter during extraction. Talk about a buzzkill! That tiny leak felt like a personal sabotage, ruining my morning ritual and leaving me questioning if I’d bought a faulty machine. At first, I thought maybe I just didn’t tighten the portafilter enough or perhaps it was time to upgrade to a shiny new one. But after a few frustrating days of trial and error, I realized that my problem was a worn-out or misaligned seal—the humble but mighty gasket that keeps everything airtight in your espresso setup.
This experience was a lightbulb moment for me, because I learned that a leaking portafilter isn’t necessarily the end of your espresso dreams. In fact, it’s a common issue that many home baristas face, and the good news is, it’s often a simple fix. If you’ve been struggling with water leaking from your portafilter and feeling unsure whether your machine is on the fritz, you’re not alone—and you’re in the right place.
Today, we’re going to unravel the mystery behind portafilter leaks, focusing on how to identify if your seal is the culprit and, most importantly, how to fix it. Whether you’re new to espresso or a seasoned sipper looking to keep things running smoothly, understanding the importance of a proper seal can save you money and a whole lot of frustration.
So, have you ever faced a leak that just won’t quit? If so, keep reading. We’re about to dive into the details that will help you seal that leak for good, restoring your machine’s performance and your peace of mind.
Why Your Portafilter Is Leaking and What It Means for Your Coffee
Inspect the Portafilter and Group Head
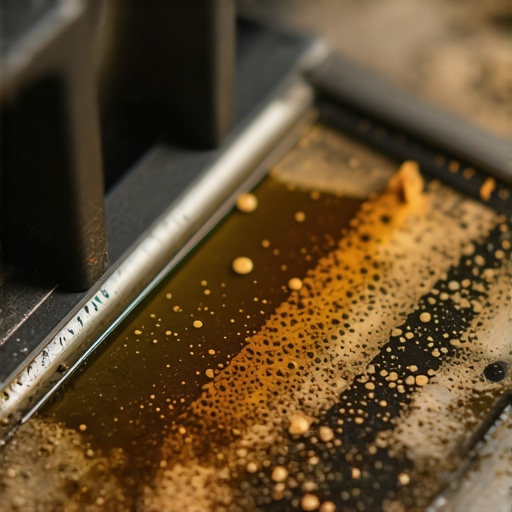
Begin by removing the portafilter from your machine and examining the seal area for visible wear, cracks, or debris. Use a clean, damp cloth to wipe away any coffee grounds or grime that could prevent a proper seal. I once had a stubborn leak because of dried coffee stuck around the gasket—spotting the dirt early saved me from a costly repair.
Check for Proper Alignment
Ensure that the portafilter sits evenly and that its ears are aligned correctly with the group head. Misalignment can cause leaks even if the seal is intact. I tweaked this once by gently adjusting the ears with a dental pick, which can be an effective trick for aligning a stubborn portafilter before considering gasket replacement.
Test the Gasket Condition
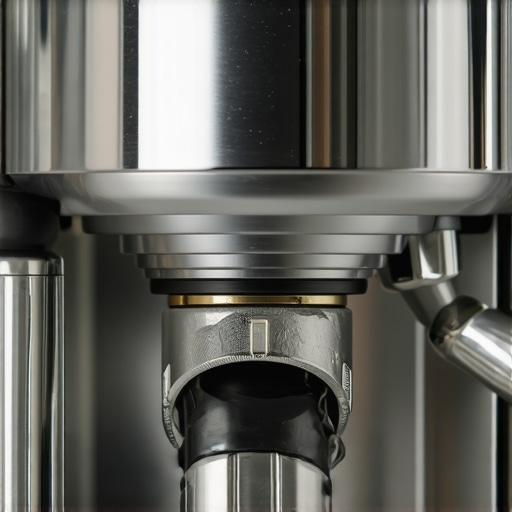
Remove the gasket by carefully pulling it out with a flat tool or your fingers. Inspect it for cracks, tears, or hardened rubber. If the gasket is deformed or brittle, it’s time for a replacement. Remember, a worn gasket often causes leaks, and replacing it can restore your machine’s seal without the hassle of a full repair. For detailed guidance, check this step-by-step gasket replacement.
Clean and Reassemble
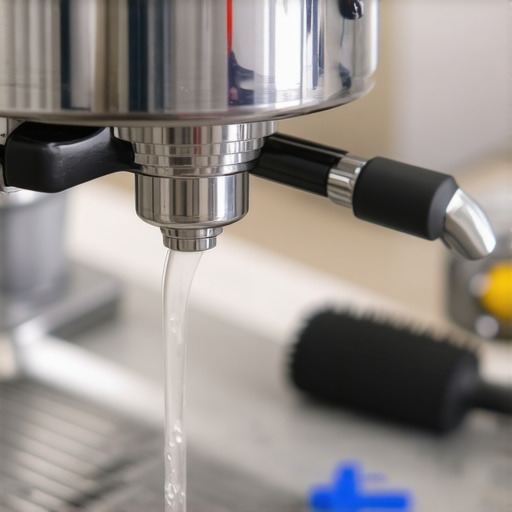
Thoroughly clean the groove where the gasket sits, removing any old adhesive or residual coffee. Use a toothbrush or a small brush to ensure all debris are gone. Afterward, lightly oil the new gasket with food-grade lubricant if recommended by your manufacturer. Place the gasket evenly around the edge, making sure it seats securely in the groove. Reassemble the portafilter and test for leaks by running hot water through the machine without coffee to check if the seal holds tight.
Adjust the Ears for a Tighter Seal
If leaks persist, consider adjusting the position of the portafilter ears. Slightly bending or aligning them can improve the seal. Use a pair of pliers with cloth to avoid damaging the metal. This is especially useful if your machine’s ears have become misaligned over time. For precise adjustments, visit this guide on ear alignment.
Test Under Pressure
Once reassembled, run the machine on the drip tray and observe the portafilter for any water leakage. Inspect the circumference of the gasket area for signs of water escaping. If you see leaks, recheck the gasket seating and alignment. Persistent issues may indicate that the gasket quality is poor or incompatible with your machine; replacing it with a high-quality part often solves the problem permanently. If troubleshooting doesn’t work, it might be time to evaluate other components like the group head valves, detailed at this article.
When diving into the world of home espresso, many enthusiasts fall prey to misconceptions that can hinder their progress. One widespread myth is that expensive gear automatically guarantees perfect coffee, but in reality, mastering the nuances of calibration and maintenance plays a far more significant role. For instance, even high-end grinders can produce inconsistent results if they aren’t regularly calibrated after replacing burrs, which is a detail often overlooked by beginners. For a smoother workflow, it’s crucial to understand the impact of grinder adjustments; learn how to properly calibrate your grinder after any maintenance by visiting this guide.
A common trap many fall into is underestimating the importance of water quality. Some assume that filtering their water is enough, but scale buildup from hard water can silently compromise your machine’s performance. Regularly checking for scale problems can save you costly repairs; find out how to identify these signs here. Another misconception concerns the role of milk frothing; many believe that high extraction pressure leads to better foam, yet improper steaming technique and equipment settings can cause froth that deflates quickly. Watching your steam pressure and pressure stability is critical, which you can diagnose using pressure gauges.
Advanced baristas also understand that the smallest component, like the boiler’s heating element, can subtly influence shot quality. Failing heating elements can cause temperature inconsistencies, leading to under-extraction or sour espresso, often happening before you notice any error message. To prevent this, familiarize yourself with signs of a failing heating element here.
Most home baristas overlook the significance of consistent volumetric dosing on espresso machines. Ignoring calibration of volumetric buttons may result in uneven shots, affecting flavor and texture. Proper calibration ensures precision and repeatability, which is especially vital when dialing in new beans or recipes. For detailed calibration techniques, check out this article.
So, what’s the biggest mistake you’ve seen enthusiasts make with their gear? Drop your stories in the comments below and let’s unravel these pitfalls together!
Keep Your Gear Running Smoothly with the Right Tools
Maintaining your home espresso setup isn’t just about cleaning—it’s about using precise tools that empower you to troubleshoot, calibrate, and optimize your machine over time. I personally swear by a high-quality dental pick, which I use regularly to remove baked-on milk crusts from steaming wands and group heads. Its fine point allows for delicate, non-abrasive cleaning that keeps components like valves and shower screens clear of buildup, ensuring consistent steam pressure and flow.
Another indispensable tool is a digital pressure gauge. Monitoring pressure during extraction can reveal issues like partial clogging or failing valves before they become major problems. I recommend a model calibrated specifically for espresso machines, which provides accurate readings and is easy to mount. Having this at hand has saved me from more costly repairs and has deepened my understanding of how subtle pressure fluctuations impact shot quality.
Automate Monitoring for Long-Term Performance
In addition to manual tools, consider integrating a smart water hardness tester into your routine. Hard water is a silent killer—causing scale buildup that hampers boiler efficiency and alters brewing temperatures. Regular testing with a digital device like the scale detection tool can help you adjust your water treatment protocol proactively. Pair this with using a dedicated water softener or filtration system designed specifically for espresso machines to extend their lifespan and maintain optimal taste.
Optimize Grinder Calibration After Maintenance
Grinders are the heart of flavor consistency, and staying on top of calibration is essential. I suggest recalibrating your burr grinder every time you replace or clean the burrs. Use the step-by-step calibration guide to ensure your doses stay precise, preventing under or over-extraction. Proper calibration not only improves shot quality but also reduces wear on your other components, creating a virtuous cycle of maintenance.
Diagnose Heating and Pump Issues Early
Keeping an eye on critical components like heating elements and pumps is vital for long-term reliability. Failing heating elements can cause temperature fluctuations that subtly spoil your espresso, even before an error light appears. Regularly check for signs of wear with tools and techniques outlined in this reliable resource. Similarly, listening for unusual noises or pressure drops can pre-empt pump failure. For detailed diagnostics and troubleshooting, proactive care pays dividends.
Stay Ahead with Regular Service Checks
In the future, the trend is leaning toward integrating IoT sensors directly into espresso machines. These devices can alert you to impending issues like scale buildup, temperature drops, or component failure in real time, turning maintenance into a predictive science. Until then, establishing a routine of manual checks with the tools I’ve described will keep your machine performing at its best. I challenge you to pick one of these strategies—maybe calibrate your grinder or test your water—and implement it this week. Small steps today lead to flawless shots tomorrow!
Lessons Hidden in My Tales of Coffee Mishaps and Fixes
One of the most enlightening lessons I learned was that even the most expensive espresso machines can disappoint if not properly maintained—don’t be fooled into thinking cost equals perfection. A worn-out gasket, for example, can create leaks that sabotage your shot, reminding me to always inspect seals regularly. Mistakes with grinder calibration taught me that small adjustments can lead to big flavor improvements, especially after replacing burrs—trust me, calibration is your best friend. I once assumed scale buildup was a minor issue, only to discover it quietly degraded temperature stability; now I keep an eye on water quality and scale regularly check for scale problems. Finally, I realized that troubleshooting isn’t just about reacting to failures but proactively understanding your machine’s heartbeat—pressure gauges, temperature checks, and listening for odd noises reveal so much more than error messages. These lessons underscore that mastery of your home espresso setup depends heavily on curiosity, vigilance, and continual learning.