The simple way to check if your burrs are actually dull
It was 6:30 a.m., the light just starting to creep in through the blinds, and I was already frustrated. My morning ritual—brewing a perfect espresso—had turned into a frustrating game of guesswork. The shot was off, the grind felt inconsistent, and I couldn’t quite put my finger on why. That day, I had to confront a harsh reality: maybe, just maybe, my burrs weren’t sharp enough anymore. But how could I tell for sure, without tossing them out and buying new ones?
Stop Guessing: How to Confirm If Your Burrs Are Truly Dull
Knowing whether your coffee grinder’s burrs are dull isn’t just about saving money. It’s about consistently brewing better espresso and avoiding the endless cycle of replacing parts that might still have life left in them. Early on, I made the mistake of assuming my burrs were worn because the shots weren’t as vibrant as I remembered. But that was a mistake—one that cost me extra cash and too much frustration. Once I learned a straightforward test, everything changed.
Is the Dull Burrs Myth Overhyped?
Sometimes, we fill our heads with fears about wear and tear that might not be justified. I’ve heard many home baristas say, “My burrs must be dull; my shots are sour, or my grind is inconsistent.” Not always true. External factors like coffee freshness and dosing technique play huge roles. Still, for grinders that have seen thousands of shots, a quick test can save you unnecessary expense. Curious about avoiding false alarms? Check out the [simple paper towel test](https://espressotechguide.com/the-simple-paper-towel-test-to-check-if-your-burrs-are-dull) that’s helped me and many others diagnose their burrs accurately.
Of course, I’ve been there—tapping my portafilter side or tapping the grinder to fix inconsistencies. Those quick fixes only mask underlying issues, like dull burrs or misalignment, which without proper checking, can cause more problems. Don’t fall into the trap of assuming that your gear is the problem when a simple, reliable test might reveal otherwise. Next, I’ll walk you through how to quickly and easily check if your burrs need replacing. Because knowing the truth about your grinder’s condition can save you both time and money, and keep your espresso consistently excellent.
Clean Your Grinder First to Ensure Accurate Testing
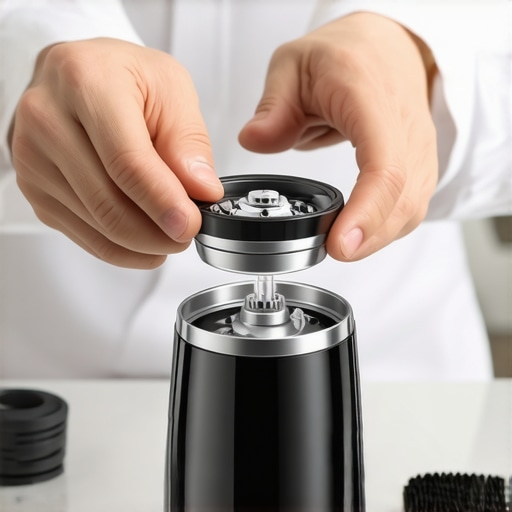
Before testing your burrs, give your grinder a thorough cleaning. Remove residual coffee dust that can mimic dullness or cause inconsistent grinds. Use a dry brush or the distribution technique to clear out any clumps. This step prevents false positives and ensures your test reflects the burrs’ true condition.
Perform the Paper Towel Test for Immediate Clues
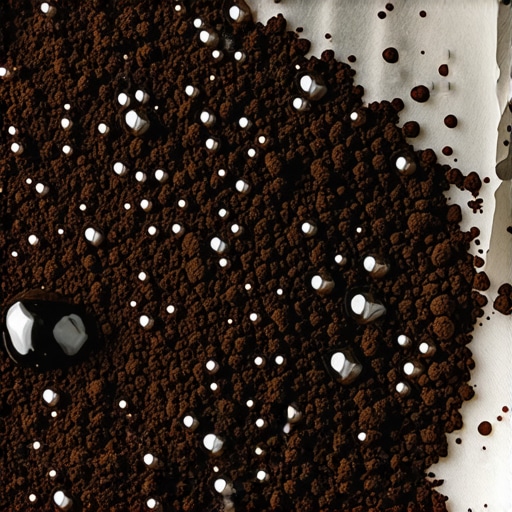
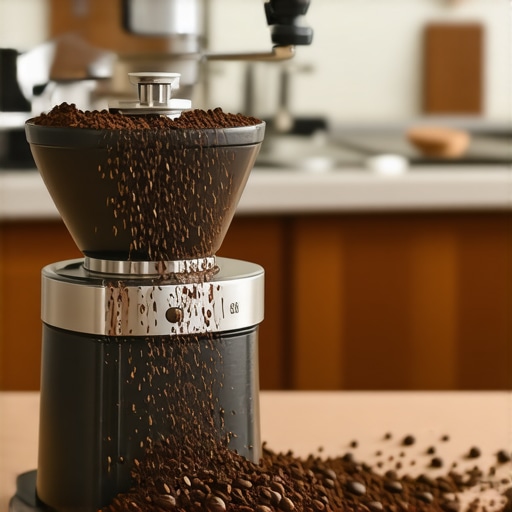
The simplest way to check if your burrs are dull is the paper towel test. Take a clean, dry paper towel and run your grinder on a medium-fine setting directly onto it. Observe how the coffee grounds are cut. If the grounds resemble rice or are unevenly sliced, your burrs might be dull. I tried this after noticing inconsistent espresso shots, and it revealed my burrs had lost their edge. Replacing them improved the grind quality significantly.
Check for Consistent Grind Size
Set your grinder to a standard size—like espresso or drip—and grind a small amount into a container. Spread the grounds evenly and examine the consistency. Dull burrs produce uneven particles, with some too fine and others coarse. Comparing this with a freshly cleaned grinder on the same setting provides a baseline. In my case, uneven grounds prompted me to calibrate or replace the burrs.
Test for Grind Noise and Resistance
Listen carefully while grinding. Excessive noise, vibrations, or increased resistance signal that the burrs might be dull or misaligned. During one test, I noticed my grinder was louder and required more effort, indicating dullness. If your grinder’s motor strain increases, it’s a sign to inspect further, possibly replacing the burrs or checking for misalignment.
Use a Calibration or Replacement Guide
If your grinder has a calibration feature, consult the manual to perform a calibration after cleaning. For burr replacement, follow this step-by-step guide to ensure perfect alignment, which is crucial for consistent coffee. Remember, even a dull burr set can be tuned if it’s still wound and aligned correctly, but when it’s beyond wear, replacement is inevitable.
When to Replace Your Burrs
After conducting these tests, if you find persistent uneven grounds, excessive noise, or the paper towel test shows poor cuts, it’s time for new burrs. Typical life expectancy varies, but most burrs start showing signs after 1,000 to 2,000 pounds of coffee. For example, I replaced my burrs after 1,500 pounds, and the difference was immediately noticeable in shot quality.
Keep in mind, regular checks can prevent a complete grind malfunction. Incorporate these tests into your routine—especially if you notice your espresso quality slipping or the grinder sounding different. Proactively maintaining your burrs ensures your coffee continues to taste fresh and vibrant.
Many home baristas dive into their espresso journey armed with enthusiasm but often harbor misconceptions about essential gear. A common trap is believing that expensive machines guarantee perfect results, yet even high-end equipment can be misused without proper technique. For example, some think that a hefty tamper automatically improves puck density, but if your tamping technique isn’t solid, the weight doesn’t matter. In fact, applying excessive force can be counterproductive and even hurt your wrist, which is why learning proper tamping posture is crucial.
Another misconception revolves around grinders—many assume that more expensive grinders always produce better espresso. While quality is a factor, the nuances like burr type, grind adjustment precision, and maintenance matter more. Did you know that even a slight misalignment can lead to uneven extraction? That’s why regular calibration and understanding your grinder’s quirks are vital for consistency. For instance, replacing burrs prematurely isn’t always necessary if the grinder is properly maintained and cleaned.
Why is my espresso machine leaking from the bottom?
Many believe that leaks indicate a broken machine, but often it’s a simple seal issue or internal blockage. Addressing this early by inspecting the [group head seal](https://espressotechguide.com/why-your-portafilter-is-leaking-from-the-group-head-and-how-to-fix-the-seal) can save costly repairs. Overlooking such details might lead to persistent leaks and inconsistent shots. And let’s not forget milk frothers—many users think that steam wands should only get hot milk quickly. Actually, patience and technique determine microfoam quality; rushing can cause curdling or uneven texture. Exploring the nuanced control of steam pressure and temperature reveals a world of possibilities for latte art and beverage quality.
One advanced tip is to embrace routine maintenance over reactive fixes. For example, regularly scrubbing your steam tip holes prevents milk residue buildup, ensuring consistent frothing. And if static electricity issues in grinders frustrate you, checking out the [static fix](https://espressotechguide.com/why-grinders-static-is-worse-on-dry-days-and-how-to-fix-it) can make your morning routine smoother. Most importantly, understanding that gear is only part of the equation empowers you to focus on technique, calibration, and maintenance—elements that truly elevate your home espresso experience.
Have you ever fallen into this trap? Let me know in the comments.
Investing in Reliable Tools for Consistent Results
Maintaining your espresso setup over time requires more than just good initial equipment—it demands the right tools that facilitate both daily operation and long-term care. I personally rely on a high-quality digital scale with a built-in timer, such as the ESPRO Precision Scale. Its accuracy within 0.1 grams ensures precise dosing, which is crucial for repeatable shots, especially when dialing in your grind or comparing beans. Additionally, a precision screwdriver set is indispensable for calibrating grinders or tightening loose fittings—an often-overlooked step that preserves machine longevity.
Routine Maintenance Techniques That Extend Equipment Life
Consistent maintenance is the backbone of long-term espresso quality. Regularly cleaning your grinder’s burrs using a dull burr indicator and performing a 30-second flush on your espresso machine helps prevent rancid oils and mineral build-up. I make it a point to sanitize my steam wand weekly using a dedicated brush; this prevents milk residue—a common cause of microbial growth and flavor contamination. For water quality, I use a sediment filter to reduce mineral scale, extending the life of internal components and maintaining consistent temperature stability.
The Role of Software and Calibration in Long-Term Performance
Advancements in digital technology have made calibration more straightforward. Many grinders allow for fine-tuning through software or manual adjustments, ensuring your grind stays consistent as burrs wear. I recommend setting calendar reminders to perform these calibrations every three to six months, depending on usage. This proactive approach curbs the drift in grind size, which can majorly affect extraction quality.
How do I maintain my gear over time?
Focus on systematic cleaning, regular part inspection, and staying ahead with calibration. For example, replacing burrs before they become too dull maintains consistency without risking damage to your grinder. Incorporating simple checks, like the paper towel test, can help you catch wear early. Remember, a well-maintained machine not only brews better coffee but also lasts years longer, saving you money and hassle in the end.
One advanced tip I highly recommend is to implement a maintenance schedule that includes a monthly seal check and a deep clean of internal components. Try setting reminders and tracking your progress in a dedicated maintenance journal. This disciplined approach will ensure your gear keeps pace with your skill and love for coffee, providing a rich foundation for that perfect shot every time.
What I Wish I Spent More Time On Before Blowing My Budget
One of the biggest lessons I learned was the importance of patience and proper understanding of my equipment’s quirks. Instead of rushing to replace parts or upgrade, I discovered that a little bit of maintenance and learning the nuances of my grinder and espresso machine could save me a lot of money. Focusing on routine cleaning and calibration allowed me to get the most out of my existing gear, proving that knowledge often outweighs money in the quest for perfect espresso.
My Secret Weapon for Consistent Results
Investing in a high-quality digital scale transformed my approach. Precise dosing is the foundation of great espresso, and having an accurate tool helped me fine-tune my grind size and tamping pressure. Coupled with regular calibration, it keeps my results consistent day after day, making me more confident and skilled behind the machine.
The Smart Trick I Use to Avoid Equipment Surprises
Maintaining a detailed maintenance log helps me stay ahead of potential issues. I document when I clean, calibrate, and replace parts like burrs or seals. This proactive approach means I catch wear and tear early, preventing costly breakdowns or compromised shots. It’s an insider tip that keeps my setup in prime condition for the long haul.
Remembering That Gear Is Just Part of the Journey
Though investing in quality tools like a stellar flat burr grinder or a reliable espresso machine makes a difference, I realized that technique and patience are equally vital. No matter how fancy your gear, mastering tamping, timing, and temperature control elevates your espresso game. Elevate your routine with mindful practice; the gear will follow naturally, and your mornings will become a ritual of joy rather than frustration.
Where To Go From Here to Elevate Your Home Barista Skills
If you’re eager to refine your setup and technique, check out resources like the calibration guides and maintenance tips I’ve shared. Building a knowledgeable routine around your gear ensures each shot is better than the last. Remember, the path to excellent espresso isn’t about having the most expensive tools but understanding and caring for what you have. Keep experimenting, learning, and most importantly—enjoy every cup!
Your Turn to Elevate the Home Espresso Experience
Have you ever caught yourself rushing maintenance or skipping calibration? How has it affected your espresso quality? Share your stories below—I love hearing about the real-world ups and downs on your journey toward barista mastery!
,