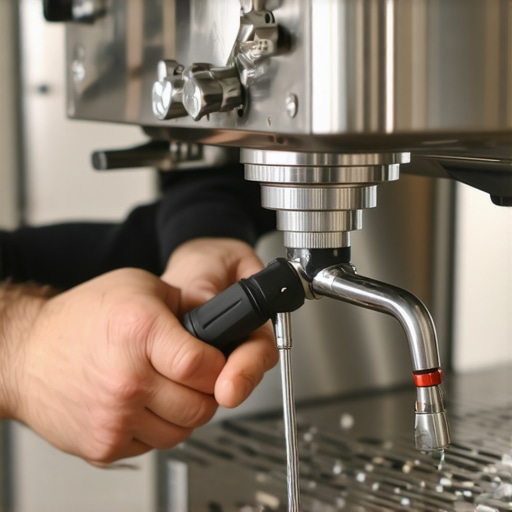
The Frozen Spoon Trick for Perfecting Microfoam Temperature
Ever had that sinking feeling when your beautifully steamed milk suddenly turns frothy and lukewarm in seconds, leaving you frustrated and wondering what went wrong? I certainly have. There was a time in my coffee journey when I was chasing the perfect microfoam, only to realize my milk wasn’t holding its ideal temperature—and it was messing with my latte art and taste. The moment I discovered the magic of the frozen spoon trick, everything changed.
Say Goodbye to Temp Fluctuations with a Simple Freeze
The lightbulb moment came during a chilly morning rush—my milk was steaming beautifully, but within seconds, it was either too hot or cooling down too quickly. I was losing that silky microfoam I craved because I wasn’t controlling the micro-temperature during steaming. That’s when I read about how cold surfaces can stabilize milk temperature, especially with the than a scattershot approach, I started experimenting with a frozen spoon—yes, a plain spoon frozen solid—placed directly into the milk pitcher while steaming.
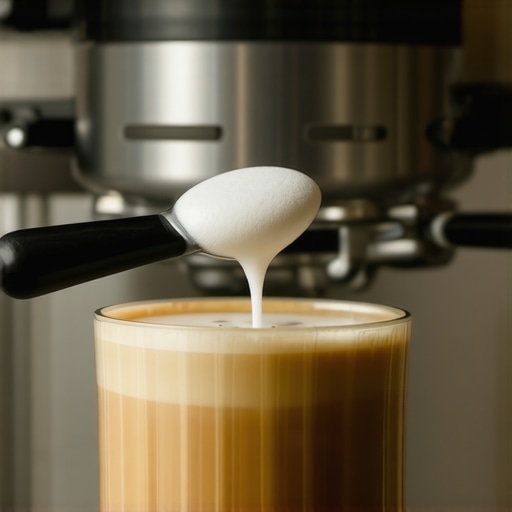
By doing this, I found I could maintain a more consistent microfoam temperature, avoiding the dreaded over-aired or lukewarm milk. It’s a game-changer, especially if you’re striving for that perfect balance of temperature and texture in your milk. This might sound overly simple, but the science behind it is solid—cold surfaces absorb excess heat, giving you better control and more consistent results.
Why your microfoam struggles to stay perfect and how this trick helps
Many home baristas unknowingly sabotage their microfoam by not managing the temperature actively, leading to that bitter or flat taste. A common mistake I made early on was steaming too aggressively or not monitoring the milk’s temperature until it was too late. Implementing the frozen spoon technique traps some of that excess heat, allowing me to keep the microfoam silky and at an optimal temperature longer. Curious? You’re not alone. If you’ve faced this problem, stay tuned—next, I’ll show you exactly how to implement this trick and elevate your coffee game.
Position the Frozen Spoon Correctly
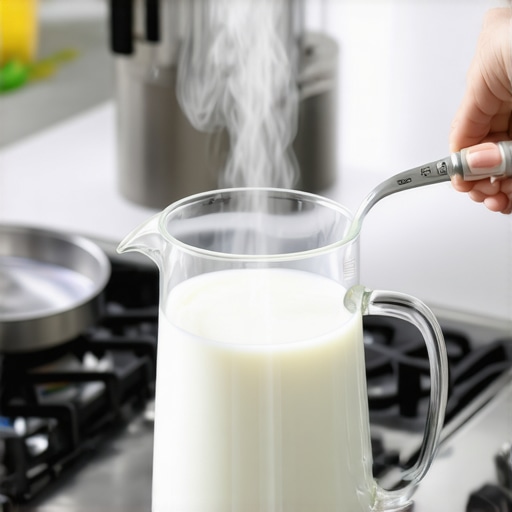
Before steaming, take a regular metal spoon and place it flat in your freezer for at least 15 minutes to ensure it’s thoroughly frozen. Once ready, hold the handle firmly and insert the back of the spoon into the milk pitcher, resting it against the side near the surface of the milk. This initial placement is crucial for temperature moderation during steaming.
Integrate the Spoon During Steaming
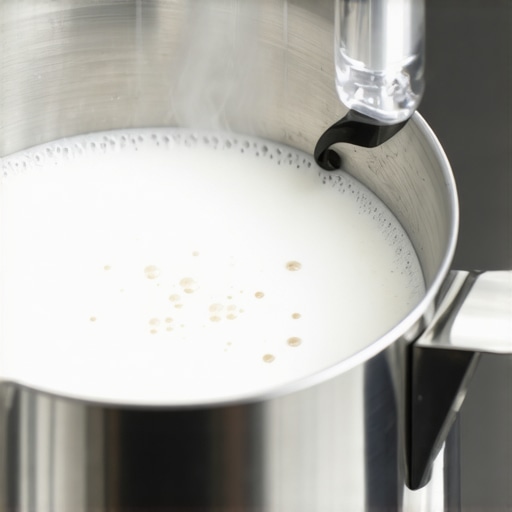
Start steaming your milk as usual, maintaining a steady, gentle swirl to create microfoam. As the milk heats, periodically place the frozen spoon into the pitcher, immersing it deep enough to contact the milk but avoiding any splashing or spillage. The cold surface absorbs excess heat, preventing the milk from over-warming and helping maintain a silky microfoam.
Refining the Technique
About halfway through steaming, gently move the spoon in small circles to distribute the cooling effect evenly. This prevents hot spots and keeps the temperature consistent, especially if you’re steaming larger volumes. Remember, the spoon should be cold but free of excess frost to avoid adding unwanted moisture to the milk.
My Personal Experiment
One morning, I was rushing to make my usual cappuccino when I realized my milk was overheating within seconds. I froze a spoon and began inserting it at regular intervals while steaming. The result was a perfectly textured microfoam that stayed warm and creamy longer. It wasn’t pretty—frost dripping into my milk—but the improved temperature stability made a noticeable difference.
Key Tips for Success
- Use a clean, dry spoon each time to prevent dilution or contamination.
- Avoid pressing down hard; let the spoon rest gently against the milk surface.
- If you notice excess frost melting into the milk, switch to a colder spoon or reduce the steaming time.
If you want to explore more about optimizing your espresso process, check out why your manual lever machine squeaks or learn how to prevent grinder clogging. These small adjustments can significantly elevate your home brewing experience.
Many home baristas believe that buying the latest espresso machine or a top-of-the-line grinder guarantees perfect coffee every time. However, misconceptions about equipment often lead to overlooked nuances that can sabotage your efforts. For instance, a frequent trap is assuming that more expensive gear automatically produces better results. While quality equipment is essential, understanding its proper maintenance and operational intricacies is equally crucial. Regularly neglecting components like group head seals or grinder burrs can diminish performance, regardless of the brand’s prestige.
Another widespread myth is that premium milk frothers alone can improve microfoam quality. The truth is, technique and milk temperature management play significant roles, and even the best frothers can underperform if your process isn’t calibrated correctly. Sometimes, home baristas invest in expensive gear but ignore fundamental practices, such as maintaining consistent tamping pressure or preheating the portafilter, which are vital for optimal extraction.
For advanced enthusiasts, considering the nuance of gear calibration becomes pertinent. For example, improperly aligned grinder burrs can cause uneven grind size distribution, leading to channeling and inconsistent extraction. Regularly checking and adjusting burr alignment can prevent this common mistake. Moreover, a poorly maintained espresso machine’s steam wand can spit water instead of producing dry vapor, not because of its design but due to overlooked cleaning or descaling routines. Understanding the importance of routine maintenance is often underestimated and is key to long-term performance.
Ever wondered why your shots taste bitter despite proper timing? Sometimes, the culprit lies in subtle gear issues, such as a misaligned portafilter or a leaking group head, which can alter extraction parameters. By delving into these nuances, you can troubleshoot more effectively—like examining your piston seals or ensuring your machine is leveled for even water flow. For detailed maintenance tips, explore articles like the E61 group’s leak points or how leveling can improve extraction consistency.
The ‘oops’ factor often involves neglecting overlooked components, leading to performance bottlenecks. For example, ignoring grinder chute clogging issues with dark roasts can cause uneven dosing, compromising shot quality. Regularly cleaning and inspecting grinder parts ensures consistent grind size and prevents static buildup, which is especially prevalent with certain burr types like flat vs. conical. Additionally, many assume that coffee freshness alone determines flavor, but improper maintenance of gear, like keeping burrs dull or neglecting descaling routines, undermines freshness principles.
Lastly, advanced users often overlook the importance of calibrating brew temperature and pressure profiles. Subtle fluctuations can cause pronounced changes in extraction, leading to bitterness or sourness. For tailored guidance, look into these advanced insights on group head maintenance or how steaming techniques can influence milk microstructure. Remember, mastering gear nuances elevates your espresso game beyond simply owning premium equipment.
Have you ever fallen into this trap? Let me know in the comments!Maintaining your home espresso gear to ensure consistent, high-quality results requires more than just regular cleaning; it involves selecting the right tools and adopting effective routines. A vital aspect is having the proper lubricants for your machine’s moving parts. I personally rely on a food-grade silicone lubricant, which I apply to the group head seals and lever mechanisms every six months. This simple addition significantly reduces squeaking and wear, extending the lifespan of my equipment. Regularly inspecting and replacing worn seals and gaskets is equally crucial—using genuine parts ensures a tight fit and prevents water leaks that can compromise machine performance. I recommend setting a schedule every quarter for detailed inspections, including checking for calcium buildup, which can hinder flow and pressure stability.
Beyond basic maintenance, investing in a quality espresso machine cleaning kit streamlines your routine. I favor kits that include descaling solutions, brush sets, and portafilter scrapers, as they allow for comprehensive cleaning without guesswork. For grinder upkeep, a maintenance interval of about 50-100 pounds of beans is ideal—you might use a vacuum brush or compressed air to clear out residual coffee dust from the burr chamber, which I perform monthly. For precision, a digital caliper helps me verify burr alignment after deep cleaning, ensuring optimal grind consistency.
Thinking long-term, I suggest using software or apps to track maintenance dates and results. Some advanced enthusiasts utilize coffee-specific digital logs, noting shot quality, grind settings, and routine services. This data-driven approach helps identify trends and preempt issues before they occur.
Looking ahead, the trend seems to be toward smarter, connected maintenance solutions—imagine sensors that monitor water quality or machine health, alerting you automatically. While these are still emerging, integrating basic tools now can prepare you for future innovations in home barista technology.
How do I maintain my espresso gear over time? One method I highly recommend is regularly using a descaling solution to remove mineral buildup; it’s simple but effective. For example, following the instructions in the official descaling routine guide can save you from costly repairs down the line. Additionally, keeping a stash of spare gaskets and lubricants on hand ensures quick fixes, minimizing downtime. Embracing these tools and routines makes a noticeable difference in consistency and extends the life of your investments.
For example, a squeaky lever—often caused by dried or dirty seals—can be remedied quickly with proper lubrication. Learn more about how to fix these issues with this detailed step-by-step guide. I encourage you to select one maintenance task today—perhaps lubing your lever or inspecting your grinder burrs—and commit to it. Small, consistent actions keep your gear running smoothly and your coffee tasting its best.
During my journey to craft the perfect latte art, I learned that controlling milk temperature is just as vital as achieving silky microfoam. The breakthrough came when I realized that a simple frozen spoon could act as a temperature buffer, preventing my milk from overheating and ruining the microfoam quality. This trick isn’t just convenient—it’s a game-changer for home baristas seeking consistency and excellence.
Secrets the Pros Keep Hidden About Microfoam Control
- Velvety microfoam isn’t just about the steaming technique—it’s about maintaining the right temperature. Using a frozen spoon gives me a tangible handle on heat management, especially during busy mornings.
- I’ve noticed that even slight fluctuations in milk temperature can affect foam stability and taste. The frozen spoon method helps me keep that delicate balance, ensuring each cup tastes as good as the first.
- One lightbulb moment was realizing that traditional steaming can sometimes cause overshoot—overheating the milk before I notice. The cold metal spoon acts as an immediate feedback loop, helping me stay within that sweet spot.
Your Essential Tools for Milk Microstructure Mastery
- High-quality Digital Thermometer — Precise temperature readings allow me to fine-tune my steaming process, complementing the frozen spoon trick for ultimate control.
- Stainless Steel Frothing Pitcher — Even heat distribution makes it easier to work with temperature buffering tools like the frozen spoon, giving consistent results every time.
- Frozen Metal Spoon — Simply a regular spoon cooled in the freezer; its affordability and effectiveness make it my go-to hack for microfoam perfection.
- Cleaning and Maintenance Supplies — Regularly cleaning my steaming gear prevents buildup that can interfere with temperature control, keeping the process smooth and predictable.
Keep Pushing Your Home Espresso Skills Forward
In the end, mastering milk temperature stability is about embracing simple yet effective tricks that enhance your craft. The frozen spoon hack exemplifies how a small adjustment can elevate your microfoam quality and, ultimately, your overall coffee experience. Remember, every barista has room to grow—so don’t hesitate to experiment with your tools and routine. Your perfect latte awaits!
What’s your biggest challenge when steaming milk? Share your experience below, and let’s troubleshoot together!