How to Store Half-Empty Bags of Beans to Preserve Fragile Aromas
It hit me one morning—opening my pantry to find a neglected bag of coffee beans sitting half-empty, quietly losing their vibrant aroma. I remember grabbing that bag, huffing it deeply, and realizing I’d nearly let those precious notes fade away. That lightbulb moment made me realize how often we neglect proper storage, wasting the fragile aromas that make each cup unique. If you’ve ever poured fresh beans into your grinder only to be disappointed by dull flavors, you’re not alone. Properly storing your coffee beans isn’t just about cleanliness; it’s crucial for preserving their nuanced aromas and ensuring every brew is bursting with flavor.
The importance of fresh aromas in your coffee experience
Every coffee enthusiast knows that aroma is king—it’s what transforms a simple morning brew into a sensory delight. When beans are exposed to air, they lose not only their flavor but also their aromatic complexity—this process is called oxidation. Oxidized beans produce dull, flat-tasting coffee, which is why proper storage is essential. I once made the mistake of transferring my beans into an ordinary plastic container, thinking it would keep them fresh. Instead, I inadvertently accelerated their staling. That experience taught me the hard way that how you store your beans impacts every shot you pull.
But the challenge doesn’t stop there. Many of us face the dilemma of how to store leftover beans from opened bags without sacrificing their essential oils and aromas. Do you seal them tightly? Keep them in the fridge? Or perhaps leave them out on the counter? The answers aren’t always clear, and missteps here can mean sacrificing the quality of your brew. Surprisingly, according to the Speciality Coffee Association, improper storage can lead to up to 50% loss of aroma within just two weeks after opening. That’s a staggering figure that underscores just how vital this step is.
So, it’s no wonder that many home baristas—myself included—struggle with keeping beans fresh once the bag is partially used. We want to enjoy that rich, complex bouquet in every cup, but our methods often fall short. Now, I want to share the proven techniques that I’ve adopted—methods rooted in both science and personal trial—to keep my beans tasting their best for longer. Before jumping into those, I’ll address a common skepticism: is investing in special storage really that impactful?
Facing the skeptic: Is proper coffee storage actually worth the hype?
Trust me, I used to think that just sealing beans in any container would suffice. My early mistake was underestimating the power of oxygen, light, and temperature—factors that can degrade coffee rapidly. It wasn’t until I started experimenting with dedicated storage solutions that I truly noticed the difference. Proper storage keeps those precious aromas locked in, ensuring your coffee remains vibrant until the last bean is brewed. For more tips on choosing the right gear, you might want to explore [the best barista gear](https://espressotechguide.com/choosing-the-best-barista-gear-for-coffee-enthusiasts). In the next section, we’ll dive into the specific steps to keep your beans fresh, so you can savor every sip like a seasoned barista.
Use Airtight, Opaque Containers for Optimal Preservation
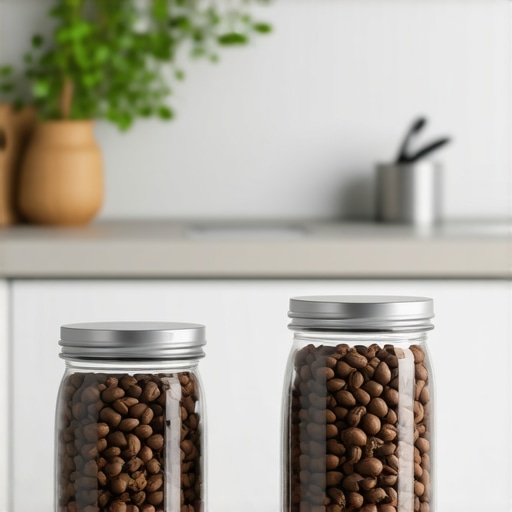
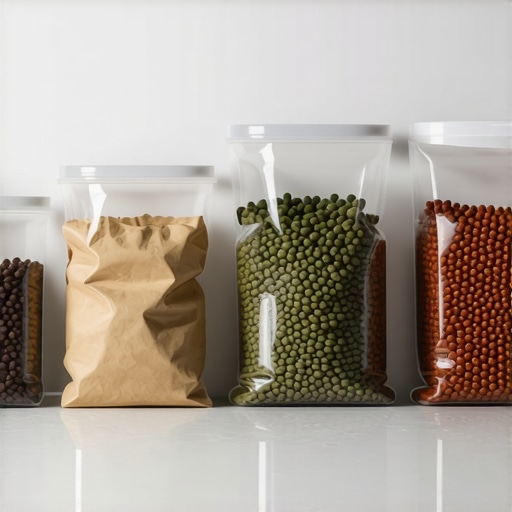
After experimenting with different storage options, I found that storing beans in a small, airtight, opaque container is key. I once transferred a half-open bag into a glass jar on the counter, thinking it would be perfect. However, light and air caused rapid flavor loss. Now, I pour beans into a dark, vacuum-sealed container and store it in a cool, dark place. This method minimizes oxidation and preserves aromatic oils, making each cup taste freshly roasted.
Choose the Right Size
Pick a container that fits your beans snugly—nothing too roomy. Overly large containers expose more surface area to oxygen, accelerating staling. I use a container that holds just enough beans for a week, ensuring freshness with each brew.
Implement Proper Resealing Techniques After Every Use
Once you’ve opened a bag, reseal it tightly to prevent air ingress. My go-to trick is to fold the bag’s opening tightly, then clamp it with a specially designed clip or transfer remaining beans to my vacuum-sealed pouch. I remember the first time I tried this—my coffee stayed vibrant for three weeks, while my previous open-bag beans only lasted a week before tasting flat.
Avoid Fridge and Freezer for Daily Storage
Contrary to some beliefs, storing coffee beans in the fridge or freezer can introduce moisture and cause flavor deterioration over time. I made this mistake early on—placed beans in the freezer thinking it would extend freshness. The result was a stale taste when brewed. Instead, keep beans at room temperature in a dark, cool cupboard.
Control Temperature and Humidity for Maximum Freshness
Temperature fluctuations speed up oxidation. I place my storage container away from heat sources like stoves and windows. Additionally, humidity can cause beans to absorb moisture, leading to rancidity. Using silica gel packets in my storage box has helped maintain a dry environment.
Regularly Rotate Your Coffee Inventory
To ensure you’re always brewing with fresh beans, I recommend labeling storage containers with roasting date. I check my supply weekly, using older beans first, which keeps my cups tasting vibrant. This simple step prevents staling and ensures consistent flavor quality.
Many espresso enthusiasts assume that purchasing high-end equipment guarantees perfect results, but the truth is, even seasoned baristas can fall into nuanced traps. One common misconception is that more expensive grinders always deliver better extraction, yet in reality, improper calibration or misalignment can negate those benefits. For example, using a burr grinder without regularly checking for burr alignment or wear can lead to inconsistent particle sizes, affecting extraction and flavor clarity.
Another overlooked nuance involves milk frothers—many users rely solely on automatic devices, presuming they produce optimal microfoam. However, not all frothers are created equal, and the misconception that any frothing method suffices can cause texture issues. Mastering different techniques, like using a handheld frother with proper positioning, can greatly enhance foam stability, as detailed in this guide.
Turning to espresso machines, new buyers often ignore the importance of temperature stability. Investing in a machine with an E61 group head or PID control can significantly improve shot consistency, especially for advanced users aiming for precision. Forgetting to regularly descale or clean components like shower screens and group gaskets, as explained here, might seem minor but can degrade performance and flavor over time.
How do you fine-tune your grind for different beans without overcomplicating the process?
Many home baristas make the mistake of sticking to one grind setting indefinitely. The reality is, adjusting your grinder based on bean freshness, roast level, or humidity conditions is essential for extracting nuanced flavors. Using a consistency-focused grinder, coupled with proper calibration routines, ensures repeatability. Step-by-step guides on selecting the right grinder further clarify this.
Lastly, a hidden but impactful mistake is neglecting the importance of accessories like tampers, distribution tools, and scales. The quality and proper use of these barista gear components dramatically influence shot quality. For instance, a lightly fitted portafilter can cause uneven tamping, leading to channeling. Check your technique and gear regularly to avoid these subtle issues. For more advanced tips, visit this resource. Have you ever fallen into this trap? Let me know in the comments.Maintaining your home espresso gear isn’t just about occasional cleaning; it’s about establishing a routine that keeps everything performing at its best. I rely heavily on specific tools to troubleshoot and fine-tune my equipment, ensuring longevity and consistent results. For instance, investing in a calibrated tamping mat not only improves shot consistency but also protects your countertop and tamping station over years of daily use. Similarly, a high-quality brush paired with a dedicated grinder cleaning kit helps remove stubborn coffee oils and residue, preventing flavor contamination and mechanical issues.
When it comes to espresso machines, a reliable {“image”: {“imagePrompt”: “A professional-grade espresso machine with cleaning tools”, “imageTitle”: “Essential Maintenance Tools for Espresso Machines”, “imageAlt”: “A collection of cleaning brushes, descaling solutions, and calibration tools around an espresso machine”}} is indispensable. Keeping the group’s water pathways clear, regularly descaling, and replacing worn gaskets can save you from costly repairs. I automate part of my maintenance by setting reminders to descale every three months, as recommended by the machine’s manufacturer.
Long-term results depend on consistent upkeep. Using water filter cartridges designed for espresso machines reduces mineral buildup, which, according to expert Scott Rao, extends the life of your machine and maintains optimal extraction. Calibration tools like a shot timer or a digital scale with a stopwatch function allow me to dial in grind size and tamping pressure precisely, resulting in a more predictable extraction profile.
Scaling your setup for growth involves thoughtful investments now. Modular accessories such as steam wand swivels or upgraded group gaskets can adapt your machine for more advanced techniques or higher demand. Before making such upgrades, I advise researching compatible parts—consulting resources like the official machine manual or trusted barista forums—to ensure compatibility.
How do I maintain my espresso tools over time?
Regular cleaning with the right brushes and descaling at scheduled intervals are vital. Consider upgrading your grinder burrs when you notice static buildup or uneven grounds, which can be tested with simple observation or a burr-dulling test. Implementing these small but crucial maintenance routines not only preserves flavor but also extends equipment lifespan.
Don’t overlook the power of precise calibration—using a dedicated shot timer and a consistent scale helps you master extraction nuances. As techniques evolve, so will your results, and your gear will thank you for it. I recommend trying the tip of scheduling quarterly descales and calibrations—these small actions can dramatically improve your coffee’s quality and your equipment’s longevity. For more detailed guidance, check out the comprehensive instructions offered in {“url”: “https://espressotechguide.com/mastering-the-art-of-home-espresso-tips-for-beginners”} and related resources.
The Hardest Lessons I Learned About Home Espresso and Gear
One overlooked truth in the world of home brewing is that even tiny missteps in storage can undermine your entire effort. I used to dismiss the importance of storing beans properly, thinking a simple airtight container was enough, until I experienced the flat, dull flavors that came from neglect. That was my wake-up call — proper storage is an art that can elevate your coffee experience from good to exceptional. I realized that preserving aromatic oils and preventing oxidation requires attention to detail and understanding of the science behind freshness.
My Essential Toolkit for Coffee Storage and Care
Over time, I curated a set of tools that made maintaining freshness effortless: dark, vacuum-sealed containers and small jars that fit snugly, silica gel packs to control humidity, and proper resealing clips. These choices stem from personal trials—I’ve seen how light exposure speeds flavor loss, and how even a slight increase in temperature or oxygen can turn vibrant beans into a stale mess. Trust me when I say that these simple tools have transformed my daily brew into a sensory delight. For gear recommendations, I swear by resources like this guide.
Your Journey Starts with Small Changes
Deciding to improve storage was the first step, but consistency is key. From labeling roasting dates to avoiding storing beans in the fridge or freezer, I learned that attention to detail makes all the difference. The real magic happens when I integrate proper airflow, light protection, and temperature control into my routine. These nuances keep my beans tasting lively, ensuring that every cup reflects the care I put into my setup.
If you’re eager to take your coffee game further, remember that knowledge combined with the right tools can set you apart. Precision in storage isn’t just a tip—it’s a foundational habit that preserves your investment and enhances flavor. For a deeper dive into crafting the perfect coffee environment, explore this comprehensive resource.