The Best Way to Clean a Grinder After Using Flavored Coffee Beans
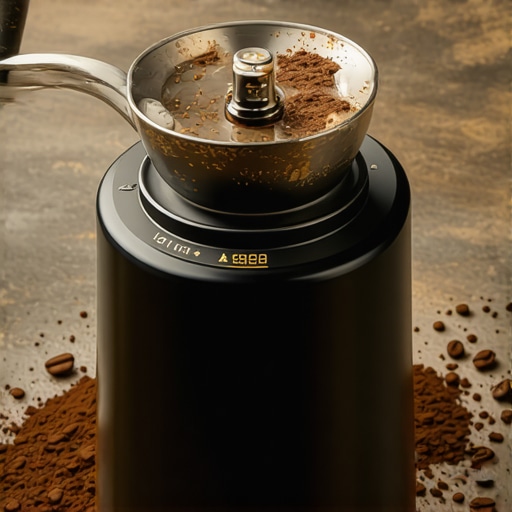
Last weekend, I spilled a whole bag of flavored coffee beans on my kitchen floor, and as I hurried to clean up, I realized something—my grinder was coated in a sticky, colorful paste of vanilla and caramel aromas. That mess didn’t just look messy; it lingered, taunting me every time I reached for my espresso machine. I remember thinking, “There has to be a better way to clean this without turning it into a full-blown project every time I indulge in flavored beans.” If you’ve ever faced a stubborn, flavored coating in your grinder that seems impossible to remove, you’re not alone.
The Hidden Challenge of Cleaning After Flavored Beans
Every coffee enthusiast who loves experimenting with flavors knows the struggle. Flavored coffee beans add a rich twist, but they come with a sneaky downside—the oils and aromatic compounds can stick around long after your brew. Leftover residues not only tarnish the taste of your next grind but can also cause you to overlook potential mechanical issues. The question is: How do you thoroughly clean your grinder without sacrificing your next batch’s flavor?
Is Frequent Deep-Cleaning Really Worth the Effort?
It’s a common misconception that quick brushings or simple wipe-downs are sufficient, especially if you’re eager to get your morning shot. I used to believe that too—until I neglected to clean my grinder properly after a batch of heavily flavored beans, resulting in bitter, off-flavors in my coffee and even clogging issues. That early mistake taught me a valuable lesson: consistent, thorough cleaning saves time and preserves your gear in the long run. To be honest, there are simple techniques that make this process easier than you think.
If you’re tired of fighting static-cling oils or dealing with stubborn residue, stay tuned. I’ll share my tried-and-true methods, based on personal experience and expert tips, to keep your grinder spotless and ready for every flavor adventure. Curious if you’ve faced this problem? I bet you have—let’s find the solution together.
Start with a Basic Disassembly
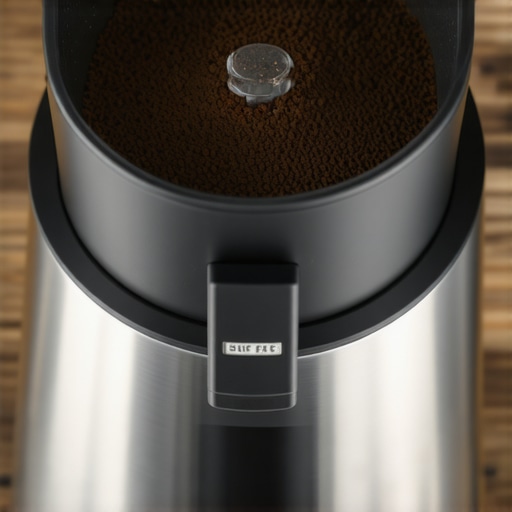
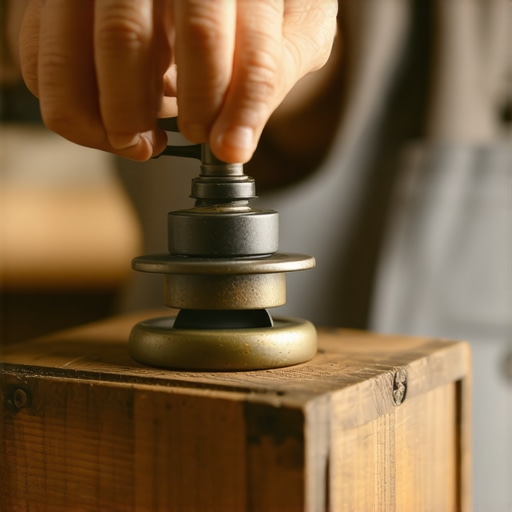
First, unplug your grinder to ensure safety. Remove the hopper by unscrewing or lifting it off, depending on your model. Carefully take out the burrs, which are the critical areas where residues tend to cling. For my experience with a conical grinder, I used a flat-head screwdriver to loosen the burr detachment screw, making sure not to force or damage the burrs.
Use a Dry Brush and Compressed Air
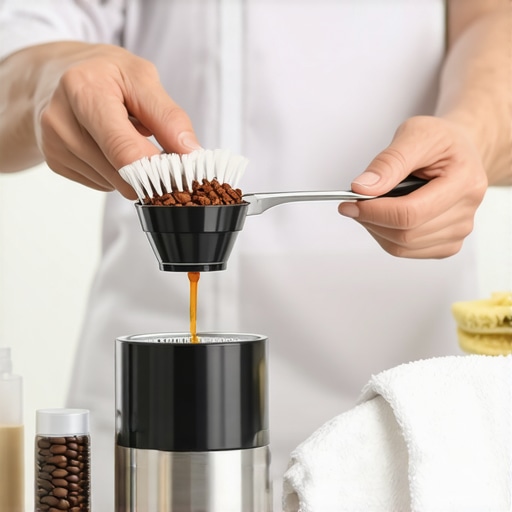
Equip yourself with a stiff-bristled brush, like a paintbrush or dedicated coffee grinder cleaner brush. Brush away loose coffee oils and particles from the burrs, chamber, and housing. Follow up with a blast of compressed air, which is a game-changer—it’s like clearing out a dusty chimney. This step is especially effective at dislodging stubborn, oily residues that brushing alone can’t remove.
Clean with Food-Grade Solvent or Mild Baking Soda Solution
For sticky, flavored oils, wipe the parts with a cloth lightly dampened with a food-safe solvent—such as grain alcohol or a commercial coffee grinder cleaner—avoiding contact with electrical components. Alternatively, mix a paste of baking soda and water, then gently scrub the metal parts. I once cleaned my grinder using a damp cloth with a baking soda solution after a batch of caramel-vanilla beans, and the residual aroma vanished, leaving my grinder fresh and neutral.
Deep Clean the Hopper and All Removable Parts
Wash the hopper with warm, soapy water, especially if it contained flavored beans. Dry thoroughly to prevent moisture from causing further clinging of residual oils. Don’t forget to clean any filters or screens present, as oils can build up unnoticed. This process ensures that oils from flavored beans don’t linger downstream, affecting your next grind and brew.
Reassemble and Run a Cleaning Cycle
Once everything is dry and free of residues, reassemble your grinder carefully. Run a small batch of plain, unflavored beans or rice through the grinder. This acts as a final flush, absorbing any remaining oils. I recommend running a few grams of rice—it’s like a natural absorbent that pulls out leftover oils without introducing new flavors. This step ensures a pristine start for your next espresso shot, free from previous contamination.
Maintain Regular Deep Cleans for Flavor Purity
Make a habit of deep cleaning your grinder every time you switch flavor profiles or after intense flavored bean sessions. Regular maintenance prevents the buildup of stubborn oils that can ruin your delicate espresso. For more tips on maintaining your equipment, check out this guide for beginners. Remember, cleanliness isn’t just about taste—it’s about prolonging your gear’s lifespan and ensuring consistent performance.
Many home espresso enthusiasts believe that perfecting their brew is simply about selecting the right beans and pressing an espresso button, but there’s a lot more beneath the surface. A common misconception is that high-end equipment guarantees great shots, yet even premium machines can produce mediocre espresso if not properly dialed in and maintained. For instance, many overlook the importance of grinder burr alignment; misaligned burrs can lead to uneven extraction, emphasizing the need to regularly calibrate your grinder using methods like the dry-erase marker technique outlined in our detailed guides.
Can advanced tamping techniques truly impact extraction quality?
Absolutely. While many think tamping pressure consistency is the key, research shows that even tamping is just part of a larger equation that includes grind size, dose, and distribution. Over-tamping or applying uneven pressure can create channeling, resulting in weak or bitter shots. The nuances of distribution and tamping are often underestimated; for example, using a distribution tool or learning the ‘pivot and swirl’ method can significantly improve flow consistency. Don’t fall into the trap of obsessing over tamping pressure alone—focus on the whole process. Expert baristas emphasize that understanding machine behavior and grinder maintenance influence extraction more profoundly than simply adjusting tamping force. According to a study by the Specialty Coffee Association, precise grinder calibration has a greater impact on shot quality than tamping pressure variations, underscoring the importance of regular grinder maintenance. Moreover, many home baristas overlook the impact of machine temperature stability. A slight fluctuation can alter extraction times and flavor notes, yet few invest in pre-heating techniques or temperature profiling tools. Remember, every component—from portafilter tamping to boiler temperature—stays intertwined. If you’re serious about elevating your home espresso game, don’t just settle for good equipment—invest time in understanding these often-missed nuances. Regular calibration, combined with advanced tamping and distribution techniques, can unlock consistent, barista-quality shots right in your kitchen. Want to dive deeper into optimizing your setup? Check out our comprehensive guides on selecting the ideal grinder and mastering espresso basics. Have you ever fallen into this trap? Let me know in the comments.
Maintaining your home espresso setup is vital for consistent performance and long-term durability. From precision tools to cleaning routines, investing in the right gear can elevate your coffee game significantly. One high-quality tool I rely on is the dry-erase marker method for aligning burrs—it’s simple yet effective and improves grind consistency. Additionally, a reliable compressed air blower keeps stubborn grounds at bay, preventing buildup that can affect extraction quality. For regular maintenance, I recommend a digital scale with tare and calibration features to ensure accurate dosing, like the Calibrate Your Scale guide suggests. These tools not only streamline your routine but also safeguard your investment in premium equipment.
How do I maintain my espresso machine over time?
Consistent upkeep involves periodic descaling, checking seals, and replacing worn parts. A powerful yet affordable tool is a steam wand cleaner like the specialized cleaning brush that fits snugly into steam tips, preventing buildup of milk residues. Implementing a weekly cleaning schedule—running cleaning solutions through the system and wiping down components—extends the machine’s lifespan and ensures spotless pulls every time. Keep in mind, regular inspection of supplies like gaskets and filters is crucial to prevent leaks and maintain pressure stability. An often overlooked aspect is the water quality, which affects scale buildup and flavor. Upgrading your maintenance routine with these targeted tools can drastically improve shot consistency and machine longevity.
The future of home espresso maintenance looks promising with smart tools and automation. Experts predict that integration of IoT-enabled sensors could alert you to descaling needs or failure points before they escalate, reducing downtime and costly repairs. Staying ahead involves adopting advanced tools now, like ultrasonic descalers or mobile app diagnostics, which are gaining popularity among serious enthusiasts.
To get started, I suggest trying the simple 10-second flush technique after each use—it’s a small step that prevents significant buildup over time. Remember, keeping your gear in top shape doesn’t have to be complicated—select a few key tools and stick to a regular routine. For personalized advice or to explore equipment options, consider reaching out through the contact page. Your coffee’s future depends on it!
Lessons That Changed My Approach to Home Barista Rituals
One deep realization I had was that consistent cleaning isn’t just about tasting purity; it’s an investment in your equipment’s longevity. Neglecting detailed cleaning after flavored beans led me to costly repairs and inconsistent shots. Now, I view every maintenance session as a chance to understand my grinder better, noticing subtle signs like static buildup or unusual noises that preempt bigger issues. My biggest aha moment was discovering that a simple routine—like running rice through my grinder—can absorb residual oils and restore freshness faster than I expected, saving me time and money in the long run.
My Favorite Resources to Keep the Espresso Passion Alive
For those looking to elevate their grinder knowledge, I absolutely trust this guide on burr alignment. It’s a game-changer for maintaining consistent grind size. Additionally, this resource on cleaning techniques has helped me develop a comprehensive routine that keeps oils at bay. When I want to learn about the latest in grinder technology, this review of top-rated machines in 2025 provides insights into how innovations can further ease maintenance tasks and improve flavor extraction. These sources have become my trusted companions in the journey toward mastery.
Keep Your Espresso Dreams Alive: Take Action Today
Implementing a thoughtful, regular grinder clean-up isn’t just a chore—it’s an act of love for your coffee. Every little effort compoundingly results in richer flavors, better crema, and a longer-lasting grinder. Remember, even seasoned baristas swear by routine maintenance, and now it’s your turn to prioritize it. So next time you brew, think about the small steps you can take today to ensure perfectly flavored espresso tomorrow. Are you ready to give your grinder the attention it deserves and unlock extraordinary taste in every cup?
What’s your biggest hurdle when it comes to maintaining your grinder after flavored beans? Share your experience below—I’d love to hear your tips and stories!
,