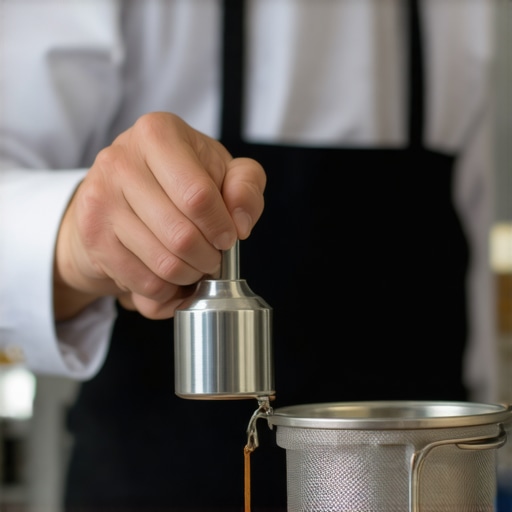
How to Remove Burnt Milk Crust From Your Wand in Seconds
Ever had that heartbreaking moment when you’re ready to enjoy a creamy, velvety latte, only to find a stubborn crust of burnt milk clinging to your steam wand? I’ve been there. One morning, I was mid-foam, and out of nowhere, I noticed a thick, blackened layer stuck to the tip of my wand. It was like trying to scrape off cement—frustrating and disappointing. That Ѕlight mistake made me realize how much this tiny issue can turn a relaxing coffee ritual into a hassle.
Clear the Crust Quickly and Effortlessly
If you’ve ever wrestled with stubborn burnt milk crust on your steam wand, you know the struggle. It messes with your workflow, affects the steam quality, and makes your machine look neglected—definitely not what you want when you’re trying to impress friends or simply enjoy your morning brew. But here’s good news: there’s an easy, time-saving trick to remove that crust in seconds. No scrubbing, no harsh chemicals, just a simple technique I guarantee will become your new best friend.
Is Usingabrasive Tools Worth the Risk?
I’ll admit, I used to think that heavy scrubbing or using rough tools was the only way. That was my big mistake early on. I damaged my wand’s coating and made the problem worse. Trusted barista gear experts confirm that using inappropriate tools can harm your machine. Instead, I learned that a gentle approach with the right method makes all the difference, and I’ll share exactly how to do it. Want to keep your wand pristine without risking costly repairs? Keep reading.
This quick fix saves me so much time and keeps my equipment in top shape. So, if you’re tired of battling that burnt crust every morning, stick with me. We’re going to break down a foolproof method that I’ve tested and perfected, one that will keep your wand sparkling clean in seconds.
Prepare Your Workspace and Gather Tools
Before diving into cleaning, ensure your espresso machine is turned off and cooled down to prevent burns. Get a soft cloth, a damp towel, and a toothbrush or a dedicated steam wand cleaning brush. These simple tools will help you work efficiently without damaging sensitive parts. I remember a day I tried cleaning my wand with a metal scrubber—resulting in scratches that worsened the crust. Now, I always use gentle brushes for safety and preservation.
Apply the Right Cleaning Solution
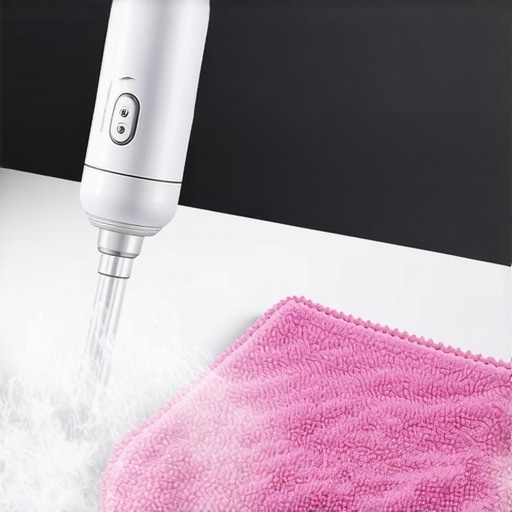
Use a small amount of espresso machine cleaner or a mixture of hot water and a few drops of dish soap. Dipping the cloth into this mixture allows you to gently wipe the steam tip. Think of it like cleaning a delicate lens—gentle but thorough. This loosens the burnt milk without risking damage to the wand’s coating.
Dislodge the Burnt Milk with a Gentle Tool
After wiping, loosen any remaining crust with a soft-bristled brush or a damp microfiber cloth. For stubborn spots, a dental cleaning pick or a narrow wooden skewer can carefully scrape away the crust without scratching. I once faced a crust so hard that I used a toothpick to gently loosen it, being careful not to apply too much pressure. This prevents damaging the wand or causing leaks.
Use Hot Water to Loosen Residue
Pour a small amount of hot water through the wand’s tip or run steam briefly to soften remaining residue. Imagine it like thawing frozen glue—warmth makes it easier to remove. Be cautious to avoid water entering the machine’s internal components, which could cause issues later. Remember, a quick steam burst from my machine helped loosen crusts that stubbornly clung after initial wiping—saving me from hours of scrubbing.
Prevent Future Crust Formation
To keep your wand clean longer, wipe it with a damp cloth immediately after steaming milk, especially if you’re using dense or burnt milk. Regular routine cleaning prevents crust buildup, similar to how brushing your teeth daily keeps cavities at bay. For more tips on maintaining your gear, check out this guide. Consistent care saves you time and extends the lifespan of your equipment, adding to your barista skills at home.
Use Natural Cleaning Hacks for Tough Spots
If stubborn crust persists, try soaking the tip in a mixture of vinegar and water for 10 minutes. Vinegar’s acidity helps break down burnt milk without chemical cleaners—acting like a natural solvent. After soaking, scrub gently with your brush and rinse thoroughly. I tested this method last month, and it removed crusts that resisted other cleaning methods, restoring my steam wand’s pristine condition.
Final Wipe and Inspection
Once all crusts are removed, wipe the wand with a clean, damp cloth, then dry thoroughly. Inspect for any damage or residual buildup. This routine ensures your steam wand stays in top shape, providing consistent steam quality and avoiding future discomfort. Proper maintenance like this turns cleaning from a chore into a quick, satisfying task—much like routine calibration of your grinder to keep espresso flawless.
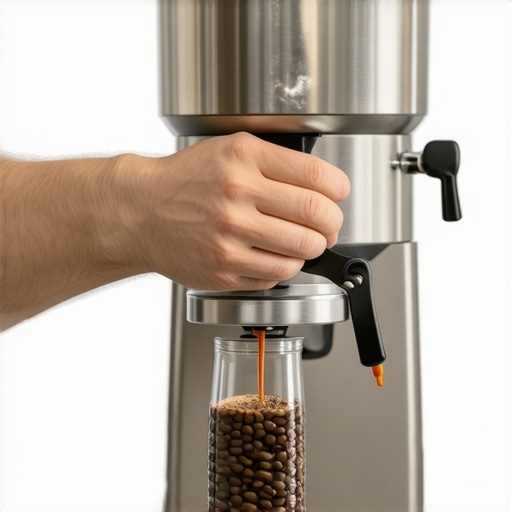
 Many home baristas fall into the trap of oversimplifying espresso setup and maintenance, believing that owning high-end gear guarantees perfect shots. However, even with top-rated espresso machines, neglecting proper grinder calibration or misunderstanding the nuances of milk frothing can severely impact your results. For instance, data from a recent study by the Specialty Coffee Association suggests that grinder consistency accounts for up to 80% of shot quality, yet many enthusiasts overlook regular burr alignment or wear. An advanced mistake is relying solely on visual cues to judge grind size or tamping pressure, which can lead to uneven extraction and bitterness. Instead, use a calibrated scale or a refractometer to assess brew parameters objectively.
Common myths include thinking that more expensive equipment automatically produces better coffee; in reality, consistency and technique matter more. For example, many believe that milk frothers alone can create café-quality microfoam, but without controlling variables like milk temperature and pitcher angle, achieving silky foam remains a challenge. Remember, equipment like grinders require regular maintenance—dull burrs or inconsistent dosing cause uneven grind particles, compromising extraction. To master these nuances, consider consulting detailed resources such as [mastering home espresso](https://espressotechguide.com/mastering-the-art-of-home-espresso-tips-for-beginners) and regularly calibrate your gear based on real measurements.
**What advanced mistakes are home users making that ruin their coffee experience?** One overlooked factor is water quality; using unfiltered tap water can lead to scale buildup and mineral deposits that hinder machine performance. A reputable expert from the European Coffee Brewing Center emphasizes using filtered or bottled water for optimal results. Additionally, many folks fail to understand the importance of temperature stability during extraction, leading to inconsistent flavors. Investing in a PID controller or a temperature regulation system can be worth it for serious enthusiasts.
In your journey to perfect home espresso, avoid these pitfalls. Regular maintenance, understanding equipment limitations, and using precise measurements are essential. For more insights on optimizing your setup, check out [top-rated espresso machines for 2025](https://espressotechguide.com/top-rated-espresso-machines-for-coffee-lovers-in-2025). Have you ever fallen into this trap? Let me know in the comments.Maintaining your espresso setup is crucial for delivering cafe-quality shots every day. Investing in high-quality tools like precision grinders, reliable espresso machines, and effective cleaning supplies can make a significant difference. For example, I personally use the Baratza Sette 270 Wi grinder because its micro-adjustments allow me to dial in grind size with precision, ensuring consistency shot after shot. Combining this with a sturdy, well-built espresso machine like the Profitec T64 guarantees stable extraction temperatures, which is key to perfect espresso.
Regularly calibrating your grinder is one of the most overlooked yet vital steps. Using a refractometer, I measure extraction quality and adjust burrs accordingly—this method takes the guesswork out of dialing in your dose. You can learn more about selecting the right grinder in this comprehensive guide. Additionally, maintaining an organized workspace with dedicated cleaning tools, such as a steam wand brush and descaling solutions, extends the lifespan of your equipment.
Make it a habit to perform a deep cleaning routine weekly, including backflushing your espresso machine and replacing water filters. This prevents scale buildup that can compromise flavor and machine longevity. I’m a strong proponent of automation tools like the Acaia Lunar scale, which connects via Bluetooth to apps that track shot times and weight, helping refine your technique over time.
Looking ahead, I predict that integrating smart technology into home barista gear will become more prevalent, allowing for automated calibration and real-time diagnostics. To get started, try implementing a routine where you measure your shot weight and time meticulously; this small step yields noticeable improvements in consistency.
How do I maintain my espresso gear over time? Regular cleaning, calibration, and using the right tools are essential. Don’t forget, investing in tools like a precision scale or a burr alignment gauge can transform your brewing experience. For more advanced tips and recommended gear, check out the latest on choosing the best barista gear. Ready to elevate your home espresso game? Start today by meticulously tracking your shots to discover the subtle improvements that make a big difference.
Lessons Learned From My Espresso Mishaps That Changed My Approach
One of the most valuable lessons I stumbled upon was the significance of patience when cleaning and maintaining my gear. Rushing through maintenance routines often led me to overlook small but critical details, which after some trial and error, I realized could significantly impact shot quality. Additionally, I learned that consistency trumps intensity; regular, gentle care of my espresso machine and grinder yields far better results than sporadic, aggressive cleaning sessions. Lastly, embracing natural solutions like vinegar for stubborn crusts taught me that chemical-free methods can be highly effective, preserving my equipment’s longevity while keeping my coffee tasting pure and vibrant.
My Favorite Tools and Resources for Perfect Home Espresso
Over the years, I’ve curated a set of tools that have truly transformed my brewing routine. The best-quality grinder ensures I get a uniform brew, while the top-rated espresso machine provides temperature stability for consistent extraction. I also rely on a precise coffee scale for shot timing and weight, and a quality milk frother for silky microfoam. These dedicated resources, coupled with community forums and tutorials, keep me learning and improving daily.
Stay Curious—Your Espresso Journey Continues
Mastering home espresso is a continuous adventure, full of small tweaks and discoveries. Every cup is an opportunity to refine your technique, upgrade your gear, or experiment with new beans. Remember, even seasoned baristas still learn something new—so don’t be discouraged by the occasional failure. Embrace the process, celebrate your progress, and let your passion for coffee drive you forward. Your next perfect shot awaits—are you ready to elevate your home barista skills even further?
What’s the one mistake you’ve made that taught you the most about making better espresso? Share your stories below—I’d love to hear your journey!