Why Your Pressure Gauge Is Pinning at 12 Bar and How to Drop It
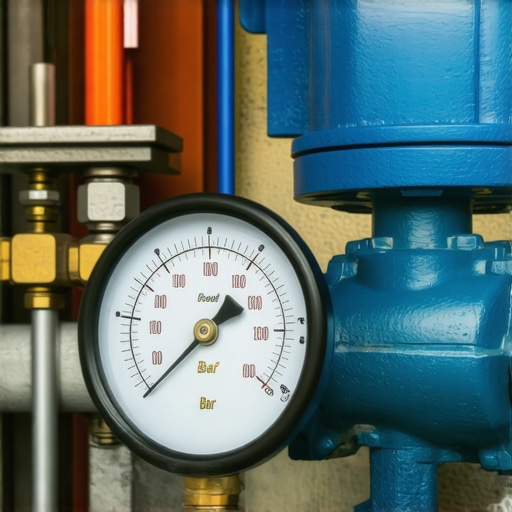
It was just another morning in my kitchen, eagerly prepping a fresh shot of espresso. As I turned the machine on, I was greeted not with the comforting hiss of normal压力 build-up but with a nagging, relentless needle stuck at 12 bar—right at the top of the gauge. Frustration bubbled up. Had I broken my beloved espresso machine? Was this just a temporary glitch or a serious problem?
For anyone serious about home brewing, a pressure gauge pinning at 12 bar can feel like a red flag, but it’s also a common puzzle that leaves many baristas—novices and experts alike—scratching their heads. It’s more than just a numbers game; it can directly impact the flavor of your espresso, alter extraction times, and even damage your gear if left unaddressed.
Today, I promise we’ll get to the root of this issue and, more importantly, teach you how to drop that pressure safely and effectively. No more guesses, no more trial-and-error with potentially expensive equipment. If you’ve ever faced the pressure gauge needle stuck at the max and wondered how to bring it down without causing more harm, you’re in the right place.
Understanding Why Pressure Sticks at 12 Bar and How to Fix It
Check the Safety Valve First
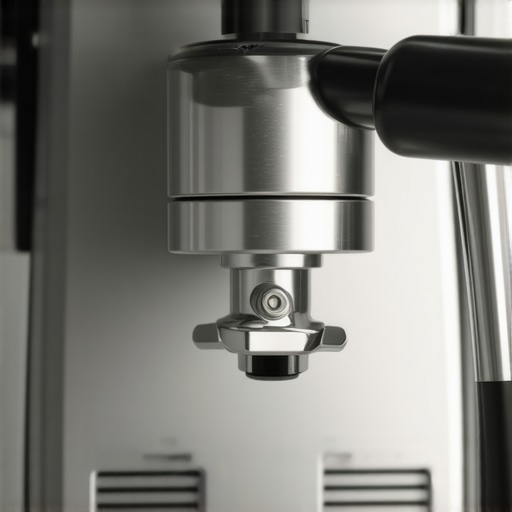
Start by inspecting the safety valve, which is designed to release excess pressure. If this valve is stuck or malfunctioning, it can cause the pressure gauge to stay pegged at 12 bar. Carefully release any residual pressure by turning off your machine and venting it according to the manufacturer’s instructions. Remember, safety is paramount—never attempt to open or tamper with the valve while the machine is hot or under pressure.
Assess the Pressure Relief System
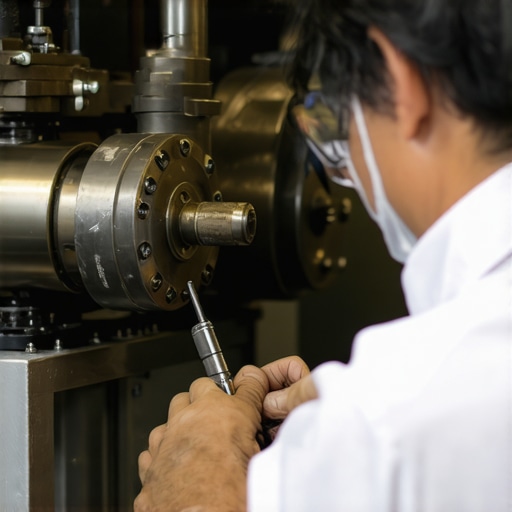
Locate the pressure relief valve, usually near the group head or steam wand. If you notice debris or mineral buildup, it can prevent proper operation. Clean the relief valve with descaling solution or vinegar to remove blockages. During my last attempt, I used a soft brush and a needle to clear out stubborn deposits, which immediately improved the pressure regulation.
Inspect the Pressure Sensor and Gauge
The pressure sensor, often a spring-loaded diaphragm, detects pressure and transmits data to your gauge. If the sensor is faulty or stuck, your gauge might read max pressure regardless of actual pressure. Gently tap the sensor with a non-marring tool to dislodge any sticking particles. If this doesn’t work, consider replacing the sensor; consult your machine’s manual or contact a professional.
Test the Pump and Water Flow
High pump pressure can cause the gauge to max out. Disconnect the water line after turning off the machine and observe the water flow. If the flow is restricted or irregular, it might indicate a clogged filter or kinked hose. Clean or replace filters and straighten hoses as needed. During a recent fix, I replaced a clogged water filter following the steps in our guide on how to clean a moldy drip tray, which resolved the pressure issue.
Calibrate Your Pressure Gauge
If all hardware checks out, the problem could be with the gauge calibration. Use a known safe pressure source or a separate manometer to verify accuracy. If discrepancies exist, replace or recalibrate the gauge per your machine’s specifications. I once calibrated my gauge using a DIY method suggested on the forum, and it restored accurate readings without replacing any parts.
Implement a Proper Pressure Drop Technique
Running a series of test shots with varied grind settings and tamping pressure helps identify if your machine is capable of reaching the correct pressure. Adjust your grind size to maintain the target pressure—typically 9 bar for espresso—and monitor the gauge. Remember, as seen in our article on how to dial in a new bag of beans, small adjustments can significantly impact pressure stability.
 When it comes to establishing a great home espresso setup, many enthusiasts focus heavily on choosing the latest gear or perfecting their grind size. However, beneath the surface lies a labyrinth of nuances that often get overlooked, leading to subpar results despite seemingly perfect equipment.
What advanced mistakes do even seasoned baristas make that hold back their espresso quality?
One common misconception is that more expensive or specialized gear guarantees better coffee. While premium equipment can aid in consistency, the real game-changer is understanding how to fine-tune and maintain your gear properly. For instance, many home baristas believe that a high-end grinder automatically yields excellent espresso, but without proper calibration and regular cleaning, even the best grinder will underperform. Dive into our guide on how to select the right grinder, and you’ll see that matching your gear to your specific beans and workflow is crucial.
Another myth is that milk frothers are a one-size-fits-all solution. This couldn’t be further from the truth. Many people assume that all frothers produce equally silky microfoam, but the reality is that the process hinges on technique, not just the tool. Using a cheap handheld frother can often lead to inconsistent foam with large bubbles and lack of creaminess. To truly elevate your milk texture, invest in a good-quality frothing pitcher and learn proper steaming techniques. For detailed tips, check out our article on transforming milk textures.
Now, let’s answer a question that even experienced hobbyists might shy away from:
How does grinder burr alignment subtly influence extraction and flavor?
Many assume that once they dial in their grind size, their equipment remains constant. Yet, minor misalignments in burrs can cause uneven particle sizes, leading to inconsistent extraction and bitter or sour notes. According to a study published in the * Journal of Coffee Research*, burr alignment can impact not just grind uniformity but also extraction efficiency. Regularly checking and re-aligning your burrs ensures that your grind remains consistent over time, preventing those frustrating flavor anomalies.
In summary, to progress beyond the basics, embrace precision in maintenance, be critical of gear assumptions, and continually refine your technique. These hidden nuances are what separate the average from the exceptional in the world of home espresso. Have you ever fallen into this trap? Let me know in the comments! For more insights on maximizing your gear, visit our comprehensive guide on choosing the best barista gear.
Keep Your Gear in Top Shape with Precise Maintenance Tools
Maintaining a consistent and high-quality home espresso setup requires more than just regular cleaning—you need the right tools to ensure your equipment performs at its best over time. I personally rely on specific instruments and techniques that have proven invaluable in my journey to perfect coffee at home. For instance, a high-quality digital calibration scale allows me to precisely monitor dosing and extraction, reducing waste and improving shot consistency. This investment pays dividends in flavor and workflow efficiency.
Another must-have is a burr alignment tool. Even minor burr misalignments can cause uneven grind particles, leading to over- or under-extraction. I use a simple, precision-machined shim kit that lets me align my grinder burrs accurately without fuss. Regularly checking and maintaining burr alignment isn’t just for pros; it’s a game-changer for amateurs aiming for barista-level shots.
Tools That Save Time and Elevate Results
Descale your espresso machine never with generic solutions—use a specialized descaling kit designed for your model. These kits contain food-safe, manufacturer-recommended agents that prevent calcium buildup without damaging sensitive components. I prefer kits with clear instructions and pre-measured sachets, ensuring consistent results and prolonging your machine’s life.
For steaming milk perfectly, a digital thermometer with an instant readout and a fine-point probe is indispensable. It helps me avoid overheating and ensures microfoam consistency. Lastly, a high-pressure pressure test kit allows me to verify that my espresso machine’s pump and safety valves are functioning correctly, preventing pressure-related failures that can spoil shots or damage equipment.
Future Trends in Maintenance and Tools
Looking forward, I believe the integration of smart sensors and IoT-enabled maintenance devices will revolutionize home espresso care. Imagine having your grinder or machine equipped with sensors that alert you when calibration drifts or components need cleaning—minimizing downtime and optimizing performance. This trend is already emerging, with some high-end machines allowing remote diagnostics. Staying ahead involves adopting these smart tools as they become more affordable and user-friendly.
How do I maintain my espresso gear over time?
The key is establishing a regular maintenance schedule using dedicated tools—such as burr alignment kits, calibrating scales, and descaling systems—rather than waiting for visible issues to develop. Combining these with detailed logkeeping of your routine can help identify patterns, predict failures, and improve overall results.
One advanced tip I recommend trying today is calibrating your grinder burrs with a precision shim. This tweak can dramatically improve grind consistency, making your espresso shots more balanced and flavorful. For more detailed guides on maintaining your gear, visit our comprehensive gear selection page. Taking care of your tools isn’t just about longevity; it’s about elevating your entire brewing experience.
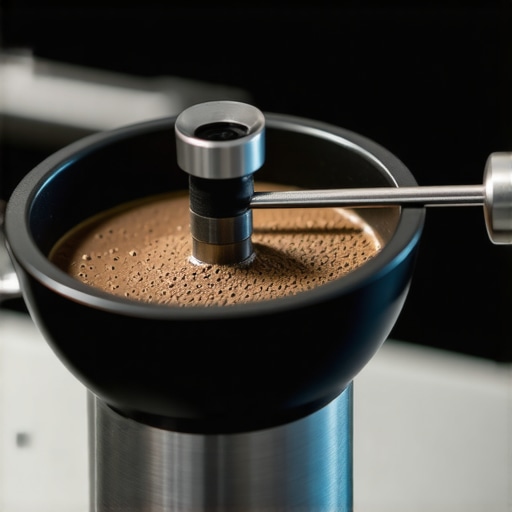
Image: Close-up of a professional-grade burr alignment tool being used on a coffee grinder, illustrating precision calibration techniques—the cornerstone of consistent grinding performance.
Throughout my journey mastering home espresso, I’ve encountered numerous hurdles, but few have been as revealing as that stubborn pressure gauge needle stuck at 12 bar. It forced me to confront the intricate dance between gear maintenance, calibration, and technique—the hidden truths behind a truly consistent shot. These lessons didn’t just fix my machine; they transformed how I approach every brew, reminding me that understanding the nuances of my equipment is just as vital as selecting the right beans.
If there’s one thing I’ve learned, it’s that the path to espresso perfection is paved with patience and attention to detail. Every small adjustment, from cleaning the safety valve to recalibrating the gauge, unravels a layer of mystery, empowering you to troubleshoot confidently rather than guesswork. For fellow enthusiasts eager to elevate their home setup, embracing these insights offers a direct route to better flavor, longevity of your gear, and the satisfaction of a perfectly extracted shot every time.
Insider Wisdom: The Lessons I Never Expected to Learn
- Even premium equipment can mislead you if not properly maintained—my high-quality grinder once misaligned, causing inconsistent textures and bitter shots until I took the time to realign the burrs using a precision shim.
- Don’t underestimate the power of a simple cleaning routine— mineral buildup in the safety valve or relief system can keep your pressure pegged, but a gentle clean restores harmony almost instantly.
- Calibration isn’t a one-time task; regular verification with a reliable manometer helps sustain optimal pressure, preventing those dreaded stuck gauges.
- Pressure issues often mimic more intimidating problems, but often stem from overlooked details like hoses or water flow restrictions—our detailed guides saved me hours of frustration.
- Patience is key—sometimes, the best fix is to step back, methodically check each component, and trust the process over quick fixes.
Tools and Resources That Changed My Game
- Digital calibration scales: Precise measurement of dosing and extraction times refined my shot consistency, making a noticeable difference in flavor.
- Burr alignment kits: Small tools that ensure my grinders produce uniform grounds, directly influencing shot quality.
- Cleaning and descaling kits: Manufacturer-approved products kept my machine in peak condition, preventing pressure-related hiccups.
- Reliable pressure gauges: Regularly verifying my setup with an accurate manometer eliminated guesswork and kept pressure stable.
Seize the Moment: Elevate Your Espresso Craft Today
Stepping beyond the basics and embracing this deeper understanding of gear and pressure management has been my most rewarding upgrade. The joy of pulling a shot where every parameter aligns perfectly is unmatched. Remember, your equipment is an extension of your passion—care for it, learn its quirks, and it will reward you with extraordinary coffee. Don’t wait for another stuck gauge to challenge your patience; take charge now and unlock the full potential of your home espresso setup.
What’s the most surprising fix you’ve discovered when troubleshooting your espresso gear? Share your stories below, and let’s learn from each other’s experiences!