Why Your Steam Wand O-Rings Are Failing Every Few Months
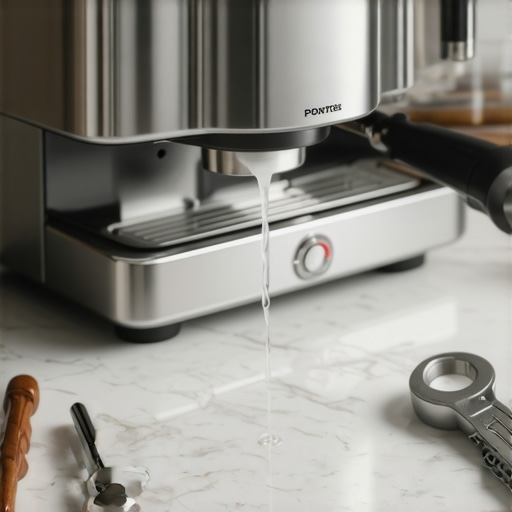
Have you ever watched your freshly steamed milk suddenly sputter and lose pressure just when you’re trying to finish that perfect latte? It’s like your espresso machine is throwing a tantrum, right when you need it most. I remember the first time this happened to me; I thought it was a broken pump or a clog. Turns out, it was my steam wand O-rings giving up again, just a few months into ownership. Frustrating doesn’t even cover it. I’d rebuild, replace, and then, a couple of months later, same problem. Sound familiar?
The Hidden Culprit Behind Failing Steam Wand O-Rings
Let me be honest — this recurring issue haunted me until I pieced together the puzzle. O-rings are those tiny, rubber seals that keep the steam pressure in your wand. They are vital, yet so often overlooked. Early on, I made a classic mistake: I used generic replacements without considering material quality or installation techniques. That quick fix only bought me a few months before the leaks started all over again. Over time, I discovered that the root cause wasn’t just the O-rings themselves, but also how I handled them and the environment inside my machine. According to experts, the lifespan of O-rings can be significantly affected by factors like water quality, cleaning habits, and even the type of rubber used (source: Espresso Tech Guide). That realization was a game-changer for me. Now, I want to help you avoid years of wasted replacements and frustration by sharing the practical steps I’ve learned. But before we dive into the fix, let’s address a common concern many skeptics have about this whole process.
Prepare Your Workspace and Gather Tools
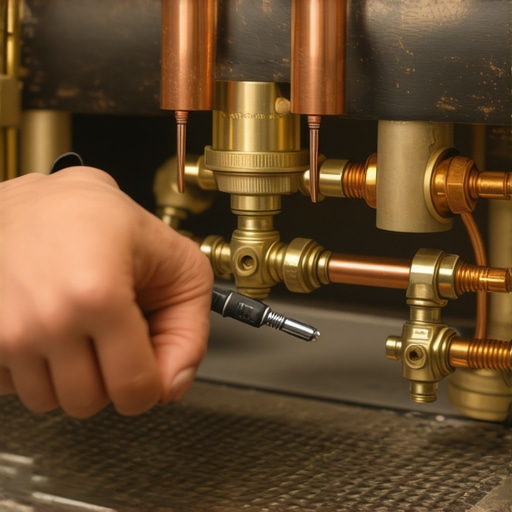
Start by clearing your espresso station, turning off the machine, and unplugging it to ensure safety. Gather the necessary tools: screwdriver set, replacement O-rings (preferably high-quality silicone or Buna-N), tweezers, and a clean cloth. Having all items at hand prevents mid-task interruptions. Remember, proper tools make the replacement easier and prevent damaging sensitive components.
Remove the Steam Wand Assembly Carefully
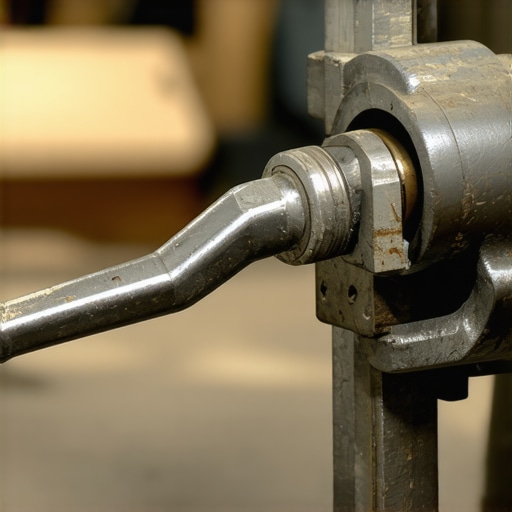
Unscrew the steam wand from the boiler or manifold using the appropriate screwdriver. Wiggle gently to avoid stripping threads. As I learned in a messy trial, forcing can crack or damage the connector. Place the removed parts on a towel to prevent losing small screws or O-rings. This step is critical; a secure grip ensures safe disassembly without harming internal seals or threads.
Inspect and Clean the Components
Check the wand’s connection point and the old O-ring area for debris, coffee oils, or mineral deposits. Use a damp cloth or brush to clean thoroughly. Residue can compromise the new O-ring’s seal, leading to leaks. In my first attempt, neglecting this cleanup caused immediate leaks, forcing a redo. Ensure the surfaces are dry and free from buildup before proceeding.
Remove the Old O-Ring and Install the New One
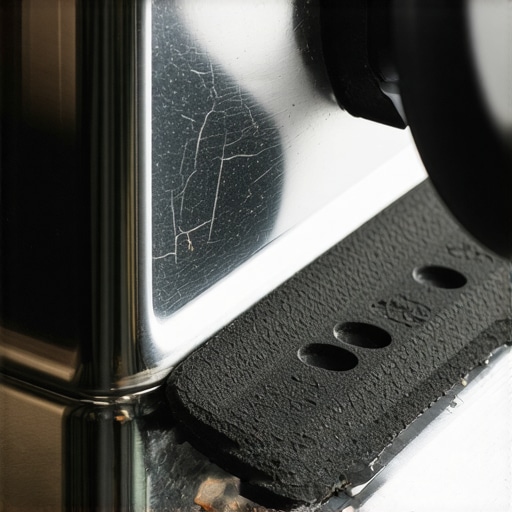
Use tweezers to carefully extract the old O-ring without scratching the groove. Match the new O-ring’s size and material with the original (consult this guide for detailed comparisons). Lightly lubricate the new O-ring with food-grade lubricant or just espresso machine water to aid installation and prevent pinching. Gently stretch and seat the new O-ring into its groove, ensuring it’s fully seated without twists.
Pro Tip
Apply a thin layer of silicone grease on the O-ring for longer lifespan and smoother assembly. Avoid petroleum-based lubricants, which can degrade rubber over time.
Reassemble and Test the System
Carefully thread the wand back onto the boiler or manifold, hand-tightening to avoid cross-threading. Use the screwdriver to secure it firmly, but don’t overtighten—this can deform the O-ring or damage threads. Plug in the machine and run a test for leaks and pressure. Watch for any drips or sputtering; a properly installed O-ring should maintain consistent steam pressure.
Refine Your Technique with Regular Checks
Set a routine to inspect the O-rings periodically, especially if you notice pressure drops or leaks. Keep a spare set handy for quick swaps, akin to changing out filters on a grinder. This proactive approach saves time and prevents unexpected failures, much like my experience where a quick replacement salvaged an entire busy morning. Regular maintenance not only prolongs the life of your steam wand but also ensures consistent, quality microfoam every time.
Everyone Believes Bigger Is Better, but the Nuance Lies Elsewhere
Many home baristas think that investing in a high-end espresso machine automatically guarantees perfect shots. But in my experience, the real game-changer is understanding the subtle variables that influence extraction and flavor. For example, choosing a machine with an E61 group head might seem like a must-have, yet the maintenance routine and water quality can make or break performance more than the equipment’s brand or price point. As explained in expert analyses, factors like boiler temperature stability and pressure consistency require more nuanced attention than just the specs listed on the box (source).
Misconceptions About Coffee Grinders That Can Sabotage Your Brew
There’s a common myth that a burr grinder is always better than blade grinders, but this oversimplifies the issue. The true key is grind consistency and maintaining the burrs’ sharpness. Dull burrs, often overlooked, can cause uneven extraction, leading to sour or bitter flavors. Regularly calibrating your grinder and understanding the specific grind setting for your beans are critical steps often skipped by casual enthusiasts. If you neglect these, your coffee may never reach its full potential, regardless of your taste buds or brewing technique (see more).
Home Espresso Machines: Think They’re Foolproof? Think Again
Many newcomers assume that once they’ve bought an espresso machine, the hardest part is over. However, machine operation is just the surface. The science of temperature profiling, pressure profiling, and puck prep often trips up even experienced hobbyists. For instance, pressing too hard on the tamp or failing to preheat the basket can result in inconsistent shots. A common mistake is neglecting to clean the shower screen regularly—blocked spray patterns can drastically influence extraction uniformity (more on this here). Ensure you master the art of routine maintenance and understanding your machine’s behavior; otherwise, premium gear won’t compensate for preventable errors.
Milk Frothers: Why More Isn’t Always Better
It’s tempting to buy the fanciest milk frother on the market, but bigger or more complex devices don’t necessarily produce better foam. The real nuance is in the technique—angle of the pitcher, temperature control, and milk type matter more than the frothing gizmo itself. Additionally, many home users overlook that certain milk frothers introduce unwanted air bubbles or fail to produce dry steam, leading to froth collapsing quickly. Learning to control the frothing process manually, or choosing the right device for your preferred milk type, often yields better results than chasing the latest gadget (details here).
What Advanced Users Rarely Talk About: Precision and Personalization Matters
For the seasoned enthusiast, the difference often lies in detailed adjustments—such as fine-tuning grind size based on ambient humidity or adjusting shot timing based on bean origin. These subtle tweaks can elevate your coffee from good to exceptional, but they’re rarely covered in beginner guides. Experts emphasize the importance of consistent workflow routines and understanding how environmental factors influence equipment behavior. Neglecting this level of nuance can lead to frustrating results, even with the best gear. Studies show that small adjustments in grind and dose can improve extraction yield by several percentage points, a significant boost for serious hobbyists (see detailed insights).
Have you ever fallen into this trap? Let me know in the comments. Mastery of barista gear goes beyond the hardware; it’s about understanding the intricate dance of variables that produce perfect coffee every time.
Keep Your Equipment Running Smoothly with Precision Maintenance
Investing in high-quality espresso machines, grinders, and accessories is just the beginning. To ensure they perform at their peak, regular maintenance and using the right tools are essential. Personally, I swear by a combination of precision tools like a dial indicator for grinder calibration and a dedicated cleaning kit tailored to my equipment. For instance, I use a burr cleaning brush and calibrator to maintain sharpness and consistency in my grinder. These tools allow me to fine-tune my grinder’s settings and keep the burrs aligned, leading to more uniform grounds and better extraction.
How do I maintain my espresso machine over time?
Routine descaling is critical for preventing mineral buildup, especially if your water is hard. I set a bi-weekly reminder to run a descaling solution through the boiler, following the manufacturer’s instructions. Additionally, I keep a set of high-quality replacement seals and gasket kits handy, such as those recommended in expert advice on mechanical wear. Regularly inspecting and replacing worn parts prevents leaks and pressure drops, ensuring your machine remains in top shape.
Tools I recommend for home baristas
Beyond basic accessories, I rely on a calibrated pressure gauge to monitor extraction pressure precisely. This helps me dial in my shots more accurately than relying solely on visual cues or timing alone. I also use a specialized grinder alignment tool to ensure consistent burr positioning after cleaning or adjustments. These specialized tools might seem niche, but they pay dividends in shot quality and equipment longevity.
Future trends in gear maintenance and calibration
Looking ahead, I see the integration of IoT (Internet of Things) sensors in espresso machines and grinders becoming more mainstream. Devices that automatically detect performance deviations and suggest maintenance could make routine care even more effortless. For example, the upcoming models promise smarter diagnostics, reducing the guesswork that many home baristas face today. Embracing these innovations will help us enjoy consistently excellent coffee at home with minimal effort.
Conclusion
To truly master your barista gear, commitment to regular, precise maintenance is vital. Use targeted tools—like calibration devices and cleaning kits—and stay proactive with inspections. I challenge you to try calibrating your grinder with a dial indicator this week; the difference in shot consistency will surprise you. Equipment longevity and coffee quality go hand in hand, and a little extra effort now pays off with perfect brews in the long run.
What I Wish I Had Known About Equipment Longevity Early On
One of the most invaluable lessons I learned was that regular, nuanced maintenance far surpasses sporadic deep cleans. Pampering my grinder’s burrs and calibrating my espresso machine weekly kept my equipment performing optimally, preventing the frustrating pressure drops and leaks that once plagued me. Paying attention to details like environmental humidity and employing precision tools made a tangible difference in shot consistency and machine durability, a realization that transformed my entire approach to home barista work.
Tools That Elevated My Coffee Crafting Journey
Investing in high-quality calibration and cleaning tools proved to be a game changer. A dial indicator helped me dial in my grinder with pinpoint accuracy, while a dedicated burr cleaning brush extended the life of my burrs and improved grounds quality. Additionally, a precise pressure gauge allowed me to monitor extraction pressure, ensuring each shot was crafted to perfection. Trusting these tools based on expert recommendations, such as those found in our guides, turned routine tasks into powerful upgrades in my coffee routine.
Embracing the Joy of Fine-Tuning for Better Coffee
Mastering your gear involves more than just routine maintenance; it’s about embracing the subtle art of adjustments. Small tweaks—like re-calibrating your grinder after a change in bean origin or adjusting your tamping pressure—can elevate your espresso from good to exceptional. This delight in personalized refinement ignited my passion, turning mundane routines into meaningful rituals that produce café-quality brews every morning. It’s a reminder that dedication to this craft reveals deeper layers of flavor and satisfaction that go beyond the equipment itself.
Inspiring Action: Your Next Step in Coffee Excellence
Don’t wait for equipment issues to disrupt your brew—take proactive steps today. Choose a specific tool like a pressure gauge or calibration dial, and commit to a weekly maintenance ritual. Remember, the journey to mastering your home espresso station is paved with small, consistent actions. By investing a bit of time now, you set the stage for countless perfect cups ahead.
What’s one aspect of your coffee setup you’re excited to improve? Share your plans in the comments below and let’s grow together!