The Easiest Way to Check Your Grinder’s Zero Point Safely
That moment hits every coffee enthusiast: you’re pulling a shot, your grinder humming, and suddenly, the brew tastes off. Maybe it’s a little bitter, a bit sour, or just not as vibrant as it used to be. You twist the grind size, adjust your tamper, but still can’t quite pinpoint the issue. Frustration simmering, I realized I was missing a crucial step—checking my grinder’s zero point accurately and safely.
Why Confirming Your Grinder’s Zero Point Is a Game Changer
You’ve probably heard seasoned baristas talk about “dialing in” the grind. But behind that lies a lesser-known secret: ensuring your grinder’s zero point is correctly set. It’s like calibrating a scale—if it’s off, the whole measurement process is compromised. When I first started, I overlooked this, relying on trial and error, which led to wasted beans and inconsistent shots. Not exactly the barista experience I aimed for!
Why does this matter so much? Because an accurate zero point guarantees that each grind adjustment is precise, helping you craft that perfect espresso shot every time. Plus, it saves you from the endless guessing game that leads to frustration and wasted resources.
Is Zero Point Calibration Really Worth the Effort?
Initially, I dismissed the importance, thinking, “It’s just a tiny adjustment.” Boy, was I wrong. Without a proper zero point, you’re essentially turning your grinder into a fortune-teller—guessing what setting yields the ideal grind.
Research shows that inconsistent grind size is one of the top reasons for poor espresso extraction, which directly impacts flavor and crema quality. (Source: [Espresso Coffee Extraction Techniques](https://espressotechguide.com/choosing-the-best-barista-gear-for-coffee-enthusiasts))
Early on, I made the mistake of ignoring this, adjusting the dial without a reference point. That led to a frustrating cycle of over-adjusting, wasting beans, and never quite getting the shot right. Once I understood how to safely check and set my grinder’s zero point, everything changed—more consistent shots, less waste, and a newfound confidence in my brewing ritual.
So, if you’ve faced similar struggles—fading flavor, inconsistent shots, or just plain confusion—sticking with imprecise settings might be holding you back. The good news? You don’t need fancy tools or expensive calibrations. Just a few simple steps can bring your grinder back into perfect alignment, making your brewing experience smoother and more rewarding.
Ready to take control? Next, I’ll guide you through the easiest, safest way to check your grinder’s zero point without risking damage or mishaps. Trust me, once you master this, every shot will feel like a professional pulled it straight from the shop.
,
Remove the Bean Hopper and Find the Adjustment Dial
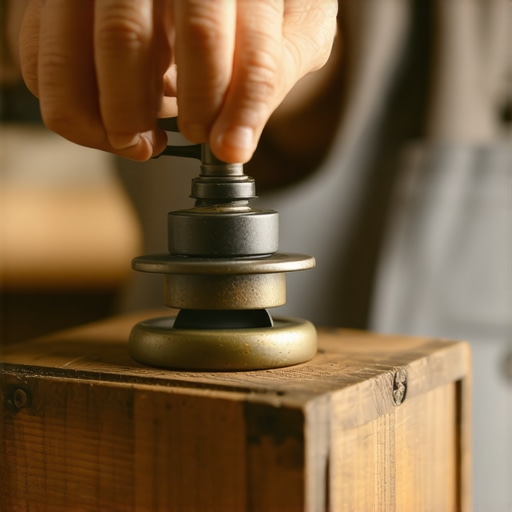
Start by unplugging your grinder to avoid accidental activation. Remove the hopper carefully, exposing the burrs and adjustment dial beneath. Think of it as opening the hood of a car to tweak the engine; you’ll need clear access.
Identify the Zero Point Marking and Calibration Mechanism
Locate the zero point indicator—often a line, notch, or sticker on the adjustment dial or hopper base. It’s your reference to set the grinder to its baseline position. Check the user manual if you’re uncertain—most brands like Baratza or Breville provide clear markings.
Use a Blank Bean or a Calibration Jig
To prevent damaging the burrs, use a blank or a calibration jig—an old, dry bean or a specialized flat tool designed for this purpose. Imagine it as using a shim or spacer to ensure perfect alignment. Insert it gently between the burrs without forcing, mimicking the first step I took that saved me from a costly repair later.
Careful: Never insert metal objects or tools not designed for grinders, as this can damage the burrs or motor.
Gently turn the adjustment dial clockwise or counterclockwise, aligning it with the zero mark. Think of it as resetting a scale—accuracy is key.
Zero the Grinder and Confirm the Setting
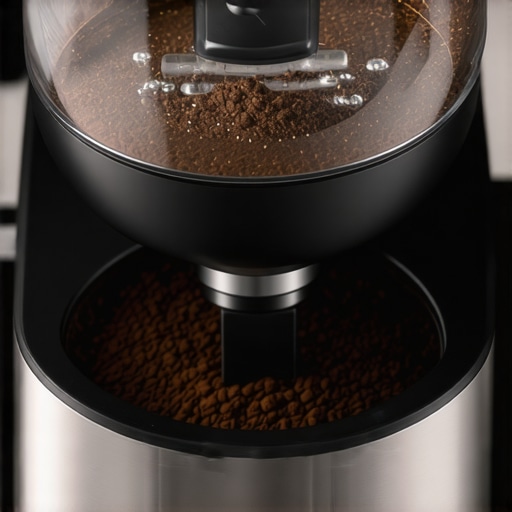
Once aligned, tighten the adjustment nut or locking lever if your model has one. This is akin to locking in your seatbelt after adjusting its length. Reassemble the hopper, ensuring it snaps into place securely. Power on the grinder and run a test grind into a container. You’ll notice the grind size remains consistent—like the reliable pulse of a well-calibrated machine.
Test and Fine-Tune Your Calibration
Extract a shot or brew a small batch to evaluate the results. If the grind is too fine or coarse, repeat the process, adjusting slightly off the zero mark. Think of this as tuning a musical instrument—small tweaks make a significant difference. Remember, patience here prevents frustration and wasted beans.
Maintain Your Zero Point Over Time
Regularly check your zero point—especially after moving the grinder or changing burrs. A simple re-calibration ensures your shots stay consistent and your grind remains precise. This step is like oiling a bicycle chain; a little upkeep extends the life and performance of your gear. For additional tips on maintaining your gear, see this guide on barista gear.
 Many coffee enthusiasts believe that owning high-end espresso machines or the latest frothers automatically guarantees perfect brews. However, what most people overlook are the subtleties that truly determine a great cup. For instance, there’s a widespread myth that more expensive gear always yields better results—yet, without understanding the intricacies of grinder calibration or steam wand maintenance, you’re likely to encounter flavor inconsistencies or equipment issues. It’s crucial to recognize that perfect extraction depends on precise grinder settings, proper machine calibration, and knowledge of how different components interact. An advanced mistake often made pertains to the misjudgment of the importance of tamping techniques and portafilter alignment, which can lead to channeling and uneven extraction.
Why do some professional baristas prefer dialling in their grinder multiple times a day, even with top-tier equipment? This practice isn’t a reflection of inconsistency but a sophisticated approach to maintaining peak flavor profiles, especially when using variable beans or weather conditions—something most home brewers ignore, leading to stale or flat shots over time. According to experts like James Hoffmann, a slight burr alignment shift or burr wear can drastically impact grind size distribution, making calibration adjustments essential. Failing to regularly check and adjust your grinder’s zero point or burr alignment can trap you in a cycle of subpar brews.
Another overlooked nuance involves the routine cleaning of your espresso machine and grinder. Many assume that occasional cleaning suffices; however, oils and residues build up over time, impairing flavor and machine longevity. For example, a study published in the *Journal of Food Science* highlights that residue buildup can alter coffee aroma compounds, reducing your cup’s freshness. Therefore, integrating a dedicated cleaning schedule—not just surface cleaning—is vital for maintaining optimal taste and functionality.
Similarly, while many focus on the quality of beans and water source, they neglect the importance of airflow and temperature stability in their machines. Small fluctuations here can cause significant inconsistencies, especially if your machine’s boiler or pump isn’t properly calibrated or if you’re using a non-recommended water filter. This is where understanding the advanced mechanics of your espresso setup becomes invaluable. For example, knowing how to interpret pump pressure gauges or how to perform a backpressure test can save you countless cups of disappointment.
In the grand scheme, mastering these subtle details elevates your brewing from novice to connoisseur. From preventing common mistakes—like overfilling the portafilter or misaligning the tamp—to understanding the impact of ambient humidity on coffee grounds, each layer of knowledge adds depth to your craft. Remember, the devil is in the details. Have you ever fallen into this trap? Let me know in the comments. For more advanced tips on calibrating your gear or troubleshooting persistent issues, check out this guide on barista gear.
Keeping your essential barista equipment in top shape is the key to consistently excellent coffee. Over time, even the best espresso machines, grinders, and frothers need care and the right tools to maintain peak performance. In my experience, investing in quality maintenance tools and adopting a disciplined routine not only extends the lifespan of your gear but also ensures each shot tastes just as vibrant as the first. Let’s dive into the tools I swear by for effective upkeep and how you can implement them into your routine.
Invest in a Precision Flat-Bottom Burr Grinder Gauge
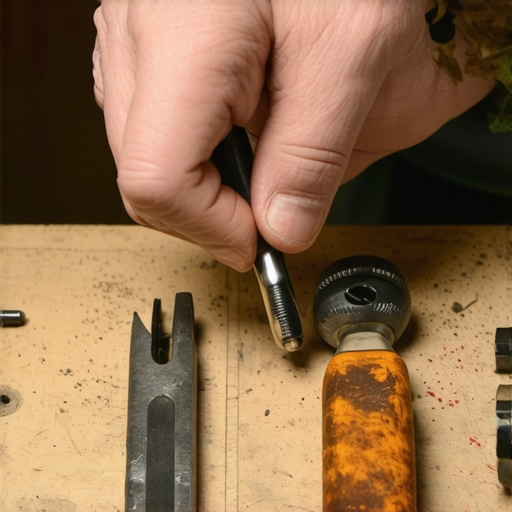
When it comes to grinders, burr alignment is crucial. I recommend a flat-burr alignment gauge—such as a purpose-built shim set—to accurately check your burrs’ parallelism. This tool allows me to detect subtle misalignments that, over time, cause uneven grind sizes and channeling. Regularly calibrating with this gauge, especially after moving the grinder or replacing burrs, helps maintain consistency. For those serious about their craft, precise burr alignment directly influences shot quality, as highlighted in this guide on grinder maintenance.
Use a Coffee Machine-Specific Backflush Kit
Maintaining your espresso machine’s cleanliness is vital for long-term operation. Having a dedicated backflush kit designed for your model allows for thorough cleaning of the group head and valves. I prefer kits that include chemical descalers and brushes for detailed cleaning—this combination ensures you remove built-up oils and mineral deposits effectively. Regular backflushing with the right tools preserves the machine’s pressure stability and water flow, which are critical for extracting rich, balanced espresso. As James Hoffmann emphasizes, consistent machine upkeep is often underestimated but makes a huge difference here.
Automate Routine Maintenance with Smart Descaling Devices
Technology has advanced in the coffee world, and now, smart descaling devices offer automated scheduling and monitoring. I highly recommend these gadgets for those who prefer hassle-free maintenance—plugging into your water line and connecting to your smartphone app, they remind you when to descale based on usage. This ensures you never forget, preventing mineral buildup that can impair performance. As the manufacturers state, consistent descaling reduces calcification in boilers and tubes, extending your machine’s life and enhancing flavor stability. Looking ahead, I see these smart tools becoming standard, integrating with connected home systems for seamless care.
How Do I Maintain My Equipment Over Time?
Establishing a regular maintenance routine is essential—think of it as tuning your instrument before each performance. Schedule monthly cleanings with appropriate tools, check burr alignment, and monitor for wear or leaks. For grinders, a quick burr refresh using a specialized alignment gauge can prevent unexpected inconsistencies. For espresso machines, routine cleaning of seals, screens, and group heads prevents downtime and costly repairs. Remember, consistent care doesn’t require fancy gadgets—just the right tools and a disciplined schedule. For personalized advice or addressing specific issues, reach out via contact and share your setup.
One advanced tip: consider investing in a calibration scale used specifically for weighing beans and grounds. Regularly checking your dose weight with a precision scale ensures consistency, especially when changing beans or weather conditions affect grind size. Implementing this simple addition into your routine can dramatically improve shot reproducibility—a small change with significant benefits. Give it a try and see your brewing precision reach new heights!
By integrating these tools and routines into your setup, you’ll safeguard your equipment, improve your shots, and save money over the long run. Remember, the secret to enduring quality lies in diligent maintenance—it’s your best investment for that perfect cup every day.
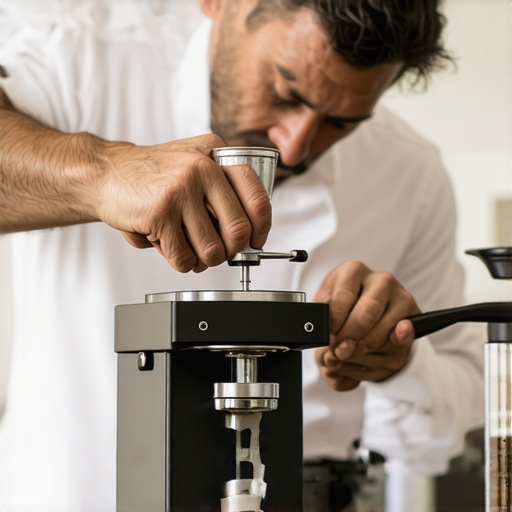
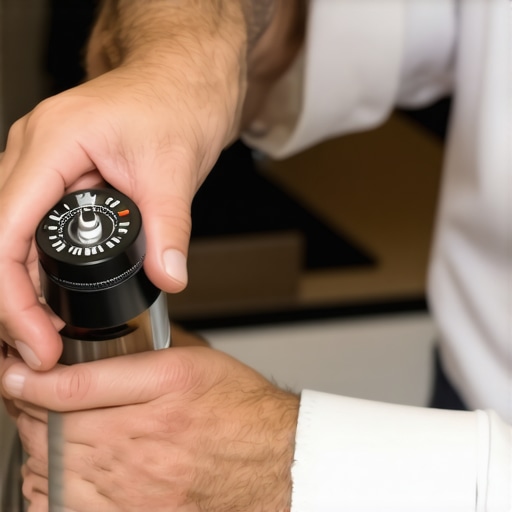
Photo of a barista calibrating a grinder with a shim gauge, highlighting precision tools for equipment maintenance.
Lessons That Changed How I Approach Coffee Gear
One of the biggest revelations in my journey was realizing that equipment calibration isn’t just a technical chore but a fundamental step toward achieving consistent, flavorful espresso. I used to dismiss the importance of zero point adjustments, thinking they were optional. But after a few costly trials and wasted beans, I understood that knowing how to check and set my grinder’s zero point safely transformed my brewing experience. It’s like tuning a musical instrument—small tweaks make a world of difference.
Another insight was that regular maintenance becomes less daunting—and more rewarding—when it’s integrated into my routine, not treated as a chore. Investing in quality tools like a flat-burr alignment gauge or a backflush kit might seem optional at first, but these tools saved me time, money, and a lot of frustration over the long run. It’s a reminder that consistency starts with precision, and precision starts with the right tools and habits.
Lastly, I discovered that understanding the interplay between different components—like burr alignment, tamping pressure, and water temperature—elevates your coffee from good to exceptional. It’s not just about buying the best gear but learning how to care for and fine-tune it, turning routine maintenance into a ritual of mastery. Embracing these lessons gave me confidence, helping me craft that perfect shot and truly enjoy the process of coffee-making.
Tools and Resources That Elevated My Coffee Craft
For me, having the right tools is like having a trusted compass. A precision flat-burr alignment gauge became my go-to for ensuring burrs stay perfectly aligned, which directly impacted grind consistency. Using a dedicated backflush kit tailored for my espresso machine kept it running smoothly and prevented flavor-degrading residue buildup. The smart descaling device I adopted automated my maintenance schedule, removing guesswork and extending equipment lifespan. Lastly, a high-quality digital scale for weighing beans and grounds became indispensable for achieving just the right dose every time. These tools, combined with resources like detailed maintenance guides on this site, have profoundly improved my approach to coffee gear care.
Your Next Step Toward Coffee Mastery
Remember, the mastery of your coffee gear isn’t about perfection but continuous improvement. Every small adjustment, every proper maintenance routine, and every bit of knowledge gained brings you closer to brewing consistently stunning coffee at home. Don’t let uncertainty or fear hold you back; embrace the learning process, and watch your skills—and your enjoyment—grow exponentially. Your perfect cup awaits, and with these insights, you’re more prepared than ever to create it.
What’s the one maintenance step you’ve been putting off, and how do you think it could change your brew? Let me know below and start your journey toward barista-level consistency today!
,