How to Tell if Your Grinder Burrs Are Truly Dull or Just Dirty
It was a morning like any other, but suddenly my espresso shot tasted off—bitter, too harsh, and just not right. I thought I was doing everything correctly, but something was definitely amiss. After some digging, I realized I’d been mistaking a dirty grinder for dull burrs for months. That lightbulb moment made me wonder: how many of us are scaling back our coffee quality because we misdiagnose burr wear?
How to Know if Your Grinder Burrs Are Dull or Just Need a Clean?
Imagine brewing your favorite blend, expecting that rich aroma to fill your kitchen, only to end up with a cup that’s flat or sour. Frustrating, right? The culprit might be your burrs, but there’s a good chance they’re not actually dull. Instead, they’re clogged or coated with coffee oils and residue that interfere with proper grinding. Knowing the difference is key because replacing burrs is an investment, but so is unnecessary cleaning or maintenance.
Many home baristas overlook this. I admit, early on I made the mistake of rushing straight to replacing my burrs because I thought they must be dull. That was a costly error. A burr that’s actually sharp can appear dull if it’s dirty or gummed up—leading to inconsistent grind size and extraction.
Surprisingly, coffee oils and static buildup can mimic the signs of dullness, and regular cleaning can often restore your grinder’s performance. According to coffee research, oils from roasted beans can accumulate and impact grind consistency more than age alone (see this guide for cleaning tips). So, before jumping to a replacement, ask yourself: Have I cleaned my grinder lately?
In the next sections, I’ll walk you through simple steps to diagnose your burrs correctly. Do you often find yourself wondering whether your grind quality has just gone downhill? If so, you’re not alone, and the good news is that most issues are fixable without costly repairs. Ready to get your grind back on track? Let’s start by understanding what really causes a grinder to seem dull—and how to check if that’s the true story or just a dirty mess masking itself as dullness.
Visual Inspection: Spotting the Signs of Burr Wear or Clogged Grinders
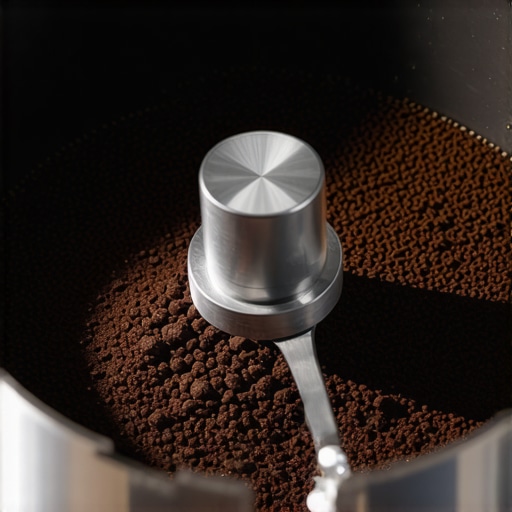
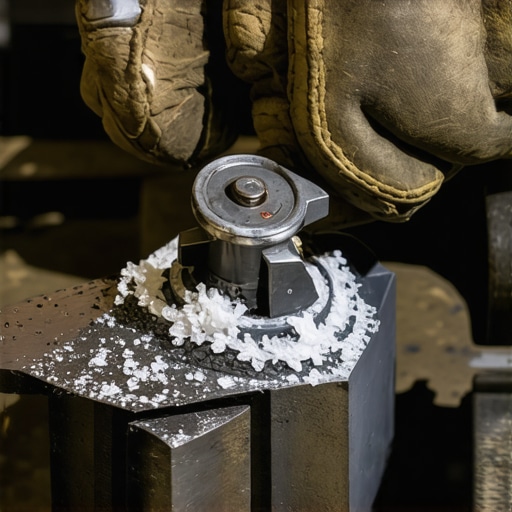
Take a close look at your burrs—remove the hopper and examine for any visible buildup of coffee oils, residue, or chunks of beans stuck between the blades. If the burr edges look shiny or rounded, it’s a sign of dullness. Try to turn the burrs manually; if they resist or wobble, they might be misaligned or worn out. During my first attempt, I carefully removed my grinder’s upper burr, noticing a greasy coating that was clouding the grind. Cleaning it instantly improved consistency.
Clean Method: Restoring Performance Without Replacing Burrs
Disassemble and Brush Out Residue
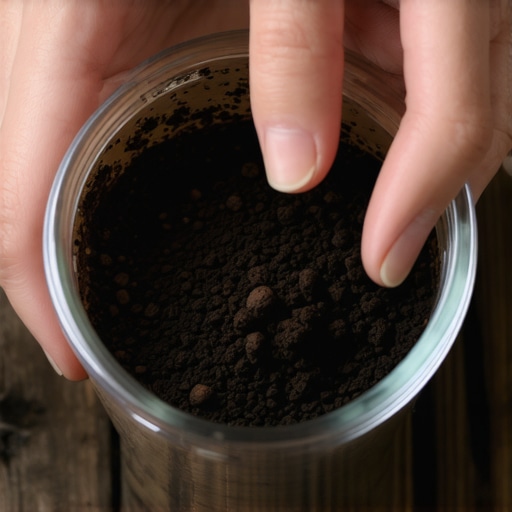
Use a small brush or a soft toothbrush to scrub away coffee oils and grounds from the burrs and chute. For stubborn oils, run a cleaning cycle or use grinder-specific cleaning tablets—these dissolve built-up oils without damaging components. I once did this on a Saturday morning, and by the time I finished, my grind was more uniform, and brewing time reduced.
Deep Cleaning with Isopropyl Alcohol
Spray or dip a cloth with 70% isopropyl alcohol and wipe the burrs and surrounding parts. Avoid soaking or using harsh chemicals which could damage the grinder. Reassemble after drying thoroughly. Remember, static can cause coffee dust to cling to the burrs; cleaning reduces this static and static-related clumping. Regular cleaning prevents oils from turning into a sticky mess that mimics dullness—saving you from unnecessary replacements.
Check Alignment and Calibration
Accurate alignment ensures burrs grind evenly, preventing uneven extraction. Use the manufacturer’s alignment procedure or follow a guide like this simple method. Mark the burrs with a dry erase marker before adjusting, so you can see if they move correctly. Misaligned burrs cause inconsistent particles, causing your espresso to taste off. After aligning mine, I noticed my shots became much more balanced and extraction times stabilized.
Test and Reassess Grind Quality
Dial in your grind size and extraction parameters, then pull a test shot. Check for uniformity—watch for channelling or uneven flow, which indicates burr issues. If problems persist despite cleaning and alignment, then replacement might be necessary. However, keep in mind that a thorough cleaning and proper calibration can often extend the lifespan of your burrs significantly, making this a worthwhile first step.
Additional Tips for Maintaining Fresh Burrs
Consistently clean your grinder after each use, especially when switching beans or flavor profiles. Avoid storing beans in the hopper too long, as oils can gunk up the system. Consider using a specialty coffee grinder designed for home use, which often includes easier cleaning features. Regular maintenance like this preserves your gear’s performance and your coffee quality, preventing premature burr wear and static buildup that cloud your grind consistency.

Why does obsessing over brand names sometimes hinder better results?
Many think that sticking to renowned brands ensures optimal performance, but that isn’t always the case. Instead, focus on compatibility with your specific workflow and the maintenance ease of the gear. For instance, some entry-level espresso machines offer greater control and are more forgiving for beginners than high-end models packed with unnecessary features. Analyzing your actual brewing needs and understanding the functional aspects of each piece can lead to more satisfying results than simply chasing the latest brands. According to expert advice from this guide, smart selection combined with proper maintenance is key.
Beware the trap of believing that more expensive gear automatically translates to better quality. Maintenance routines, calibration, and understanding the nuances of each component often make a more significant difference. For example, even the most advanced grinder will falter if not cleaned regularly or if misaligned, leading to inconsistent grinds and bad-tasting espresso. Additionally, many home baristas overlook the importance of proper tampering and tamping techniques—mistakes that no high-end machine can compensate for.
Static is another hidden challenge that many overlook. It causes grounds to cling to the portafilter and can interfere with dosing precision. Using static-reducing tools or adjusting your grind settings can help mitigate this issue, as discussed in this detailed article.
Remember, mastering home espresso is about more than gear; it involves understanding the nuances of your equipment, routine maintenance, and technique adjustments. Don’t be fooled into thinking that gear alone guarantees success. Have you ever fallen into this trap? Let me know in the comments.
Invest in Precision Tools and Regular Maintenance
Choosing the right equipment is essential for consistent quality. I personally rely on the Baratza Virtuoso+ grinder, known for its durability and ease of cleaning, which helps me maintain a precise grind without frequent replacements. For espresso machines, I recommend the Breville BES870XL, appreciated for its user-friendly interface and consistent temperature stability, making routine calibration straightforward. Regular maintenance, including cleanings and calibration checks, prevents the build-up of coffee oils and static that can impair performance. Use designated cleaning tablets for grinders (like Grindz) and follow manufacturer guidelines to keep components like burrs and seals in optimal condition.
Tools I Recommend for Effortless Home Brewing
Beyond your machine and grinder, investing in a digital espresso scale—such as the Acaia Pearl—ensures perfect shot timing and dose accuracy, training your eye over time. For milk steaming, I swear by the Espro Toroid pitcher; its shape minimizes splashing and promotes even microfoam creation. For cleaning, a ultrasonic cleaner designed for small parts can remove stubborn oils from filters and shower screens, extending the lifespan of essential components. Incorporating these tools into your routine minimizes errors and enhances your craft, making every shot more intentional and refined.
How do I keep my gear humming over time?
Implement a consistent maintenance schedule—clean after every use, descale every 200 shots or monthly, and periodically check for wear and tear. Using the proper milk pitcher angle technique during steaming not only improves microfoam quality but also reduces unnecessary wear on the steam wand. For electronic components, ensure your power sources are stable and protected from surges; a dedicated circuit can prevent costly damage. To stay ahead, consider tracking your maintenance dates and performance metrics to identify trends before gear failure occurs. Advanced users might experiment with software calibrations for espresso machines that support PID adjustments—having a good understanding of your specific machine model can lead to more consistent extractions. According to industry experts, routine hardware checks backed by proper cleaning extend the lifespan of your investment significantly; for example, regularly inspecting gasket seals can prevent leaks that compromise pressure stability. Try scheduling a dedicated 10-minute weekly review of your setup—you’ll save money and improve espresso quality over the long run.
Lessons Hidden in Plain Sight for Serious Coffee Lovers
One of the most valuable insights I’ve gained is that maintenance often trumps expensive upgrades. Regularly cleaning and calibrating your grinder and espresso machine can dramatically improve shot quality more than chasing after the latest high-end gear. Additionally, I’ve learned that patience during calibration—adjusting grind sizes and tamp pressures slowly—leads to more consistent results than hurried tweaks. The biggest lightbulb moment was realizing static and oil buildup are silent killers of grind consistency; combating these small household issues yields big flavor dividends. Finally, don’t underestimate the power of simple, routine checks—like inspecting gasket seals or cleaning shower screens—that prevent costly repairs and keep your gear humming perfectly.