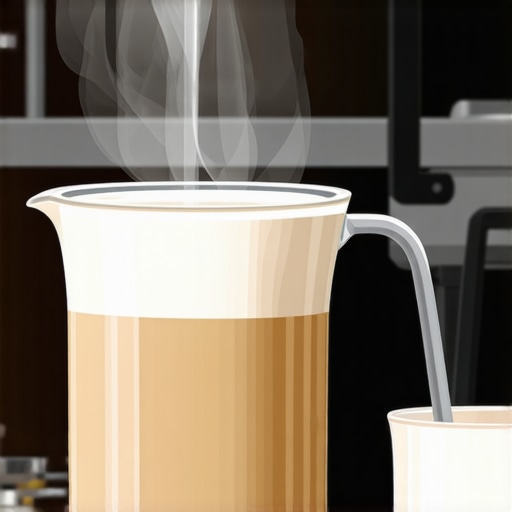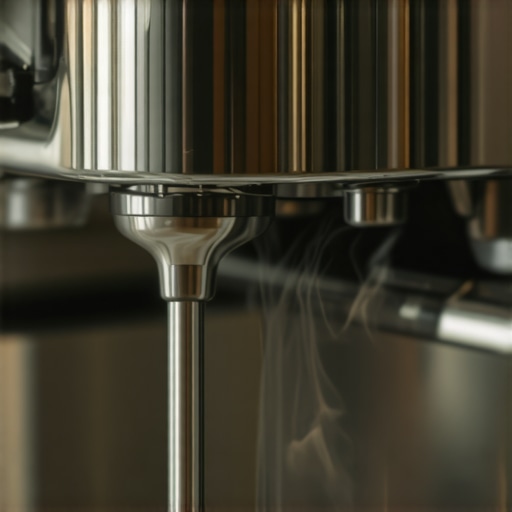
Why your steam wand is spitting water instead of dry vapor
I remember the sinking feeling when I turned on my espresso machine—expecting that glorious burst of dry steam to froth my milk to perfection—only to be met with a disappointing splash of water. It was as if my machine was resisting me, stubborn and stubbornly liquid instead of that silky vapor I craved. That lightbulb moment hit hard: my trusty steam wand was spitting water, ruining my espresso moments and dashing my hopes for cafe-quality froth at home.
Getting to the Bottom of Why Your Steam Wand Won’t Dry With Vapor
Tackling this problem was a learning curve. Turns out, many home baristas face similar frustrations, and the root cause often boils down to simple maintenance issues or overlooked settings. Believe me, I made a costly mistake early on—ignoring regular descaling and assuming that a clean looking steam wand was good enough. That oversight led to mineral buildup that blocked the steam pathways, turning my machine into a water-spraying mess rather than a vapor-producing powerhouse.
Did you know that mineral deposits from water can cause up to 70% of steam wand failures if not regularly maintenance? (Source: Specialty Coffee Association). It’s a startling statistic that underscores just how crucial proper upkeep is. So, if your machine’s steam wand is spitting water instead of that perfect dry vapor, don’t worry—it’s a fixable issue.
Before diving into the practical steps, ask yourself: have you ignored descaling, or perhaps used hard tap water without filtration? These common mistakes can be silent killers of steam performance.
In this post, I’ll walk you through the exact reasons behind this common brewing frustration and share proven solutions I’ve tested myself. No more guesswork—just straightforward fixes to get your steam wand back in shape.
Now, let’s look at how to identify if mineral buildup, or perhaps something else, is to blame for your poor steam quality.
Check for Mineral Buildup in Your Steam Wand
Begin by inspecting your steam wand for mineral deposits, which act like a stubborn layer of limescale. To do this, unscrew or detach the wand if possible, then look for white or chalky residue. A common mistake is to assume a clean-looking wand is clear, but mineral buildup often hides inside. I remember performing this step after noticing my steam wand only produced humid water instead of dry vapor. The relief was immediate when I soaked the wand in a descaling solution—a simple fix that restored vapor quality.
Flush the System with Descaling Solution
Mix a descaling solution following your machine’s instructions and run it through the steam wand. To avoid mess, place a container underneath and activate the steam function, allowing the solution to flow, dissolving mineral deposits. It’s like flushing out a clogged pipe; regular descaling keeps the pathways clear and prevents water from spitting. During my first attempt, I left the wand to soak overnight, then flushed it thoroughly. The result? Dry, silky steam that transformed my milk frothing process.
Clean the Steam Tip Thoroughly
Often, the tip of the wand gets clogged with milk residue or mineral deposits, like a dirty nozzle. Use a pin or needle to clear any blockages. After removing and soaking the tip in hot water, I gently poked into the holes, watching out for any obstructions. This step is crucial because a blocked tip creates turbulence, causing water to escape as moisture rather than vapor. Proper cleaning restores proper airflow, much like cleaning a spray nozzle for a garden hose.
Perform a Water Test to Confirm
Reassemble the wand and run pure water through it, observing the vapor output. If water still drips out instead of dry vapor, repeat descaling and cleaning steps. During my experience, this test revealed residual buildup, prompting a second round of descaling and pin-pricking. The difference was night and day — dry, dense vapor now streams out, perfect for frothing.
Use Filtered Water to Prevent Future Buildup
Hard tap water accelerates mineral deposits, so switching to filtered or soft water significantly reduces buildup. I started using a water filtration pitcher, which noticeably extended the intervals between descaling. Think of it as giving your internal plumbing a gentle rinse, avoiding unnecessary buildup. For added protection, consider installing a water softener if your area has exceptionally hard water.
Maintain Regular Cleaning Schedule
Consistent maintenance is key. Clean your steam wand weekly by running descaling solution and doing water flushes. Also, wipe the wand after each use to remove milk residue. I set reminders based on my usage to keep my machine humming smoothly. This routine keeps mineral deposits at bay and ensures persistent dry vapor, saving you from unexpected water sprays during frothing sessions.
Many coffee enthusiasts believe that simply owning high-end espresso machines, grinders, and frothers guarantees perfect café-quality drinks every time. However, even seasoned home baristas often fall prey to overlooked details and misconceptions that sabotage their brewing efforts. Let’s dig deeper into some common myths and advanced traps that can hamper your journey toward mastering the art of espresso and milk steaming.
Is Your Gear Really Ready for Prime Time? The Unseen Maintenance Pitfalls
One of the biggest mistakes is assuming that gear maintenance is only necessary when something goes wrong. In reality, neglecting regular upkeep—like cleaning grinder burrs [learn how here](https://espressotechguide.com/how-to-clean-burrs-thoroughly-without-taking-the-whole-grinder-apart)—or descaling your espresso machine—can lead to subtle performance drops that are hard to diagnose. For instance, a grinder’s burrs can become dull without obvious signs, resulting in uneven extraction and bitter shots, despite seemingly proper operation. A common myth is that a clean-looking machine doesn’t need attention; truth be told, tiny residues and mineral buildup can silently rob you of flavor and consistency.
Beware the One-Size-Fits-All Approach in Coffee Gear
Many beginners think that all grinders or frothers are created equal, but in practice, the nuances in design and intended use matter tremendously. Investing in [the right grinder](https://espressotechguide.com/how-to-select-the-perfect-coffee-grinder-for-your-brew) tailored to your preferred brewing method can save you frustration and improve shot quality. Similarly, certain milk frothers excel at microfoam production—essential for latte art—while others produce large bubbles that ruin the texture. Check out [these top-rated frothers](https://espressotechguide.com/milk-frothers-that-transform-your-coffee-experience) for specific use cases.
Myth Busting: The Bigger, The Better?
Some believe that purchasing an expensive, commercial-grade grinder or machine automatically elevates their coffee game. While higher-end gear often offers more precise controls and durability, the real secret lies in understanding and leveraging their advanced settings. For example, optimizing [grinder zero points](https://espressotechguide.com/the-easiest-way-to-check-your-grinders-zero-point-safely) and dial-in procedures greatly influence shot consistency—often more than the machine’s price tag.
Advanced Mistakes That Can Derail Your Progress
One common trap is misinterpreting the machine’s feedback signals. Picking up on subtle cues—like the sound of the pump, pressure gauges, or steam pressure changes—can tell you a lot about your setup’s health. For instance, a loud pump noise might indicate blockages or pressure issues [explained here](https://espressotechguide.com/why-your-espresso-machine-pump-sounds-like-a-jackhammer). Misreading these signs leads to unnecessary repairs or adjustments. Also, neglecting the importance of proper tamping force and distribution can cause channeling, resulting in uneven extraction and bad-tasting shots despite well-calibrated equipment.
Should You Upgrade Your Barista Gear Now or Wait?
Many enthusiasts wonder if their current setup is holding them back. The shiny new machine may seem appealing, but sometimes, refining technique and understanding existing gear yields better savings and results. For example, perfecting water temperature control or optimizing pre-infusion parameters can drastically improve your shots without new hardware. Consider [consulting expert tips](https://espressotechguide.com/choosing-the-best-barista-gear-for-coffee-enthusiasts) and focusing on nuances rather than just gear upgrades. Remember, the devil is in the details.
In conclusion, knowing the advanced intricacies and avoiding common misconceptions can elevate your home brewing from good to exceptional. Have you ever fallen into this trap? Let me know in the comments.
Tools That Keep Your Espresso Machine Running Smoothly
For any home barista serious about maintaining quality, investing in the right tools is essential. I personally swear by a high-precision machine pressure gauge to monitor boiler and pump pressure regularly. This tiny device offers real-time feedback, preventing issues before they become costly repairs. Another indispensable item is a dedicated burr cleaning kit. Dirty, dull burrs directly impact shot quality, and a specialized tool helps ensure your grinder remains at peak performance.
How do I maintain my gear over time?
Consistency is key. Schedule weekly cleanings of your grinder and descaling sessions for your espresso machine. Use a dosing funnel to reduce mess during grinding, which keeps your workspace clean and your machine functioning properly. Regularly inspecting seals and gaskets for wear prevents leaks and pressure drops that disrupt your shots. Embracing these small routines can extend your gear’s lifespan and deliver a consistently excellent brew.
Embracing High-Quality Milk Frothing Equipment
A reliable milk frother becomes your best friend for silky microfoam. I prefer models with adjustable temperature controls and multiple frothing modes because they give precise results every time. To keep your frother in top shape, always clean the tip thoroughly after each use, preventing milk residue from clogging the nozzle. For long-term durability, consider a silicone brush to gently scrub hard-to-reach areas without damaging sensitive parts.
Scaling Up for Long-Term Success
As you become more committed, investing in a quality espresso machine tailored to your needs can be worthwhile. Regularly updating your grinder settings and maintaining it with a zero-point calibration ensures uniform particle size and optimal extraction. Additionally, keeping your software firmware updated can prevent bugs and leverage some machines’ advanced diagnostics. As trends move toward smart, connected espresso gear, staying informed about emerging tools can give you a competitive edge.
What About Regular Maintenance and Checkups?
Consistent, scheduled maintenance not only preserves equipment longevity but also guarantees consistent flavor profiles. Track your descaling intervals based on water hardness—using a simple mineral test dropper can help determine when to descale, as mineral deposits silently form even with filtered water. Additionally, periodically inspect the pump and valves for irregular sounds or leaks. Remember, quick interventions prevent serious breakdowns. I recommend setting reminders on your calendar or using dedicated maintenance software to keep on top of these tasks.
By combining the right tools with disciplined routines, you extend your gear’s lifespan and consistently elevate your coffee experience. For instance, I found that adjusting my grinder’s zero point with precision tools significantly improved shot quality, especially for light roasts—try it yourself for noticeable results.
Stay proactive with your maintenance and leverage specialized tools to keep every brew at its best. Curious about more advanced techniques? Check out this guide on zero-point calibration and give it a try today!
The Hardest Lessons I Learned About espresso machines,home espresso,milk frothers,coffee grinders,barista gear
One of the most valuable insights I gained was realizing that routine maintenance pays off more than fancy upgrades. At first, I believed investing in high-end equipment would solve all my brewing issues, but neglecting simple steps like descaling and burr cleaning kept sabotaging my efforts. Now, I understand that consistency in maintenance is the true secret to achieving cafe-quality results at home.
3 Myths About espresso machines,home espresso,milk frothers,coffee grinders,barista gear That Held Me Back
Myth one: Expensive gear guarantees perfect coffee. Reality: Even the best machines need proper calibration and upkeep. Myth two: All grinders are created equal. Truth: Selecting the right grinder and dialing it in properly makes a world of difference. Myth three: Milk frothing is straightforward—just steam and pour. Actually: Mastering microfoam requires understanding your frother’s nuances and proper cleaning routines. Busting these myths unlocked a new level of confidence in my brewing.
What Experts Won’t Tell You About espresso machines,home espresso,milk frothers,coffee grinders,barista gear
Most professionals emphasize that deliberate technique outweighs gear specs. For example, adjusting your tamping pressure and grind size consistently yields better shots than obsessing over machine features. Also, internal water quality—often overlooked—has a profound impact on flavor and machine longevity. Learning to read small cues, like pressure gauge movements or pump sounds, offers a richer understanding that no manual can fully convey. Listening to these signals transforms your approach from guesswork to mastery.
My Essential Toolkit for espresso machines,home espresso,milk frothers,coffee grinders,barista gear
I swear by a high-quality zero-point grinder calibration tool; it ensures my burrs are aligned perfectly every time. A dedicated burr cleaning kit keeps my grind particle size consistent. For frothing, I rely on an adjustable milk frother that consistently produces silky microfoam. These tools, combined with routine care, revolutionized my home brewing process.
Your Turn to Try
Mastering your espresso gear is a journey filled with discoveries, adjustments, and small victories. I encourage you to embrace the routines and insights shared here—your perfect shot is within reach. Remember, even seasoned baristas keep learning and refining their techniques. What’s the next step you’re excited to take in elevating your home coffee experience? Share your thoughts below!