The reason your milk foam collapses before you finish pouring
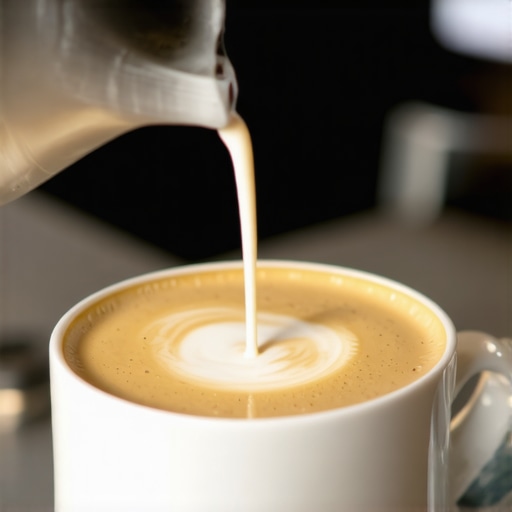
It was a typical Sunday morning, and I was eager to impress my friends with my freshly brewed latte topped with perfect microfoam. I poured the milk carefully, watching that glossy silk pour out smoothly—until suddenly, the foam started to deflate, collapsing into a watery mess just as I was about to present my masterpiece. Frustration bubbled up, and I couldn’t help but wonder—why does this happen so often? If you’ve ever faced the dreaded milk foam collapse mid-pour, you’re not alone. Trust me, I’ve been there too.
Understanding the Hidden Reasons Behind Foam Failures
Are You Overlooking Common Mistakes That Ruin Your Foam?
Honestly, early on, I made the mistake of using too hot milk straight from the microwave. I thought I was saving time, but it turned my foam into a stringy, unstable mess. That was a wake-up call. It’s easy to blame your frothing wand or the milk itself, but often, the culprit is something far more subtle—like temperature, milk type, or even your steaming technique. After experimenting with different approaches, I discovered that keeping milk at the right temperature and choosing the right milk are game-changers. Want to learn how I optimized my foam? Stay tuned. We’ll cover simple adjustments that can make a significant difference.
Have you ever faced this frustrating collapse, feeling like your effort is always wasted? If yes, you’re in the right place. This post promises to reveal practical tips, backed by years of experimentation, that will help you achieve stable, luscious microfoam—every single time. We’ll explore the common pitfalls and give you straightforward solutions. Ready to transform your milk frothing game? Let’s get started!
Control Your Milk Temperature
Use a Thermometer for Precision
Before steaming, pour cold milk into your pitcher. Attach a digital thermometer and aim for 140°F (60°C). When you reach this temperature, turn off your steam wand. I once mistook steaming by eye and ended up with burnt-tasting milk, but measuring precisely prevented that mistake. This temperature ensures proteins develop the right structure for stable foam.
Choose the Right Milk
Opt for Fresh, Cold Milk
Use whole milk for rich, stable foam because its fat content helps create that velvety texture. Avoid ultra-pasteurized or boxed milk, which tends to produce watery foam. For alternative milks, rice or almond milk can be tricky; barista blends are better. I tested multiple types, and finding fresh, good-quality whole milk significantly improved my results.
Perfect Your Frothing Technique
Position the Wand Correctly
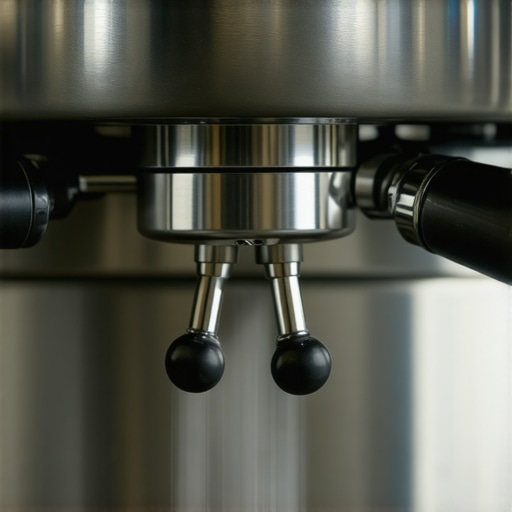
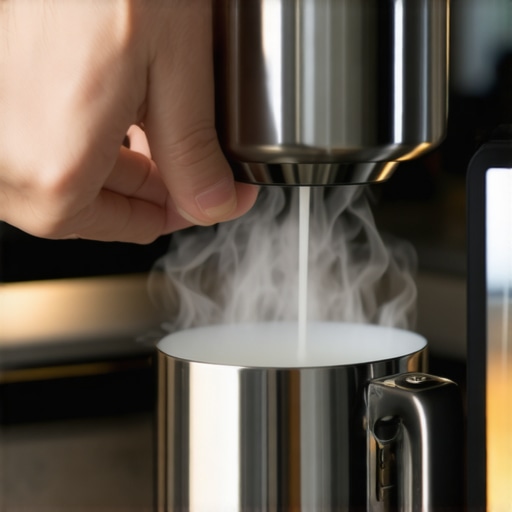
Submerge the wand tip just below the surface of the milk, angling the pitcher slightly. Turn on the steam and listen for a gentle hissing—never a loud screech. Allow the milk to spin in a whirlpool, creating an even temperature and texture. I learned that keeping the wand steady prevents splatters and uneven foam.
Master the Art of Texturing
Once the milk reaches 100°F (38°C), lower the wand deeper, shutting off the introduction of air. Keep the pitcher moving in a circular motion to ensure uniform heating. This step prevents large bubbles and produces dense microfoam. During my first attempts, I kept adding air too long, which led to large bubbles that soon burst. Controlled, brief air introduction is key.
Practice and Tweak Your Approach
Experiment with Different Machines
Not all steam wands are equal—some are more powerful or have different steam tip shapes. I found that newer machines with adjustable steam pressure allowed me to fine-tune the frothing process. If your machine struggles with steam pressure, check out our guide on why your espresso machine takes forever to reach brew temperature to optimize performance.
Keep the Pitcher Clean
Residual milk residue can hinder steam quality, leading to inconsistent foam. Rinse your pitcher immediately after frothing to prevent buildup. I noticed a significant difference once I adopted a strict cleaning routine, which ensured consistent results every time.
Final Tips for Consistency
Temperature Maintenance
Keep your milk cold until just before steaming. Warm pitchers slightly with hot water to prevent heat loss, helping maintain steady milk temperature during frothing. In colder kitchens, this small step kept my foam stable longer.
Monitor Foam Texture
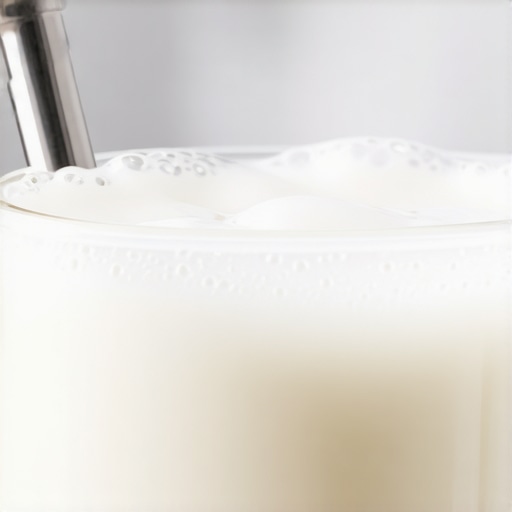
The goal is shiny, smooth microfoam without large bubbles. If you see foam with large holes or that looks dry, stop frothing and lightly tap the pitcher to burst big bubbles, then swirl to smooth out. Regularly checking texture prevents collapsing foam.
By applying these targeted actions, you’ll develop a deeper understanding of your gear and milk behavior, leading to consistently lush, stable microfoam. For more insights on the best tools to elevate your coffee game, explore our guide on choosing the best barista gear or visit contact us for personalized advice.Many coffee enthusiasts believe that investing in the most expensive gear guarantees professional-quality results. However, the truth is more nuanced. For instance, while high-end espresso machines are appealing, they can be counterproductive if misused or paired with the wrong accessories. A common misconception is that a fancy milk frother automatically produces perfect microfoam, but in reality, technique and milk quality play bigger roles than the equipment alone. For example, one overlooked nuance is the importance of grind size consistency; inconsistent grinding leads to uneven extraction, nullifying the benefits of top-tier gear. Experts like Scott Rao emphasize that even small deviations in tamping pressure or grind fineness drastically impact shot quality. As you experiment, remember that complex systems require a detailed understanding—skipping calibration or maintenance can undermine even the best equipment. An oops trap many fall into is assuming that brand names are friends—yet, not all high-priced gear performs well without proper tuning and routine upkeep. For instance, a frequent mistake is using an espresso grinder on the coarsest setting intended for drip coffee, which can damage the burrs or produce inconsistent grounds. So, what should you prioritize? Regular cleaning, calibration, and understanding the specific nuances of your gear. For advanced users, it’s crucial to recognize how even small factors, like water temperature stability or pre-infusion timing, influence the final shot, making mastery a continuous process. If you’re eager to refine your setup, check out our guide on [mastering the art of home espresso](https://espressotechguide.com/mastering-the-art-of-home-espresso-tips-for-beginners), which dives into these critical details. Don’t forget—true expertise comes from attention to these hidden elements rather than solely relying on shiny new gear. Have you ever fallen into this trap? Let me know in the comments.
Keeping Your Barista Tools in Top Shape
Investing in high-quality equipment is only half the battle; regular maintenance ensures consistent performance and longevity. From espresso machines to coffee grinders, understanding the specific care each piece needs can dramatically improve your coffee experience.
Why Proper Maintenance Matters
Consistent maintenance prevents breakdowns, preserves flavor profiles, and saves money in the long run. For example, routinely calibrating your grinder ensures uniform particle size, which directly affects extraction quality. Neglecting regular cleaning can lead to stale flavors, clogs, and even mechanical failure.
The Tools That Make a Difference
Personally, I rely on a few specific tools to keep my setup humming. A high-quality milk frother cleaning kit is essential for ensuring smooth operation and freshness in frothing. Additionally, I use a calibrated burr grinder with periodic adjustments to maintain grind consistency, which is crucial for espresso quality.
How do I maintain my equipment over time?
One key practice is scheduling monthly descaling for your espresso machine, especially if you live in hard water areas. Using descaling solutions like dezcal and following manufacturer guidelines prevents mineral build-up that can cause pressure inconsistencies and mechanical faults. Regularly replacing worn-out O-rings and seals, as detailed in manufacturer maintenance manuals, keeps your machine performing at its peak.
Scaling your setup for long-term use
If you’re serious about home brewing, consider investing in top-rated espresso machines for 2025. These models often feature advanced self-cleaning cycles and sensor-based calibrations, reducing manual upkeep. Additionally, a good coffee grinder with electronic adjustments can save time and produce more consistent results.
What’s the future of maintaining coffee gear?
Emerging trends include smart maintenance systems integrated with IoT technology. Imagine a grinder or espresso machine that alerts you when it’s due for cleaning or parts replacement. Staying on top of these innovations can make your routine more efficient and less disruptive.
Final tip
Try incorporating a weekly cleaning ritual for your brew head and steam wand. For example, perform a quick backflush withrinse tablets and purge the steam wand after each use. These simple practices can keep your equipment performing like new and perfect your coffee day after day.
If you’re interested in deepening your maintenance routine, check out mastering the art of home espresso, which offers step-by-step guides to keep your gear running smoothly.
What I Wish I Knew Before My First Microfoam Attempt
- It took me countless tries to realize that patience and attention to detail are the true barista skills. Rushing the steaming process often led to collapse, so I learned to keep my milk at just the right temperature and never force my foam through excitement.
- Choosing fresh, cold whole milk and understanding how its fat content influences foam stability was a game-changer. I found that ultra-pasteurized versions, while convenient, often resulted in watery or unstable microfoam.
- Practicing consistent technique—like positioning the wand correctly, managing airflow, and timing—helped me produce luscious, velvety microfoam that holds shape. Sure, fancy gadgets help, but mastery comes from repeated practice.
- Monitoring and adjusting my steaming time and temperature prevented bitter flavors and collapsed foam. Using a thermometer to hit 140°F (60°C) was surprisingly simple and effective.
- Cleaning my equipment diligently eliminated the residual milk build-up that causes inconsistencies, ensuring each frothing session starts fresh and predictable.
Tools and Resources that Elevated My Coffee Craft
- Milk Frother Cleaning Kit: Regular cleaning keeps my frothing consistent and prevents unwanted flavors. My favorite kits make wiping down steam wands effortless, which I highly recommend.
- A Reliable Digital Thermometer: Accurate temperature control is vital—more than once, I dodged foam collapse by simply stopping at the right temp.
- Choosing Quality Whole Milk: I trust local dairy brands and avoid ultra-pasteurized options. Freshness translates to better foam.
- Home Barista Guides: ‘Mastering the Art of Home Espresso’ opened my eyes to the nuances of milk temperature and texturing techniques that I wouldn’t have discovered alone.