How to fix a vibration pump that has lost its prime
Imagine pulling your morning espresso shot only to be greeted by a muted hum instead of the usual satisfying roar of your vibration pump. That sinking feeling when your coffee machine refuses to cooperate—been there, done that. I remember the first time my pump lost its prime; I thought my espresso days were over. Turns out, a little know-how and some patience can get your machine back in action.
Don’t Let a Noisy Pump Ruin Your Brew Time
Many home baristas faces the frustrating issue of a vibration pump losing its prime. This problem isn’t just about noise; it directly affects your machine’s ability to produce that perfect shot. Why does this happen? Over time, air can get trapped in the pump, or mineral deposits may clog the intake, preventing water from circulating properly. Understanding the root cause helps you fix it instead of wasting money on replacements.
Is Repairing Your Pump Actually Worth the Hassle?
Early on, I made the mistake of dismissing pump issues as minor and ignored potential blockages. That oversight only led to more frequent failures and a trip to the repair shop. Trust me, fixing your vibration pump at home can save you time and cash, provided you approach it with the right info. Plus, empowering yourself with repair skills turns your espresso routine into an enjoyable challenge rather than a dreaded chore. Want expert tips? Check out our guide on mastering the art of home espresso.
Ready to dive into the practical steps? Let’s restore that motor and bring back the power to your coffee corner.
Starting with the Basics: Access Your Pump
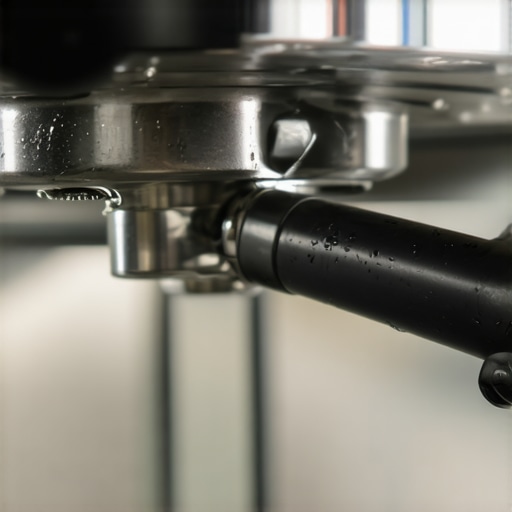
Before you attempt any repair, unplug your machine to ensure safety. Remove the drip tray and water reservoir to access the group head and back panel. Use an appropriate screwdriver to unscrew the back panel—think of it like peeling a protective skin to reveal the inner workings.
Drain and Disassemble the Pump
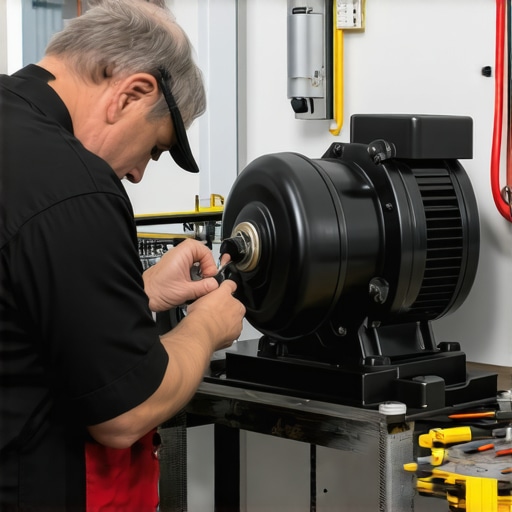
Locate the vibration pump, typically near the water tank. Carefully disconnect the water tubes and electrical connections, noting their positions for reassembly. Gently remove the pump from its mount. This process is akin to detaching a fragile engine part, so handle with care to avoid damaging hoses or connectors.
Assess and Clean the Pump
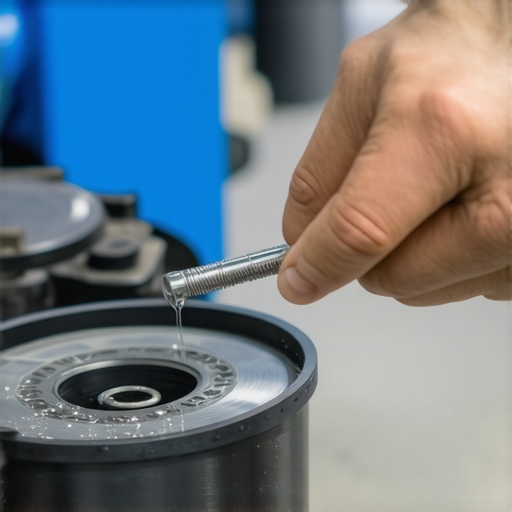
Inspect the pump for mineral deposits, clogs, or air bubbles. Soaking the pump in a descaling solution can loosen residues. Use a soft brush or a toothpick to gently remove any buildup from the inlet and outlet valves. This step is comparable to cleaning the carburetor in a car—removing grime ensures smooth operation.
Bleeding Air from the Pump
After cleaning, refill the water reservoir, making sure the tubes are filled to eliminate air pockets. Reconnect the pump, then manually prime it by attaching a syringe filled with water to the inlet and gently pushing water through the system. Think of it as giving your machine a blood transfusion—forcing water to push out trapped air so the pump can work efficiently.
Reassemble and Test
Mount the pump back onto its brackets, reconnect all hoses and wiring in their original positions. Replace the back panel and secure with screws. Reinstall the water reservoir and turn on your machine. Run a test shot—listen for the familiar hum of the pump; it should sound steady and powerful now. This is like rebooting a computer after a software fix—your espresso machine needs a reset to smooth operation.
Optimize and Maintain
Regular descaling and cleaning prevent mineral buildup that could cause future issues. Also, check the inlet filters and water quality, as hard water accelerates clogging. Incorporate routine maintenance, much like changing the oil in a car, to keep your machine running smoothly and your espresso tasting perfect. If issues persist, consider consulting a professional or reviewing our guide on mastering the art of home espresso for deeper troubleshooting.Many home baristas fall for misconceptions that can sabotage their coffee experience. One widespread myth is that a high-end espresso machine guarantees perfect shots every time; in reality, even top-tier equipment demands proper technique and routine maintenance. For instance, inconsistent tamping pressure or stale beans can undermine quality more than the machine’s brand.
Another mistake is believing that all grinders are created equal. The focus on grind size alone is a mistake; burr type, consistency, and calibration matter immensely, as explained in our detailed guide on choosing the right grinder. Skimping on grinder quality often results in uneven particle distribution, leading to channeling and flat-tasting shots.
Furthermore, many think that milk frothers are all the same, but the nuances in steam wand design and power dramatically influence microfoam quality. Advanced enthusiasts often prefer professional-style steam wands or high-performance milk frothers, which allow precise control over steam pressure and temperature. For an in-depth comparison, check out our review of milk frothers.
A common novice trap involves neglecting routine maintenance, such as descaling or gasket replacement. These small tasks prevent expensive repairs and flavor deterioration. Did you know a study shows that mineral deposits can reduce flow rate by up to 30%, affecting shot extraction? Keep your machine clean, and you’ll enjoy more consistent espresso.
Lastly, the complexity of espresso preparation can seem overwhelming, but understanding the hidden intricacies—like the importance of dose precision and puck prep—is crucial. The difference between good and great espresso often lies in minor adjustments, such as tamping pressure and distribution technique. For seasoned baristas, mastering these details can elevate their brewing from satisfactory to exceptional.
Have you ever fallen into this trap? Let me know in the comments. Remember, mastery in home espresso isn’t about buying the most expensive gear but understanding and optimizing each component of your setup.Maintaining your coffee equipment is essential to ensuring consistently excellent shots and prolonging the lifespan of your beloved tools. One of my go-to pieces of equipment is a high-quality espresso scale like the Espro Weighing Scale. It provides precise measurement down to the gram, which is crucial for dialing in grind size and tamping pressure. I also swear by a dedicated burr cleaning brush—simple but effective for maintaining grinder consistency over time.
For tools, investing in a good group head brush ensures channeling issues stay at bay, and a tamper mat keeps your workspace organized and protects your tamping surface.
In terms of long-term results, routinely descaling your espresso machine with a manufacturer-approved descaler can prevent mineral buildup that diminishes performance, supported by cleaning protocols outlined in our detailed maintenance guides. Scheduling a quarterly deep clean—not just surface wiping—can keep your gear in top shape.
Scaling your setup doesn’t mean just maintaining existing gear; it also involves upgrading judiciously. For example, when considering a new grinder, look beyond basic burrs. Upgrading to conical burrs with advanced coatings, like those described in the technical paper from IEEE’s technical resources, can reduce static and uneven particle distribution, resulting in more controlled extraction.
How do I maintain my coffee tools over time?
Focus on routine cleaning and scheduled replacements of wear parts. Pay special attention to the burrs—dull burrs are a hidden enemy, as they make consistent grind size difficult and can cause bitter shots. Regularly inspect and replace them when you notice signs of dullness, guided by the test for burr dullness. Don’t forget to lubricate moving parts like grinder adjustment rings as described in our detailed maintenance tutorials.
In the future, expect smart features like Bluetooth-enabled maintenance alerts, which are beginning to emerge in high-end espresso machines. These integrations could automate reminders for descaling or part replacement, streamlining the maintenance process even further.
To get you started today, try applying a maintenance tip from our guides—like cleaning your grinder’s chute with a simple brush to prevent clogs. Remember, consistent upkeep isn’t just about avoiding breakdowns; it’s about consistently pulling top-tier shots that make your mornings special. Interested in more expert advice? Contact us via our contact page and get tailored tips for your setup.
The Hardest Lesson I Learned About Home Espresso, Milk Frothers, and Coffee Gear
One of the most valuable lessons I discovered is that even the best espresso machine can’t compensate for inconsistent technique or neglecting maintenance. Regularly tuning your grind, tamp, and machine checks makes a profound difference in shot quality. I also realized that patience and attention to detail—like meticulously descaling and cleaning—are key to unlocking consistent flavor profiles.
Discover Tools and Guides That Elevated My Barista Skills
Over time, I found that investing in quality tools such as a precision scale (like the Espresso scale) and a reliable burr cleaner significantly improved my process. Our comprehensive guide on mastering home espresso tips transformed often frustrating routines into enjoyable experiments. Additionally, books like “The Blue Bottle Craft of Coffee” opened my eyes to nuances I’d previously overlooked.
Turn Your Coffee Routine Into a Personal Masterpiece
Remember, the journey to exceptional home espresso isn’t about perfection but consistent passion. Embrace the small adjustments, celebrate your progress, and keep exploring new techniques and gear. Whether you’re just starting or refining your skills, your next perfect shot is within reach—so go ahead, brew with confidence, and enjoy every sip. Do you have a favorite tool or technique that elevated your coffee game? Share below and let’s learn together.