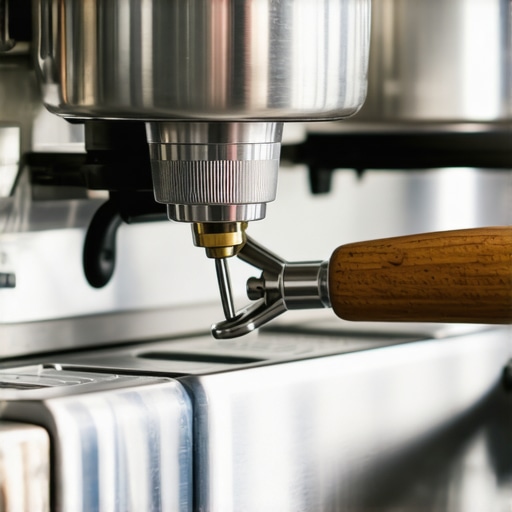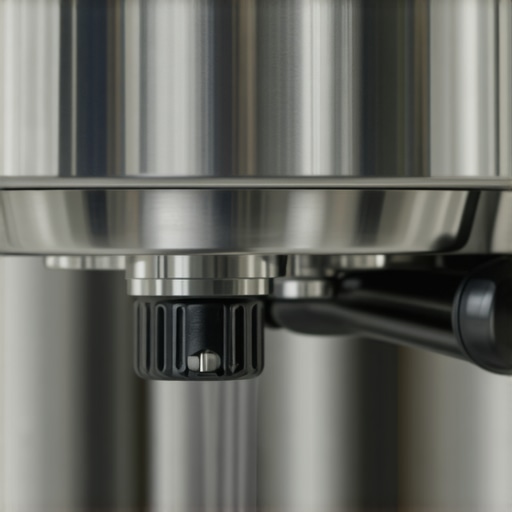
Why Your E61 Group Head Is Leaking From the Exhaust Valve
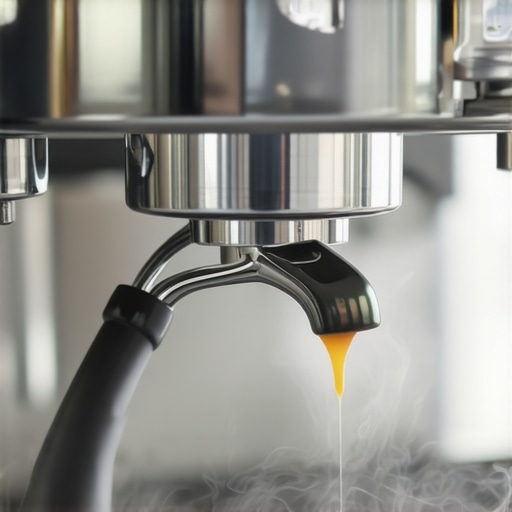
Ever stood in front of your espresso machine, eagerly preparing that perfect shot, only to be met with an unexpected hissing and a little puddle pooling beneath the group head? That sinking feeling when you realize your beloved coffee gear is dripping where it shouldn’t be has happened to the best of us. I remember the first time my E61 group head started leaking from the exhaust valve — I was frustrated, puzzled, and a bit worried about what was going wrong. It felt like I was losing the battle to keep my machine in top shape, and I questioned whether I was doing something wrong.
Don’t Let Leaks Ruin Your Coffee Routine
Leakage from the exhaust valve isn’t just a minor annoyance; it can herald larger issues like pressure inconsistencies or gasket failures, impacting the quality of your espresso. But here’s the good news: most of the time, it’s a manageable fix once you understand what’s happening behind the scenes. Today, I’ll walk you through the common causes of this leak, share personal lessons, and help you get your machine back to brewing without leaks.
Is Leaking from the Exhaust Valve Overhyped?
Many skeptics worry that fixing a leak might require expensive repairs or replacements. I admit, when I first noticed the drip, I thought I’d need a pricey service. But after diving into the mechanics and my own experience, I realized most leaks are simple to diagnose and fix. A mistake I made early on was ignoring the importance of regular maintenance — believe me, neglecting simple upkeep like checking seals and valves can lead to leaks that seem like a bigger problem than they actually are. If you’re worried about whether this issue is serious enough to call a professional, rest assured that with some patience, you can often troubleshoot and resolve it yourself. For more on preventing pressure drops that can cause leaks, check out this guide on steam pressure drops.
Now that we’ve acknowledged the problem’s significance and your legitimate concerns, let’s dig into how to identify if your exhaust valve is the culprit and what steps you can take to restore that perfect seal. Grab your tools, and let’s get started!
Prepare Your Workspace and Tools
Begin by unplugging your espresso machine and laying out essential tools like an Allen wrench set, small screwdrivers, and a clean cloth. Wearing gloves can also prevent oil transfer to seals. I once rushed without proper tools, which led to stripping a screw; now, I always double-check my setup before opening my machine.
Access the Exhaust Valve
Remove the necessary panels or covers to reach the exhaust valve at the top or side of your machine. Use the owner’s manual as a guide to avoid damaging delicate parts. When I replaced my first exhaust valve, I found that removing the water reservoir gave me better access, simplifying the process.
Identify the Faulty Valve
Inspect the exhaust valve for visible cracks, corrosion, or build-up. If the valve appears damaged or clogged, it’s time to replace it. Remember, a leak isn’t always obvious; sometimes, inconsistent pressure readings hint at a worn gasket or valve.
Remove and Replace the Exhaust Valve
Carefully unscrew the existing valve using the appropriate tool, rotating counterclockwise. Keep a small container nearby to hold tiny screws or washers. During my first attempt, I dropped a screw on the counter, which delayed the repair; now, I keep a magnetic tray handy. Install the new valve by aligning it properly and tightening clockwise. Be cautious not to overtighten, as this can strip threads or damage the seal.
Ensure Seal and Fit
Double-check that the new valve sits flush and seals properly against the machine’s housing. A crooked fit can cause leaks. I verified my installation by running water through the system without brewing coffee first, watching for any drips.
Test and Confirm Repair
Plug in the machine and run a short brew cycle, observing the exhaust area for leaks. Keep a cloth nearby to wipe away any stray water or coffee grounds. If the leak persists, re-tighten connections or revisit the seal. Once successful, refill your water reservoir and prepare a shot to confirm the fix. If pressure inconsistencies continue, consider inspecting the gasket or consulting more detailed guides like this comprehensive guide.
Maintain to Prevent Future Leaks
Regularly check the exhaust valve for signs of wear or buildup. Using distilled water can reduce mineral deposits, discussed in this article. Additionally, replacing gaskets periodically ensures a tight seal, preventing leaks from reappearing. Taking these steps can prolong your machine’s lifespan and keep your coffee tasting perfect.
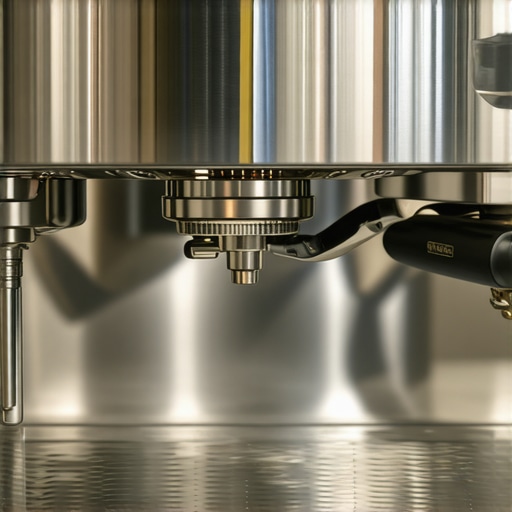
In the world of home coffee brewing, there’s a lot of advice floating around, but many of it is based on misconceptions or oversimplifications. One common myth is that investing in top-tier equipment automatically guarantees great espresso. However, even the most expensive machines can underperform if used incorrectly or if certain nuances are overlooked. Understanding these subtleties can significantly elevate your espresso game. For instance, many enthusiasts believe that a high-end grinder alone makes the perfect shot, but neglecting routine maintenance or misaligning burrs can diminish its effectiveness. The trap here is assuming gear quality is the only determinant of superior coffee, which simply isn’t true. Regular calibration and understanding your grinder’s behavior, especially when it struggles with light roasts, are crucial. Moreover, some believe that milk frothing is all about the frothing wand, but the real secret lies in steaming technique—temperature control and pitcher angle make a notable difference. I’ve seen many home baristas invest heavily in milk frothers or steam wands, only to produce subpar microfoam because they overlook these details. Don’t forget that even small issues like misaligned portafilters can cause channeling, leading to bitter or sour shots—check out this guide for tips.
Advanced enthusiasts often ask—how can I optimize my workflow when switching between different beans and roast levels?
The answer involves precise grind adjustments and consistent dosing practices—using tools like distribution tools or scales, which are often underestimated. For example, a slight change in dose weight or tamping pressure can alter extraction quality significantly. Also, don’t fall into the trap of assuming that all beans require the same extraction parameters; lighter roasts often need finer grinding and lower temperatures. For deeper insights, consider reading why steam pressure drops or this article on water quality—both are often overlooked but critical factors. Remember, mastering these nuances is about patience and continuous adjustment, not just buying the latest gear. Have you ever fallen into this trap? Let me know in the comments.Maintaining your espresso gear is crucial for consistent quality and durability. Investing in the right tools makes a significant difference. For example, a calibrated espresso scale like the Espro Lemon Press not only ensures accurate dosing but also helps you dial in the perfect extraction every time. I personally rely on a Peerless Hand Coffee Grinder because its micro-adjustments allow me to fine-tune grind size, especially when switching between light and dark roasts. Regular use of a cleaning brush specifically designed for burr grinders aids in preventing build-up, which can dull your grinder and impact flavor. Additionally, having a calibrated pressure gauge helps monitor pump pressure, ensuring your machine runs optimally, especially during long brewing sessions.
Looking ahead, I predict that smart maintenance tools will become even more integrated into home espresso setups. Imagine apps that notify you when seals wear out or filters need replacing, simplifying upkeep. The trend toward automation will not only save time but also prevent costly repairs by catching issues early.
How do I maintain my espresso setup over time?
To keep your machine in prime condition, establishing a routine is key. Descale regularly using vinegar or descaling solutions recommended by your manufacturer, and don’t wait until you notice performance issues. Regularly check and replace worn gaskets—doing this prevents leaks and maintains pressure. I find that inspecting the hidden exhaust valve prevents noise problems and ensures a quieter operation. Invest in a dedicated cleaning cycle for your brew head, which can be as simple as a daily wipe-down with a damp cloth, but periodically involves deeper cleanings to remove coffee oils that can clog or impair flavor. Remember, consistency is everything—schedule monthly maintenance checks to prolong your gear’s lifespan and keep your espresso consistently excellent.
What I Wish I Learned About Gear Before the Leaks Started
- One of my biggest lightbulb moments was realizing that most leaks aren’t a sign of catastrophic failure but are often simple to fix with a bit of knowledge. Early on, I wasted time and money replacing parts I didn’t need to, simply because I ignored routine checks on seals and valves.
- Proper calibration and routine maintenance of my grinder and espresso machine transformed my brewing results. I found that small adjustments—like re-checking the tightness of fittings or cleaning buildup—prevented leaks and pressure issues from spiraling out of control.
- I underestimated the impact of water quality. Using distilled water and performing regular descaling significantly reduced mineral deposits that can corrode valves and gaskets, thereby avoiding leaks altogether.
- Patience and familiarity with my gear paid off. Learning to identify the subtle signs of wear, like slight pressure drops or gasket degradation, helped me address issues early, saving time and repair costs.
- Remember, a little DIY effort in maintenance can extend your gear’s lifespan and keep your espresso tasting glorious. Never shy away from exploring guides like this article or these tips for routine checkups.
Tools and Resources That Elevate My Coffee Game
- Precision Scales – I trust an espresso scale like the Espro Lemon Press because it ensures accurate dosing, helping me dial in consistent shots every time.
- Grinder Calibration Kits – Using a Simple Burrs Test ensures my grinder stays sharp and in sync with my brewing needs, especially when switching beans or roast levels.
- Cleaning Supplies – A dedicated grinder brush and descaling solutions keep my gear running smoothly and flavor on point.
- Maintenance Guides – I continually refer to resources like this in-depth article to understand what proper pressure feels and looks like, preventing small issues from escalating.
Your Next Steps in Coffee Mastery
Take the reins of your home espresso journey today. Regular maintenance, attentive troubleshooting, and investing in quality tools make all the difference. Remember, every shot you pull is a learning opportunity—each leak fixed is a step closer to barista-level mastery.
What’s the first upgrade or routine check you plan to implement to keep your gear leak-free? Share your thoughts below, and let’s keep the conversation brewing!