The Simple Magnet Hack to Stop Your Grinder Dosing Cup from Sliding
I can’t count the number of mornings I’ve wrestled with my grinder’s dosing cup sliding loose just when I thought I had everything set. There’s this weird clatter, a sudden wobble, and suddenly my perfectly measured coffee spills all over my counter. It’s such a tiny issue, yet it irks me every single day. It wasn’t until one particularly frustrating morning that I had a lightbulb moment—what if I could keep that delicate dosing cup firmly in place, effortlessly?
Fixing the Dosing Cup Slip: My Journey to Stability
Why This Matters for Coffee Lovers
Is a Magnet Hack Really Worth the Hype?
Attach Magnets to Keep Your Dosing Cup in Place
Start by choosing strong neodymium magnets from the hardware store. For my setup, I used two 10mm diameter, 3mm thick magnets—these provided enough force to hold the cup securely without making it impossible to remove when needed. Before attaching, clean the surface of your grinder’s hopper and the dosing cup with rubbing alcohol to ensure a strong adhesive bond.
Properly Position the Magnets on Your Grinder and Dosing Cup
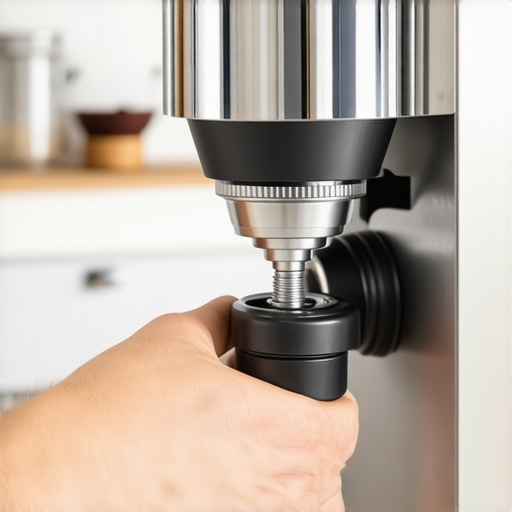
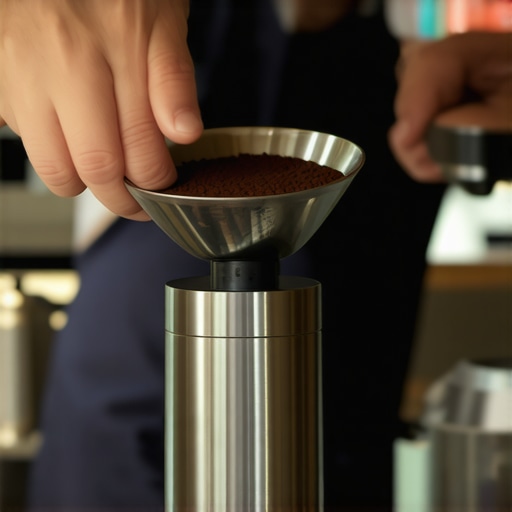
Use painter’s tape or a marker to mark spots where the magnets will sit. For the grinder, place one magnet at the inner wall, aligned with where the dosing cup rests. Attach the magnet to the hopper using a strong adhesive like epoxy or superglue, ensuring it sits flush and stable. Similarly, affix the matching magnet under the base of the dosing cup—some choose to embed it inside a small, flat pad or attach it on the exterior, depending on the fit. When I did this, I laid the magnets on the marked spots, glued them, and let the adhesive cure for 24 hours.
Test and Fine-Tune the Magnet Placement
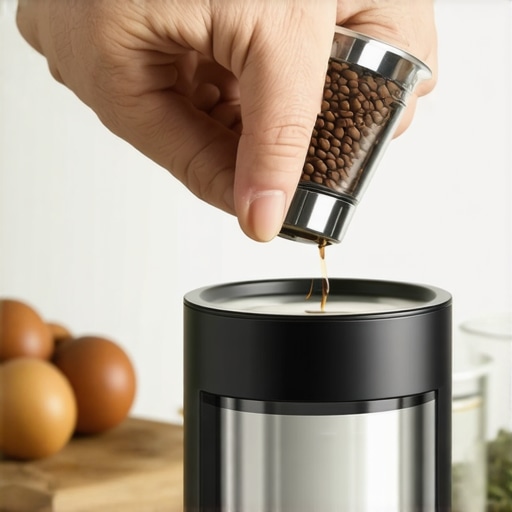
Once the glue is cured, insert the dosing cup onto the hopper and gently press down. The magnets should click or hold firmly without forcing or wobbling. If the cup still slips or is too tight, slightly reposition the magnets—sometimes a few millimeters make a big difference. In my case, I adjusted the magnet placement and achieved a snug fit that let me lift and replace the cup effortlessly while preventing slips during grinding or tamping.
Safety and Aesthetic Considerations
Choose magnets that won’t interfere with your grinder’s electronics or produce any magnetic field near sensitive components. To avoid scratches, apply a thin layer of padding, like a felt disc or a small piece of adhesive-backed rubber between the magnet and metal parts. The final result was a cleaner setup with no more accidental displacements during busy mornings, saving me time and frustration.
Implementing the Fix During Routine Maintenance
My first attempt was during a regular cleaning session. I removed the hopper, cleaned surfaces with alcohol, and then adhered the magnets. This small step transformed my daily workflow—no more chasing the dosing cup across the counter while grinding. For more tips on optimizing your home setup, check out mastering the art of home espresso.
Many enthusiasts believe that simply pressing a button or choosing high-end gear guarantees perfect espresso at home, but the truth is more nuanced. For instance, a prevalent myth is that more expensive machines always produce better shots; however, even premium espresso machines can underperform if not properly dialed in or maintained. One common mistake is relying solely on factory settings without understanding your machine’s specific calibration needs, especially when brewing darker roasts, which often require different pressure profiles.
How does grind particle size interplay with extraction quality in complex roasts?
Recent studies suggest that the uniformity of grind size critically affects extraction efficiency and flavor clarity, yet many home baristas overlook this nuance, leading to over- or under-extraction. Precision in grind, tamping, and temperature control enhances shot consistency more than chasing the latest machine feature. It’s worth noting that even minor oversight, like inconsistent tamping pressure, can cause significant variability, so mastering these details is essential for advanced espresso making. If you’re interested in elevating your setup, I recommend reviewing my guide on how to choose the best grinder and understanding the role of particle distribution. Additionally, many users assume that milk frothers are straightforward, but achieving microfoam requires attention to pitcher angle, steam pressure, and milk temperature—details that can make or break that velvety texture. Don’t fall into the trap of neglecting these advanced tips—they’re the difference between average and barista-quality milk textures. Want to learn more? Check out my advice on mastering milk frothing for a richer experience. Remember, true mastery involves understanding each component’s interplay—grinder consistency, machine calibration, and brewing techniques all contribute dynamically to your perfect cup. So, next time you think a change isn’t worth it, consider that the real secret lies in these subtle, often overlooked details. Have you ever fallen into this trap? Let me know in the comments.
Staying Consistent with Your Espresso Gear
Achieving barista-quality espresso at home demands not just the right equipment but diligent maintenance and strategic tool choices. I rely heavily on a high-precision digital scale like the Acaia Pearl, which provides accurate, real-time feedback on shot weight, ensuring every extraction is consistent. This isn’t just about precision—it’s about developing an intuitive feel for your process. Regular calibration of your espresso machine with a manometer, such as those from Brewista, helps monitor pressure stability and prevents common issues like channeling or under-extraction. By integrating these tools into routine maintenance, I’ve reduced shot variability and extended the lifespan of my equipment.
Long-term performance hinges on routine cleaning and occasional component checks. For example, I schedule bi-weekly descaling with a descaling solution recommended by Espresso Parts, especially if you use hard water. This keeps internal boilers and pipes free from mineral buildup that can impair heat stability and flavor profile. Also, inspecting wear parts like gasket seals and shower screens periodically prevents pressure leaks and ensures your machine performs optimally. An often overlooked but vital step is checking the grinder burrs—dull burrs lead to uneven grind size and compromised extraction quality. Replacing or sharpening burrs following manufacturer guidelines, like those detailed on this guide, can dramatically improve consistency.
How do I maintain my espresso setup over time?
Maintaining your equipment isn’t a one-time task but an ongoing process. I recommend creating a regular maintenance schedule that includes cleaning, calibration, and parts inspection. Using dedicated cleaning tablets for your espresso machine’s brew group, and monthly cleaning of the steam wand with a vinegar solution, keeps everything sanitary and functioning smoothly. For grinders, a thorough brush and occasional deep cleaning with compressed air prevent static buildup and grind retention issues. Staying attentive to small signs of wear—like a vibrating motor or inconsistent pressure—allows you to address problems before they escalate, saving money and ensuring consistent espresso quality. For detailed routines, the comprehensive guide for home enthusiasts offers excellent advice.
If you’re aiming to elevate your routine, I suggest trying the advanced tip of calibrating your grinder to match specific roast types. As noted by industry experts, adjusting the grind based on bean origin and roast profile significantly impacts extraction and flavor. Experiment with small modifications and record your results to find that perfect balance. Remember, dedicating time to maintenance and precise tool choice can transform your coffee experience from good to exceptional. Ready to upgrade your routine? Start today with a scheduled cleaning, and watch your shots improve dramatically!
,
What I Wish I Knew Before Rethinking My Espresso Setup
Tools That Elevate My Coffee Routine
Keep Moving Forward—Your Next Coffee Mastery Awaits
Similar Posts
How to fix a grinder adjustment ring that won’t budge
Ever had that frustrating moment when you’re trying to fine-tune your coffee grinder, and the adjustment ring just won’t move? I remember the first time it happened to me—after patiently grinding beans and adjusting the setting, I aimed for that perfect espresso shot, only to find the ring stubbornly stuck. It was like trying to…
Why Your Single Dose Grinder is Still Retaining Half a Gram
It was a typical Sunday morning. I wanted my espresso quick and perfect, but as I pulled out my single dose grinder, I noticed something frustrating—yet familiar. The hopper was half-empty, and my grinder was stubbornly retaining half a gram of grounds. No matter how many times I tampered with the grind size or tamped…
The Quick Fix for a Loud Coffee Grinder Motor
It was a quiet Sunday morning when I finally decided to brew my first espresso of the day. I eagerly loaded my grinder, pressed the button, and suddenly, my kitchen was filled with a deafening roar—more akin to a chainsaw than a coffee grinder. My heart sank. That unmistakable, relentless noise was not only disruptive…
The Difference Between Ceramic and Steel Burrs for Flavor
Ever had that frustrating moment when your beautifully brewed espresso tastes off, despite following all the advice and tweaking your grind? I remember the first time I dialed in my grinder, excited for that perfect shot, only to be met with a flat, dull flavor that left me scratching my head. It was a lightbulb…
The Trick for Pulling Great Shots with a Cheap Grinder
I remember the first time I tried pulling a shot with my cheap grinder—what a disaster! The coffee was uneven, over-extracted in some places and underwhelming in others, leaving me frustrated and questioning whether good espresso was just a privilege of expensive gear. But here’s the thing—after countless failed attempts, I finally had that lightbulb…
The real reason your grinder motor is stalling on light roasts
I’ll never forget the first time I tried pulling a shot of light roast coffee, only to watch my grinder motor struggle and stall, leaving me frustrated and questioning everything I thought I knew about my equipment. It felt like my gear was betraying me, and for a moment, I wondered if I was doing…