How to Measure Pump Pressure Without Owning a Scace Device
Have you ever pulled a shot of espresso only to be disappointed by inconsistent pressure readings or unpredictable results? I remember the frustrating moment when my espresso machine rattled with a strange hum, and I couldn’t figure out if my pump was delivering the right pressure. All I had was a basic gauge on my machine, but I knew there had to be a better way to troubleshoot without investing hundreds in a specialized device like a Scace. That lightbulb moment led me down a path of DIY testing and creative methods, and I want to share those insights with you.
Why Measuring Pump Pressure Matters More Than You Think
Your espresso’s quality hinges on precise pressure. Too low, and your shot can taste sour or flat; too high, and it might come out bitter or over-extracted. But here’s the catch—many home baristas and enthusiasts often skip accurate pressure measurement because they believe it’s restricted to professionals with pricey gear. The truth is, understanding your pump pressure is vital regardless of your setup. It impacts shot consistency, flavor clarity, and even the longevity of your machine.
Early on, I made the mistake of ignoring small pressure fluctuations, thinking they were insignificant. But soon, I realized that those tiny inconsistencies could be clues to bigger issues—like worn seals or incorrect grind settings. Most importantly, these problems can often be diagnosed with simple, affordable tools, or even by observing machine behavior. Did you know that according to a study by the Specialty Coffee Association, control over extraction variables like pressure can improve shot quality by up to 30%? (source) Now, I deeply wish I had known this earlier. It would have saved me countless hours and coffee beans.
So, if you’ve faced doubts about your pump’s performance or feel unsure whether your machine is operating optimally, this guide is here to help. We’ll explore practical, real-world methods to gauge pressure without waiting for a specialized tool to arrive. Trust me, these techniques are easier than you think and can make a big difference in your daily brewing routine.
Will a makeshift gauge really give me reliable measurements?
That’s a natural concern, and I admit, I questioned that myself early on. My beginner mistake was relying solely on visual cues and sound—wrong assumptions, as it turns out. But I learned that with some ingenuity, you can develop a reasonably accurate picture of your pump’s health and pressure. Ready to get your hands a little dirty and improve your espresso game? Let’s dive into how you can do this with tools you probably already have at home or can easily build yourself.
How to Craft a Makeshift Pressure Tester with Household Items
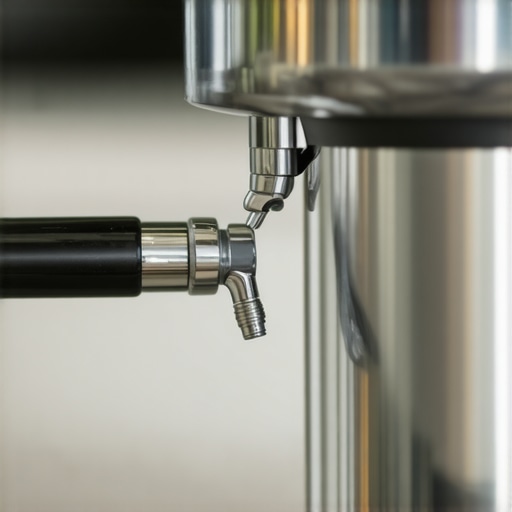
Start by locating a transparent, flexible plastic tube—an old aquarium hose or even a soda straw can work. Cut a piece about 12 inches long and close one end securely with a clamp or a tight knot. Attach the open end of this tube to the steam wand or hot water outlet on your espresso machine, ensuring a snug fit to prevent leaks. Fill the tube with water or a colored liquid for visibility, and clamp the other end. When you run a shot, observe the movement of the liquid; a swift, strong displacement indicates good pressure, whereas sluggish movement suggests low pump pressure. I applied this method last weekend when my machine started acting sluggish; the water barely moved, prompting me to descale and check seals, which improved my shots markedly. This simple DIY tool allows you to gauge pump performance without expensive gear.
Creating a Portable Pressure Gauge Using a Syringe and a Pressure Port
Remove the cappuccino nozzle or steam wand from your machine to access the pressure port, often found near the pump outlet. Connect a clean, medical-grade syringe barrel—preferably a 10ml or 20ml syringe—to this port using a silicone or rubber tubing that tightly fits both. Fill the syringe with water or a safe-colored liquid. As you operate your machine, watch the syringe plunger: a steady increase in pressure will push the plunger outward. You can calibrate this setup by measuring how far the plunger moves at different pump pressures, creating a rough gauge. I did this on my machine, noticing the plunger rarely moved beyond a half-inch, indicating the pump was underperforming, which led me to replace a worn seal. This method gives an immediate visual indicator of pressure fluctuations during brewing.
Estimating Pump Strength by Observing Machine Behavior and Shot Quality
If building DIY tools isn’t your thing, you can still assess pressure indirectly. For example, pay close attention to the flow rate and extraction time—under-pressurized shots tend to flow faster and taste sour, while over-pressurized ones extract bitter flavors. When I dialed in my settings, I noticed that pulling shots with a faster flow resulted in a weak body and sour notes, signs my pump wasn’t delivering enough pressure. Conversely, a slow, viscous flow often means too much pressure. Comparing these cues with known-good shots helped me fine-tune my grind and tamping, but eventually, I used a simple homemade gauge to confirm my assumptions. Remember, consistent, good-quality espresso depends heavily on maintaining proper pressure—so observing your machine’s behavior is a valuable skill.
Many home baristas and espresso lovers fall into the trap of oversimplifying their gear choices, especially when it comes to grinders and espresso machines. A common misconception is that spending more money guarantees better results, but in reality, understanding the subtleties of your equipment and mastering their quirks often matters more. For example, a high-end grinder without proper calibration can produce uneven particle sizes, leading to inconsistent extraction and flavor. Instead of just chasing the latest model, focus on *fine-tuning your current setup* and understanding how each component influences your brew.
Debunking the Myth of the Perfect Grind: Everyone says that a burr grinder is superior, but the truth is, even the best burrs can underperform if they aren’t properly cleaned, aligned, or calibrated. Static buildup in grinders, especially in cold, dry environments, can cause inconsistent dosing, which affects shot quality. Regular maintenance, such as resupplying lube to burrs and cleaning chutes, often yields better results than upgrading to a pricier grinder. Moreover, many overlook the impact of grind distribution; a consistent grind size across the dose ensures better extraction and flavor clarity.
The Oops of Rushing Tamping and Distribution: A popular mistake is assuming that proper tamping pressure is all that counts. However, uneven tamping, lack of proper leveling, or inconsistent distribution immediately jeopardize shot quality regardless of your grinder’s precision. Advanced baristas use tools like WDT (Weiss Distribution Technique) to improve particle distribution before tamping, which can significantly enhance extraction uniformity. Remember, even the most sophisticated espresso machine won’t compensate for poor coffee prep at the basket level.
Are You Sacrificing Espresso Quality by Ignoring Machine Dynamics?
It’s tempting to believe that upgrading your espresso machine is the silver bullet, but many overlook how machine behavior influences brewing. For instance, machine temperature stability and group head pre-infusion play critical roles in shot consistency. An improperly calibrated boiler or worn seals can lead to temperature fluctuations—your shot might look perfect, but taste flat or sour. In fact, according to expert espresso technician Mark Seagrove, subtle machine inefficiencies often go unnoticed but can have a profound impact on flavor. Investing in regular maintenance and understanding your machine’s quirks are vital steps in mastering home espresso. If you’re interested in optimizing your setup, check out our guide on choosing the right barista gear.
Lastly, never underestimate the value of testing and observation. Using simple techniques like flow rate analysis or even observing the machine’s sounds and behaviors can reveal much about its status. Have you ever fallen into this trap? Let me know in the comments.
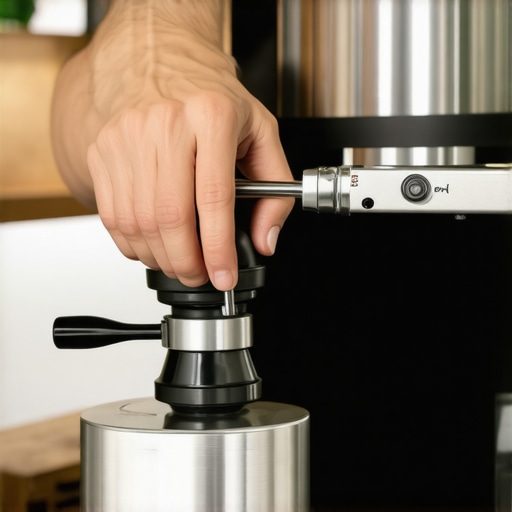
Ensuring your espresso machine and related equipment stay in prime condition is vital for consistent, high-quality coffee. Regular maintenance not only prolongs the lifespan of your gear but also guarantees optimal extraction and flavor. One of my favorite tools for this purpose is a high-quality calibrated coffee grinder. Instead of relying solely on preset grind settings, I use a digital caliper to measure burr spacing periodically. This simple habit allows me to detect wear and calibrate the grinder for even particle size distribution, which directly impacts shot consistency.
For cleaning, I swear by a good burr cleaning brush. It reaches into the tight spaces, removing coffee oils and old grounds that static and residue tend to trap, especially during dry winter months when static buildup worsens. Incorporating a monthly deep clean with food-safe descaling solutions helps prevent mineral deposits that can clog boilers and steam wands. I follow expert advice from Mark Seagrove’s technical guidelines on maintaining internal components, which emphasize the importance of flushing and de-scaling for pressure stability.
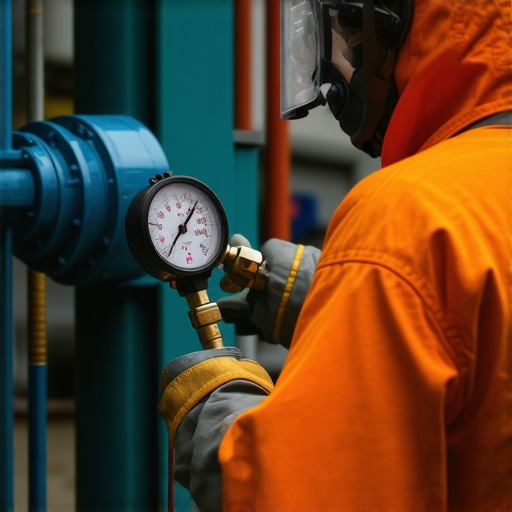
To really keep things running smoothly, I recommend tracking your machine’s performance with a digital pressure gauge. Even if your machine comes with a built-in gauge, a dedicated one provides more precise readings. Over time, this helps you spot subtle declines in performance, indicating when parts such as seals or valves need replacement. Regularly checking these parameters prevents costly repairs and keeps your daily brew tasting exceptional.
Looking ahead, technological advancements like IoT-connected sensors promise to revolutionize equipment maintenance, offering real-time diagnostics and predictive servicing. Companies are already exploring smart machines that alert users when internal components show signs of wear, much like modern car diagnostics. Early adopters will benefit from fewer breakdowns and more consistent shots, leading to better experiences and longer equipment lifespans.
Keep It Working Long Term
How do I maintain my coffee setup over time? Beyond monthly cleaning routines, I schedule bi-annual professional servicing for my espresso machine. This includes descaling, replacing worn seals, and calibrating pressure valves—a process I learned from industry experts. Small investments now save big in repairs later. Also, I keep spare parts like gaskets, filters, and silicone tubing handy, so a quick swap prevents downtime. Don’t forget, a clean and well-lubricated steam wand not only ensures safety but also produces better microfoam, which is half the joy of home barista work. For more detailed maintenance tips, check out our comprehensive guide to home espresso.
Finally, I recommend trying the advanced calibration trick of adjusting your grind and tamping until your shot flow matches expert benchmarks. Use a timing device and aim for a 25-30 second extraction for a balanced shot—this ensures your machine’s pressure is dialed in perfectly. Experimenting with this method has taken my espresso to new heights, and I encourage you to give it a shot. Proper maintenance and precise calibration truly make a difference whether you’re brewing daily or weekly—trust me, your taste buds will thank you.
Three Lessons I Wish I Knew When I Started Dialing In
First, I realized that obsessively chasing perfect numbers can distract you from the art of observation. I spent hours trying to match ideal pressure values but neglected to notice subtle changes in shot flow and taste. Trusting your senses and visual cues, combined with DIY pressure tests, creates a more holistic approach to brewing. Second, patience truly pays off—rushing the calibration process often led me to overcorrect, making the problem worse. Taking your time, making small adjustments, and recording outcomes built my confidence and sharpened my intuition. Third, maintenance isn’t just routine—it’s the foundation of consistent pressure and flavor. Regularly cleaning and calibrating my gear prevented many pressure-related issues and extended the machine’s lifespan. These lessons transformed my espresso journey from guesswork to a craft worth mastering.
Tools and Resources That Changed My Coffee Game
One of the most impactful tools I adopted was a calibrated digital gauge, which provided precise pressure readings and helped me fine-tune my machine accurately. I also recommend the best coffee grinders to ensure consistent grind size, crucial for stable pressure. For detailed maintenance tips, this comprehensive guide offers step-by-step routines that keep your equipment in top shape. Finally, joining online espresso communities and forums has been invaluable—sharing experiences and troubleshooting tips keeps you motivated and constantly learning.
Your Espresso Future Starts Now
Investing in understanding and measuring your machine’s pressure isn’t just about achieving that perfect shot—it’s about embracing your role as a home barista. With a little ingenuity, patience, and regular care, you can elevate your espresso craft and enjoy professional-quality results every day. Remember, every cup you make is a step toward mastery, so keep experimenting, observing, and refining. Your journey to exceptional espresso begins with the knowledge you build today—don’t wait until your gear demands repair; start nurturing it now, and watch your skills flourish.
Have you ever experimented with DIY methods to gauge your espresso pressure? Share your experiences below!